Tile Dreams Come True

quote of the month:
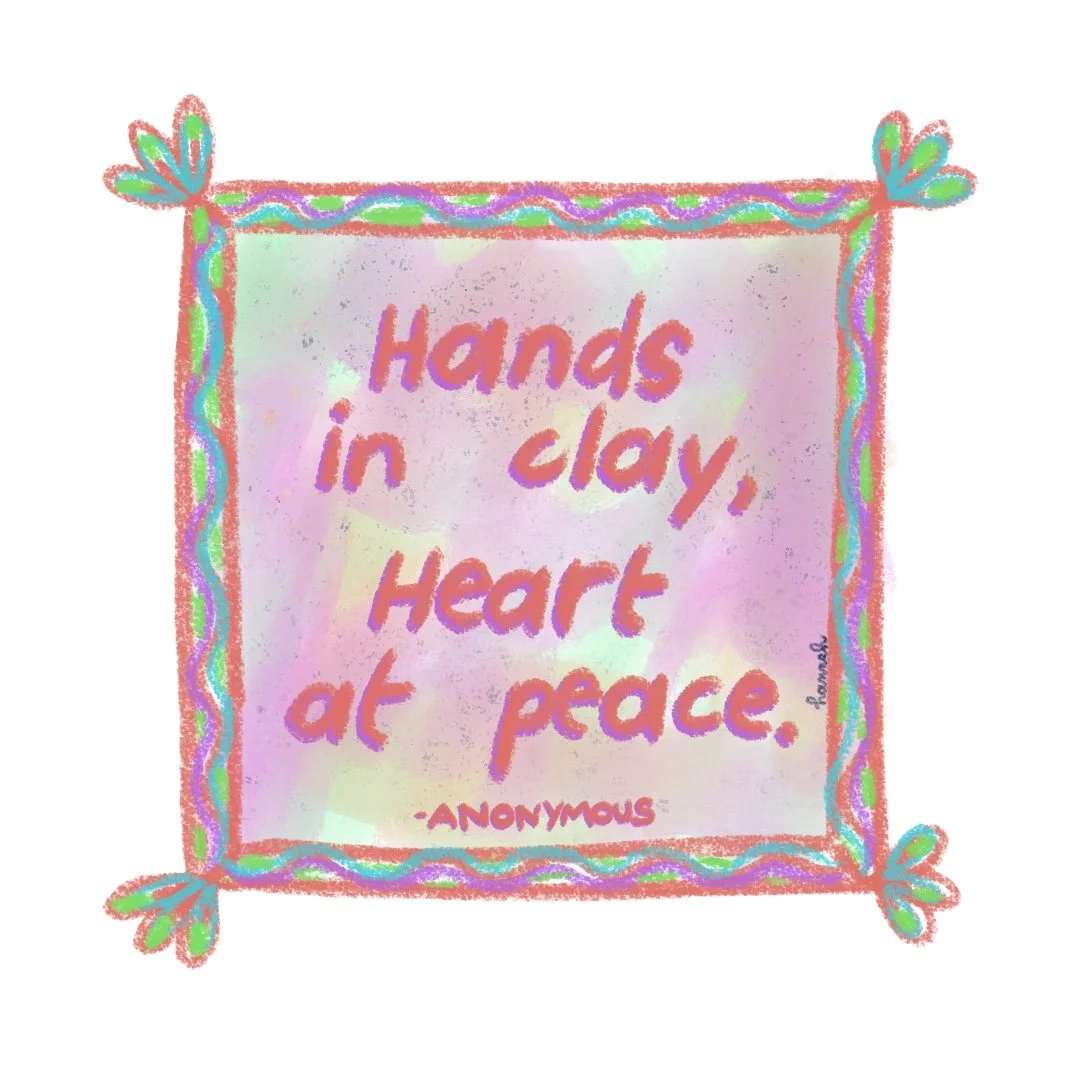
“Hands in clay, Heart at Peace.”
~Anonymous
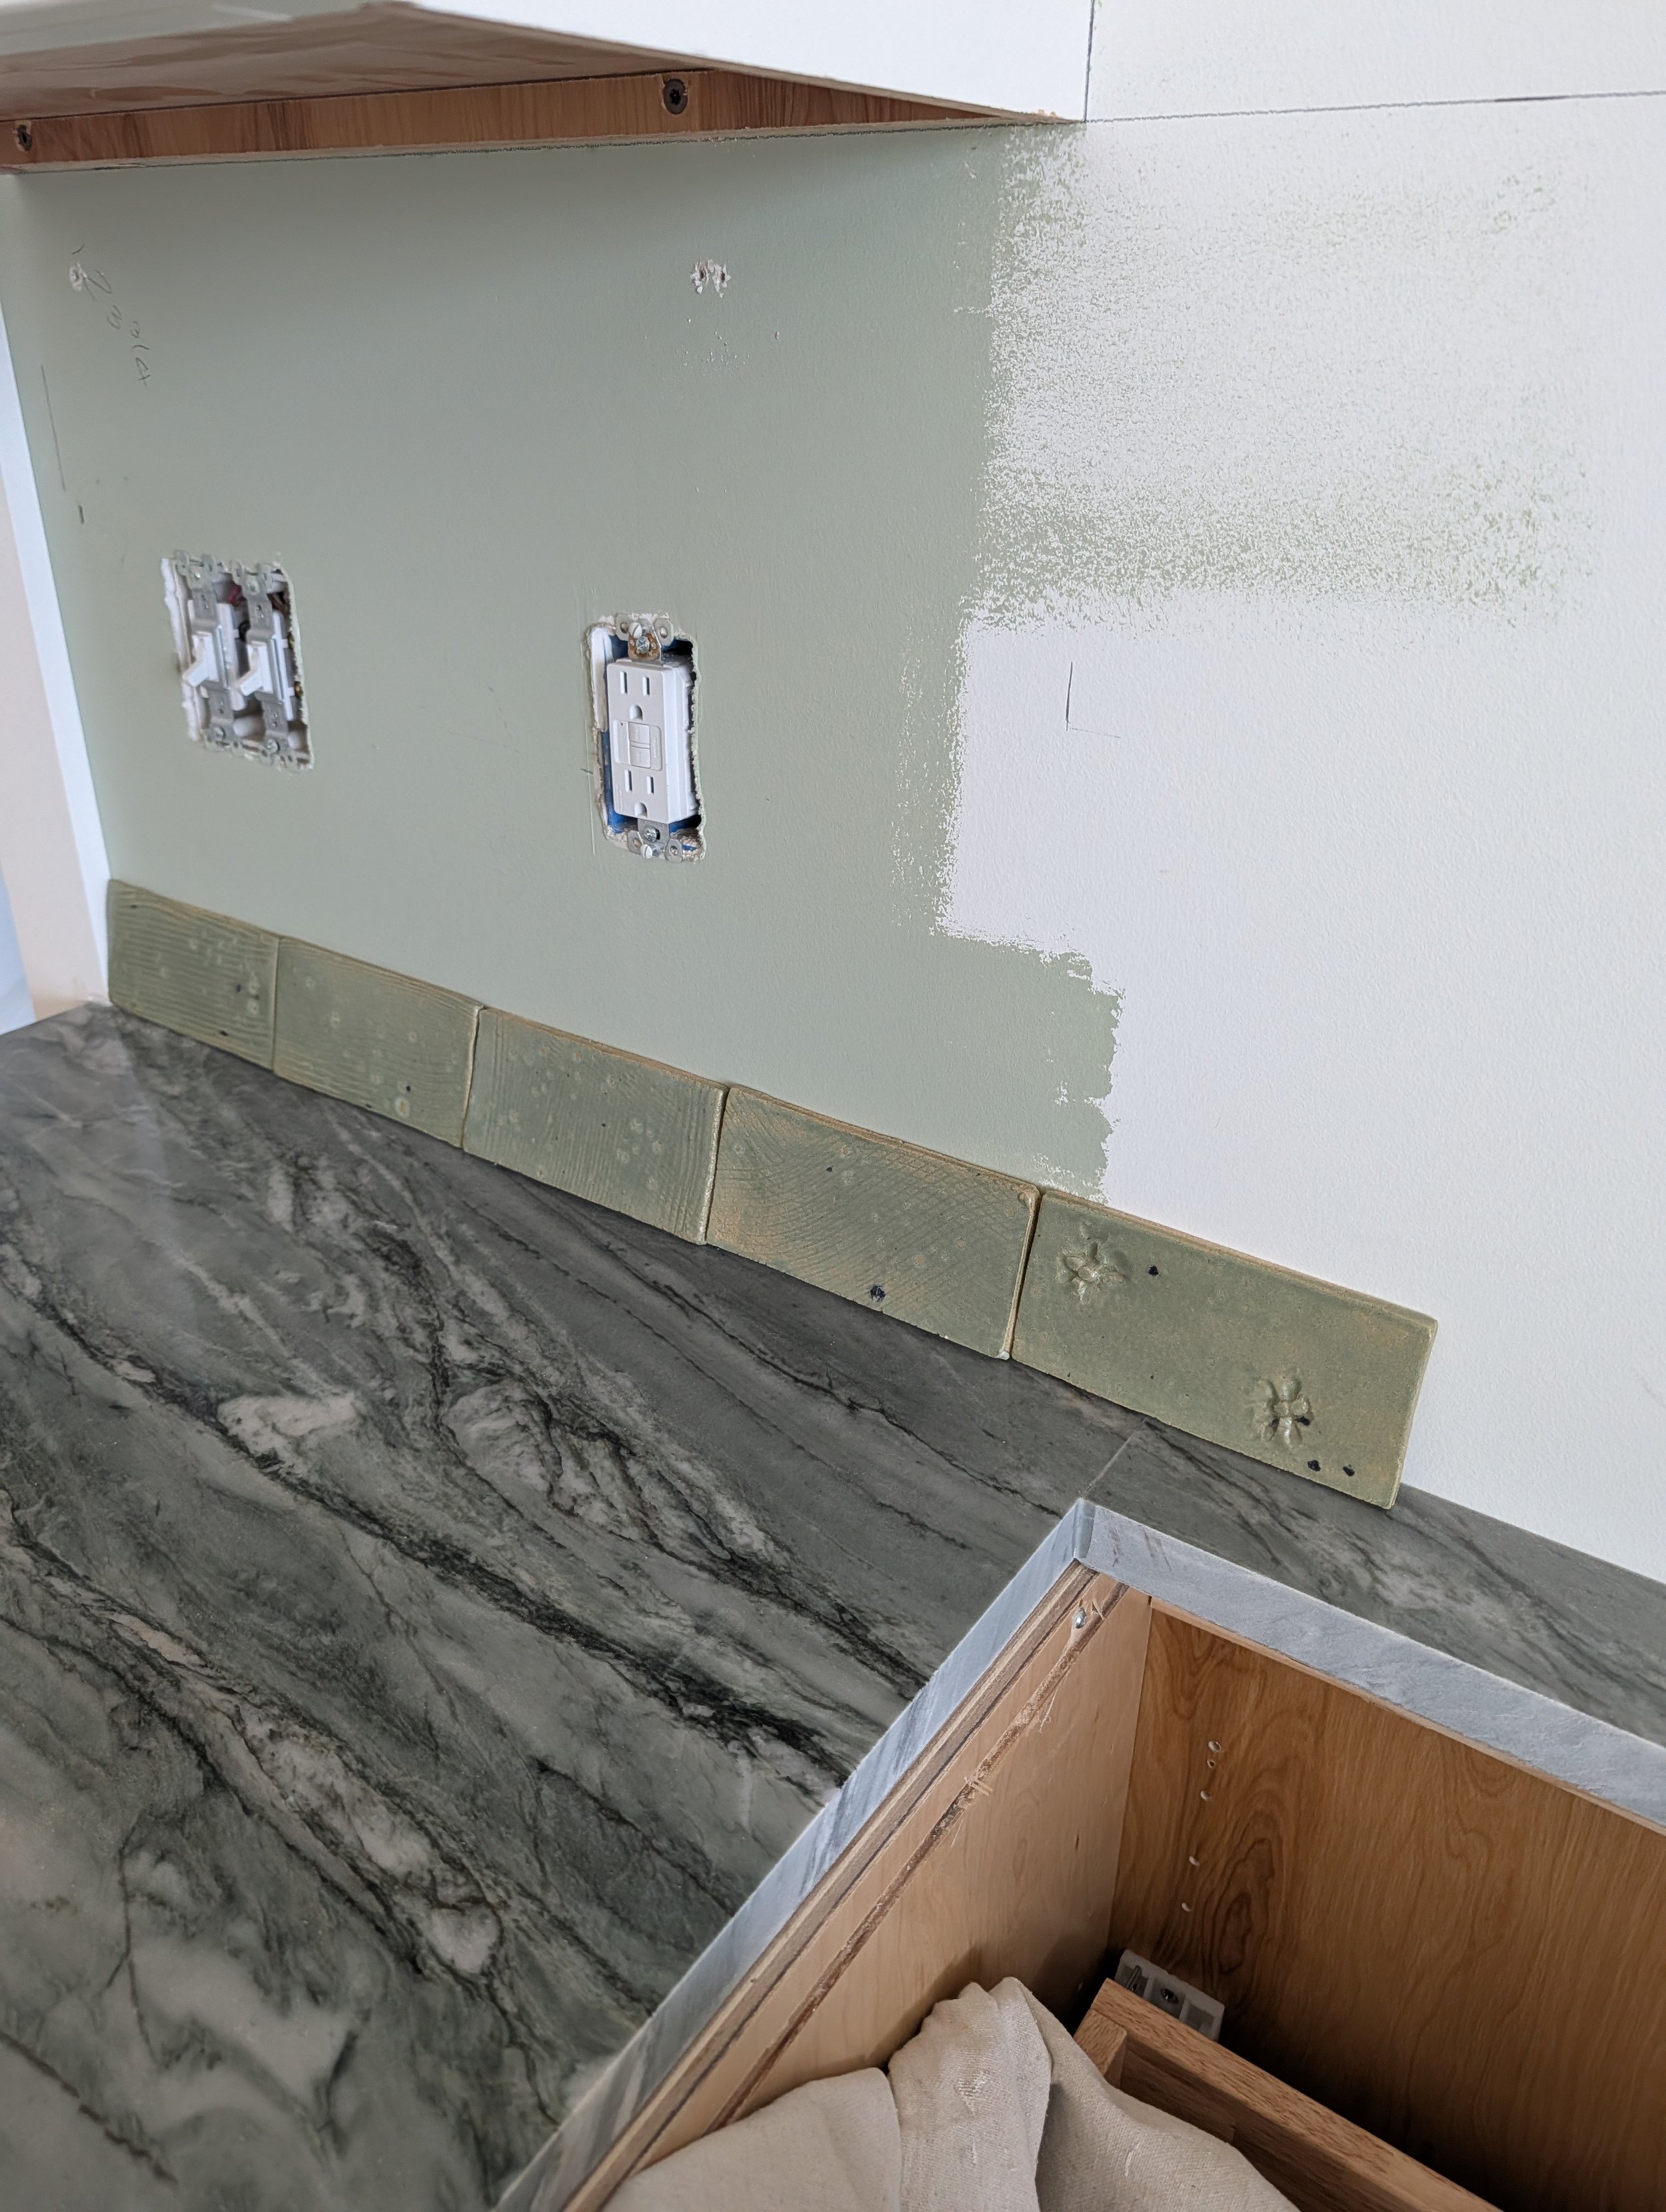
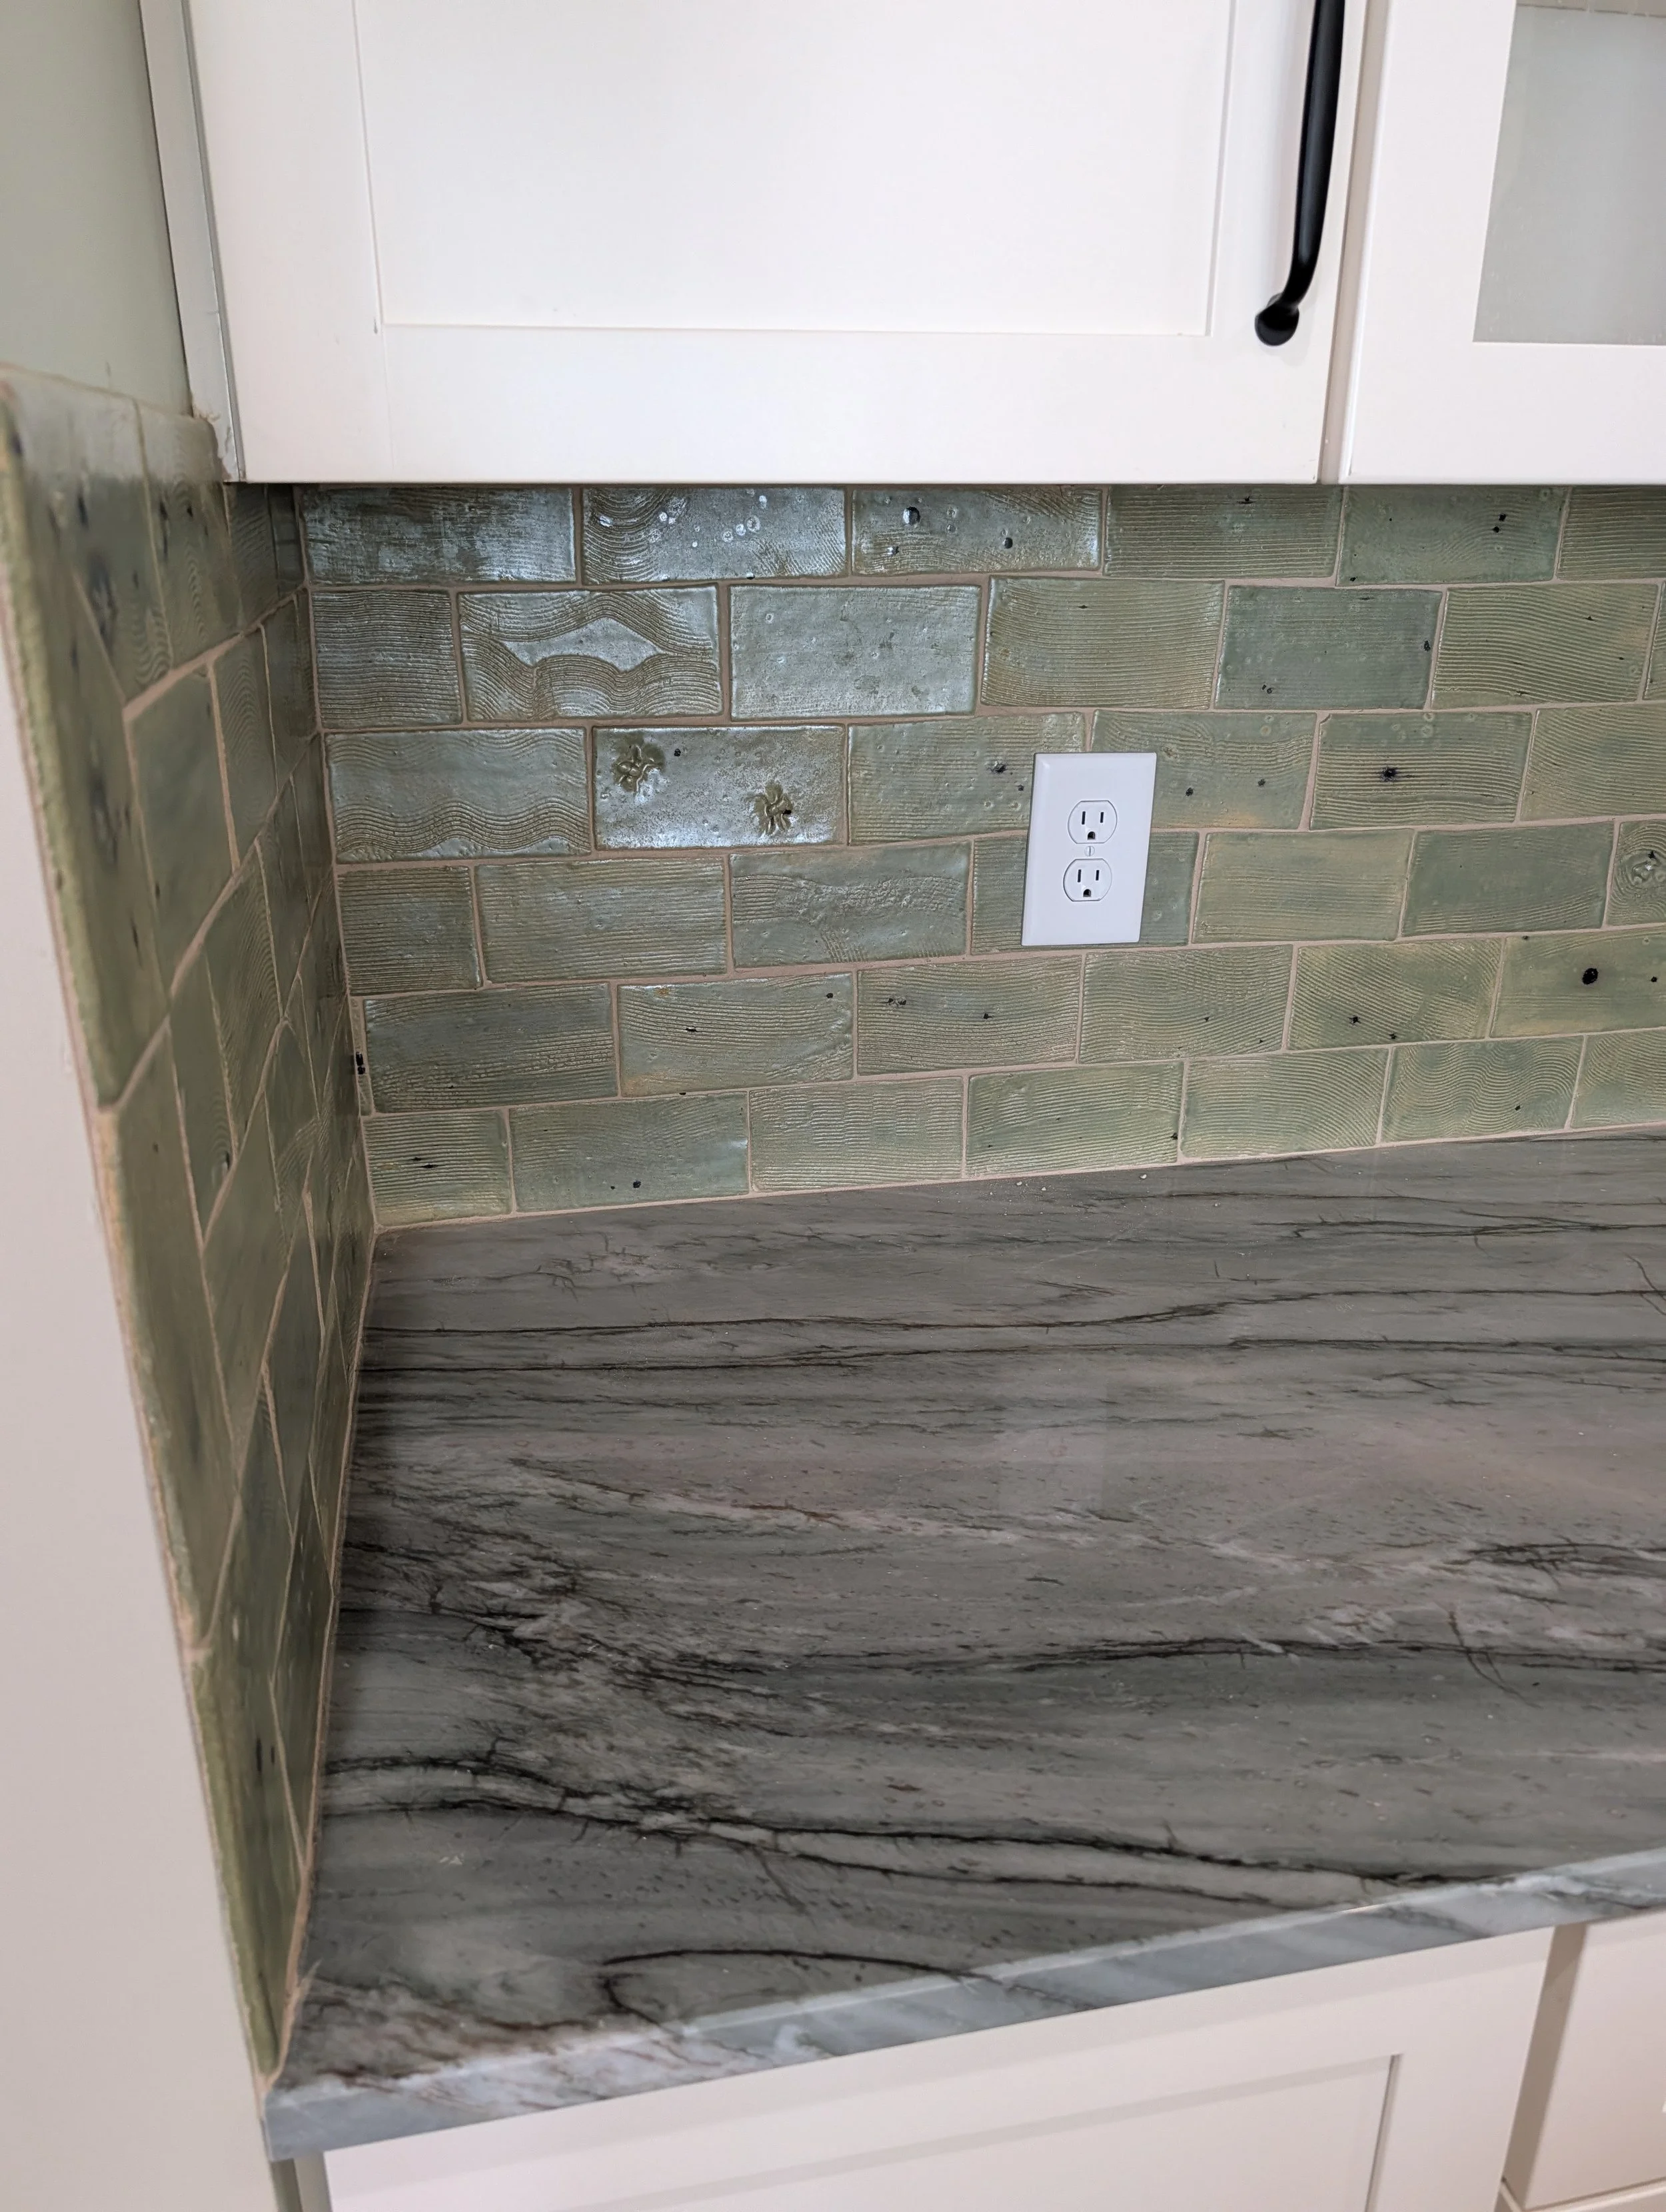
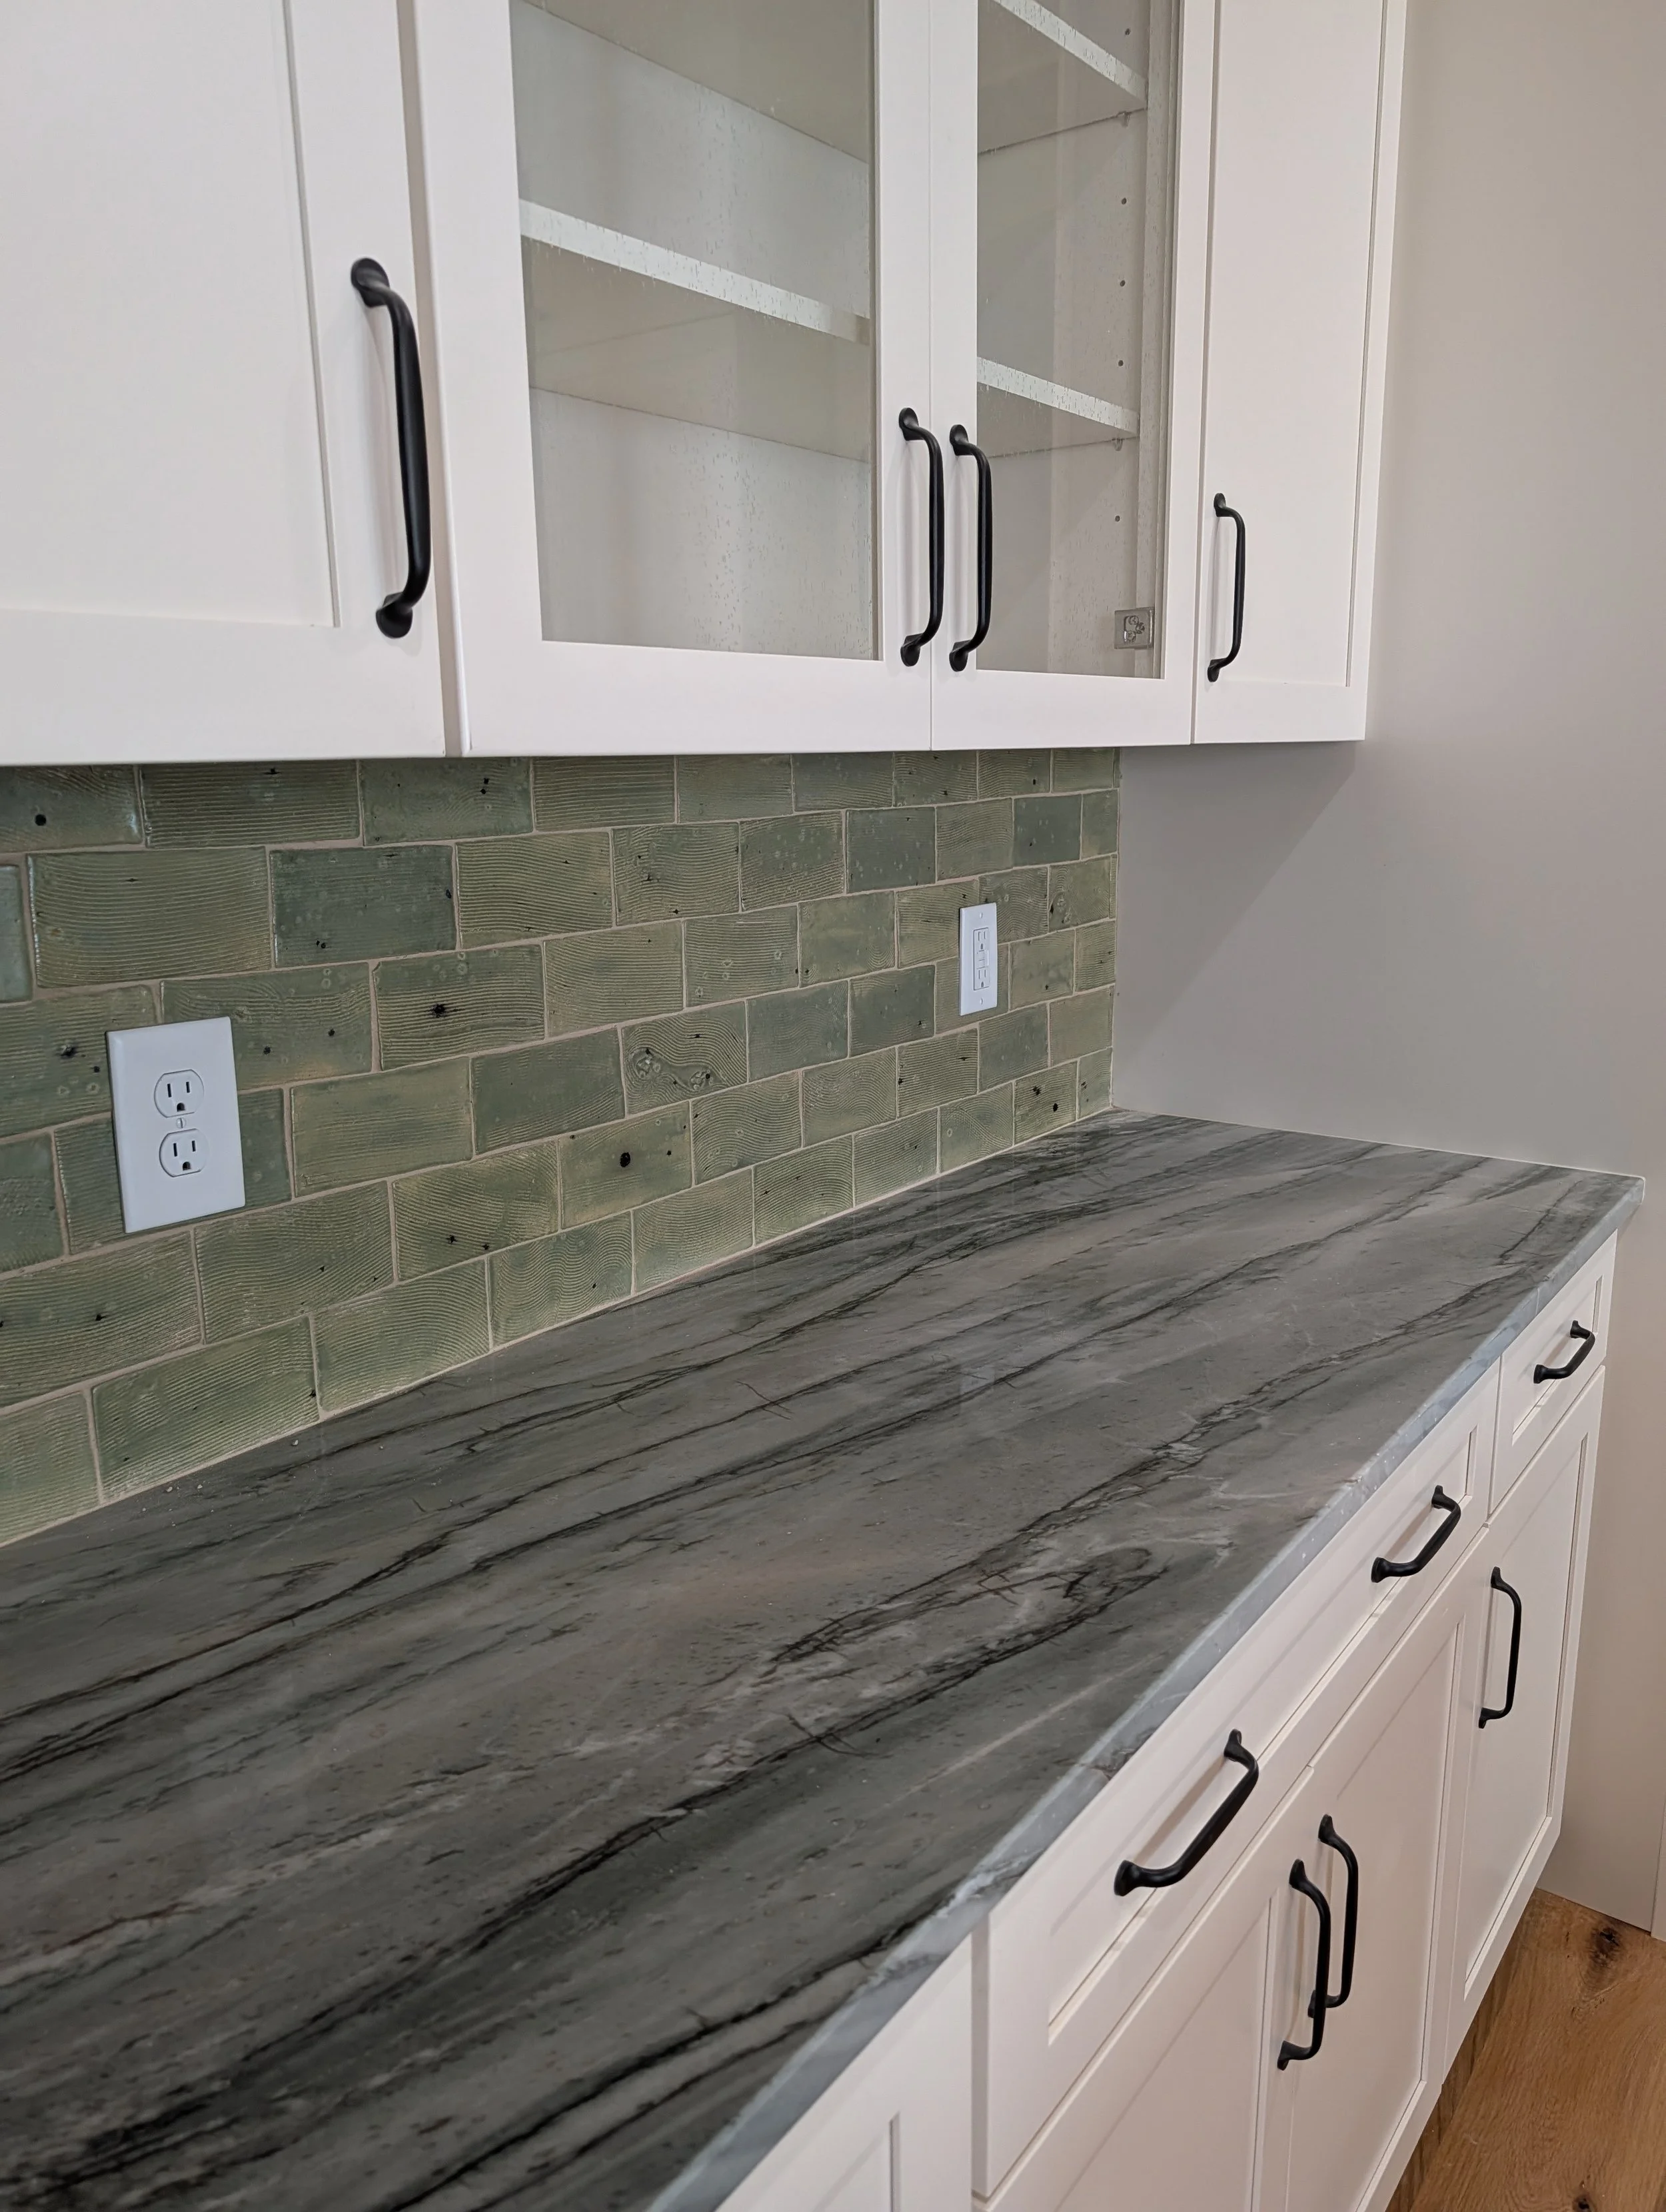
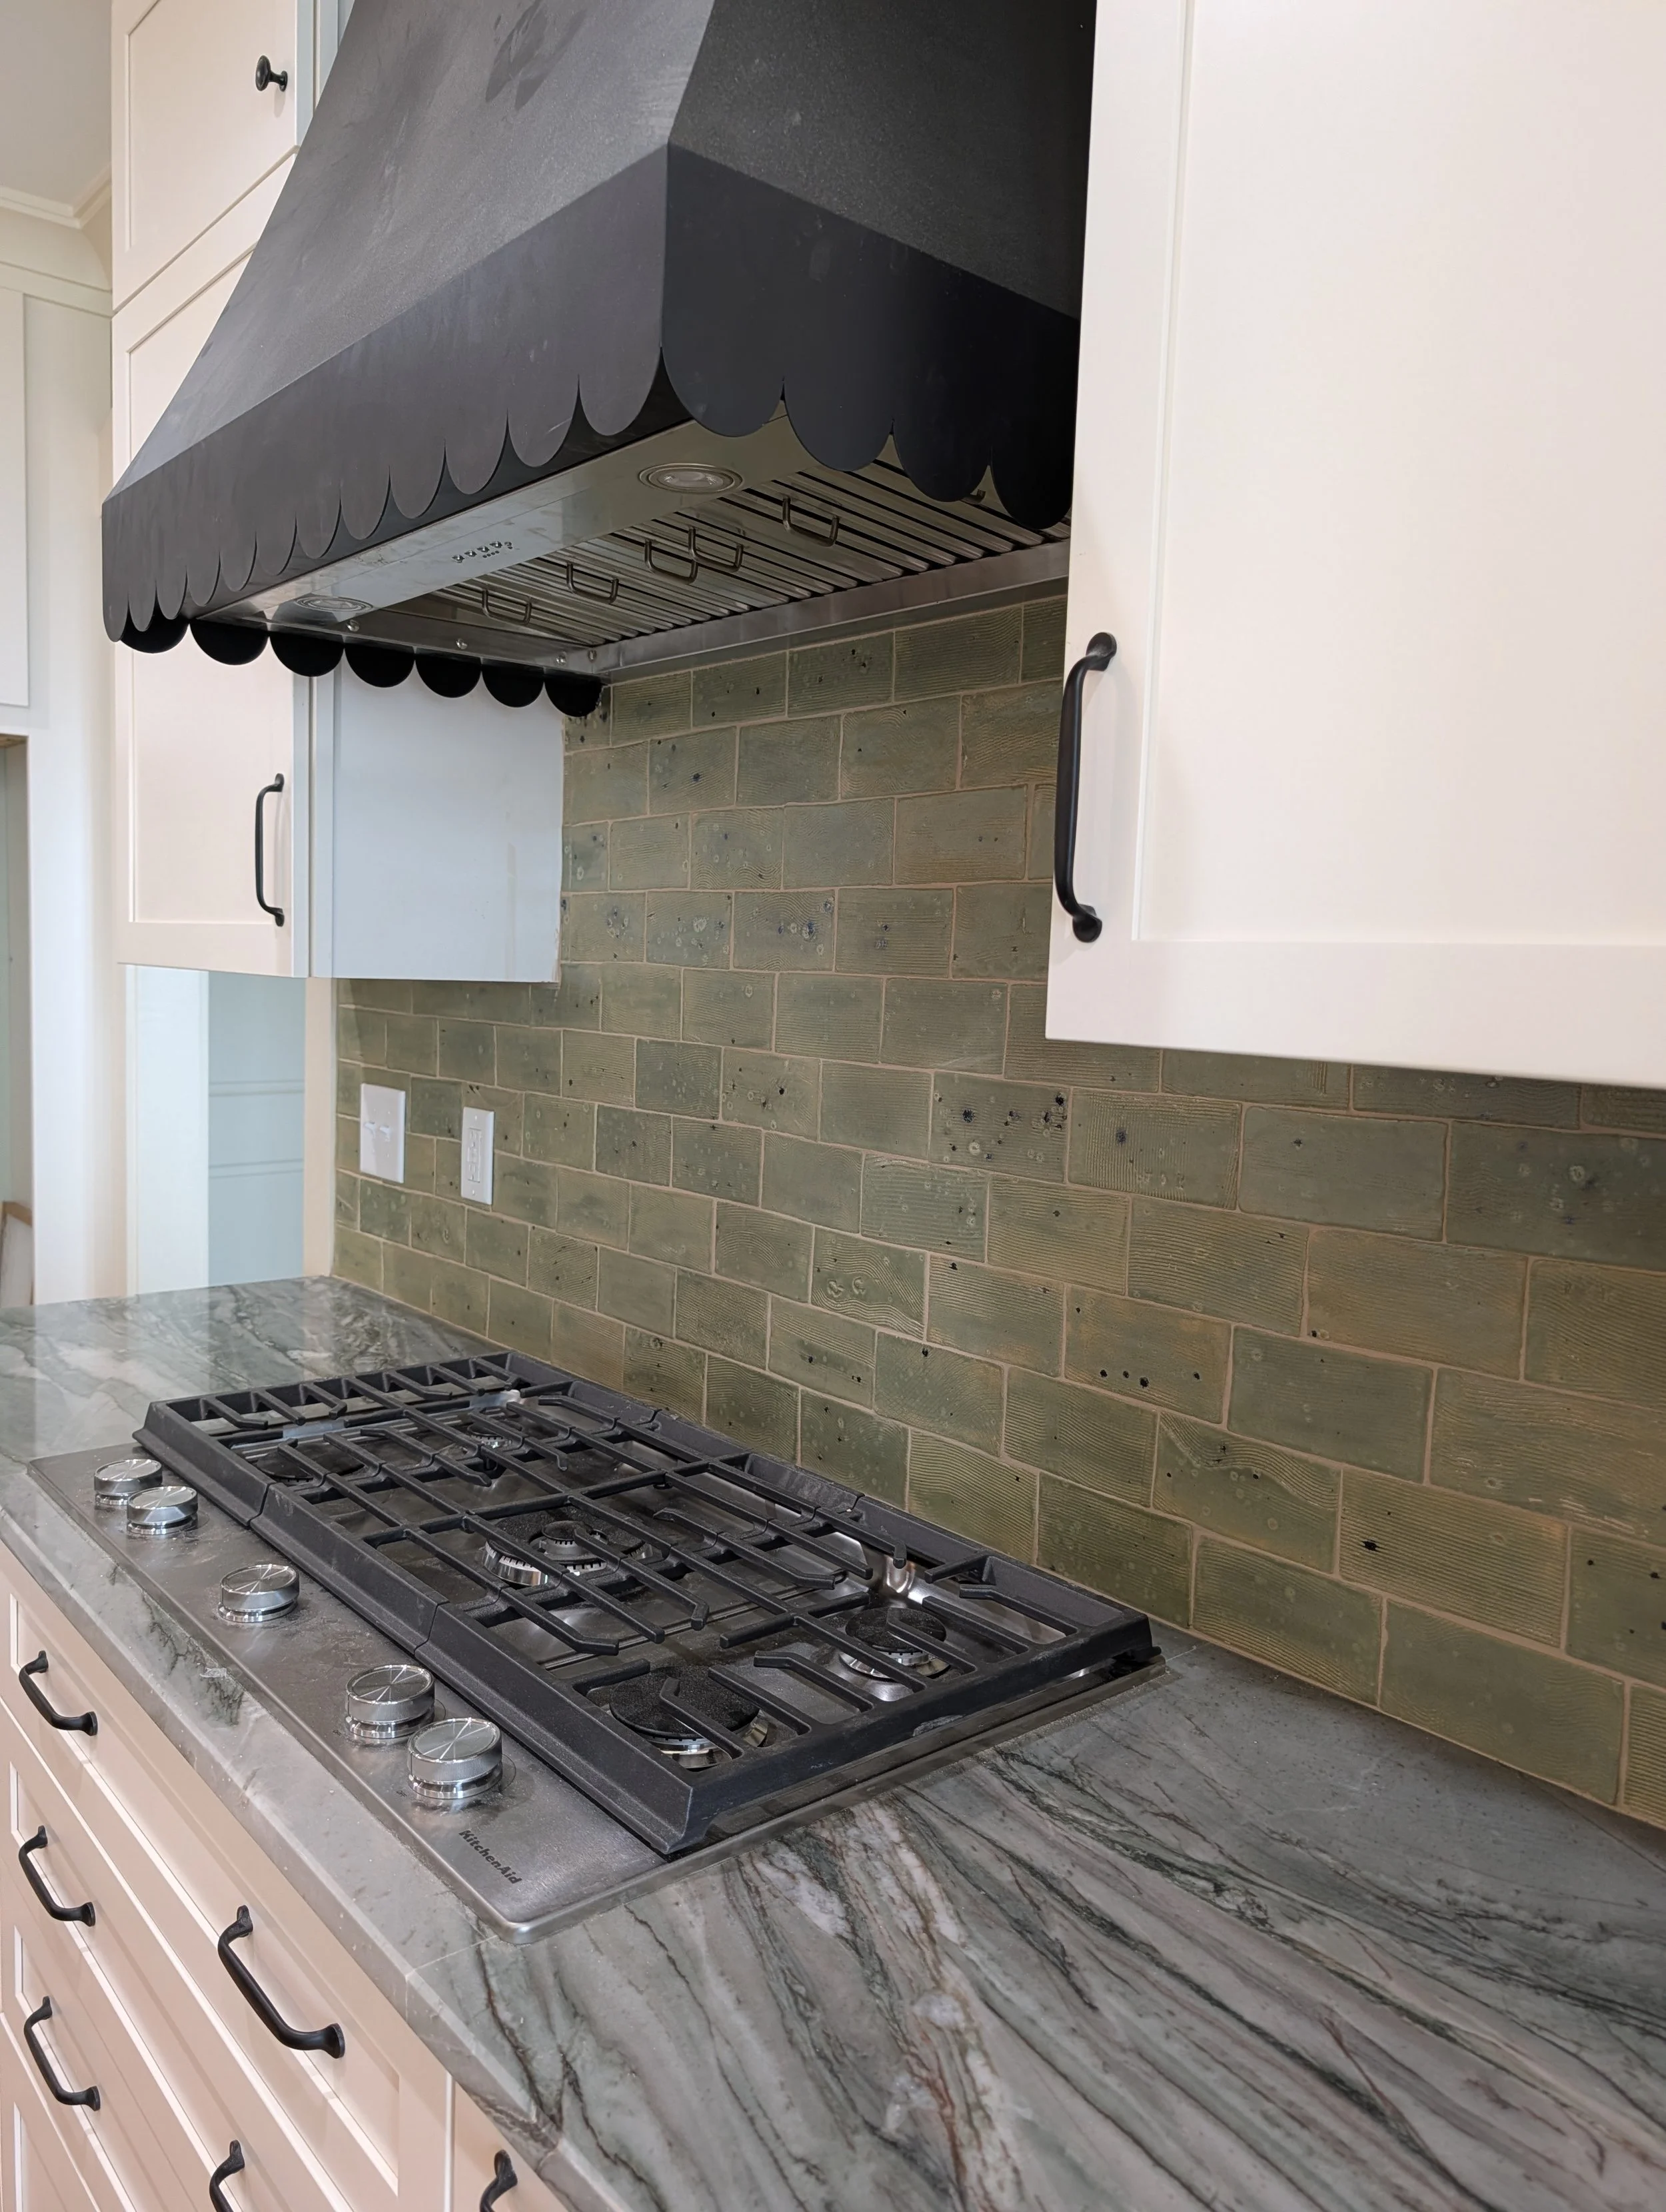
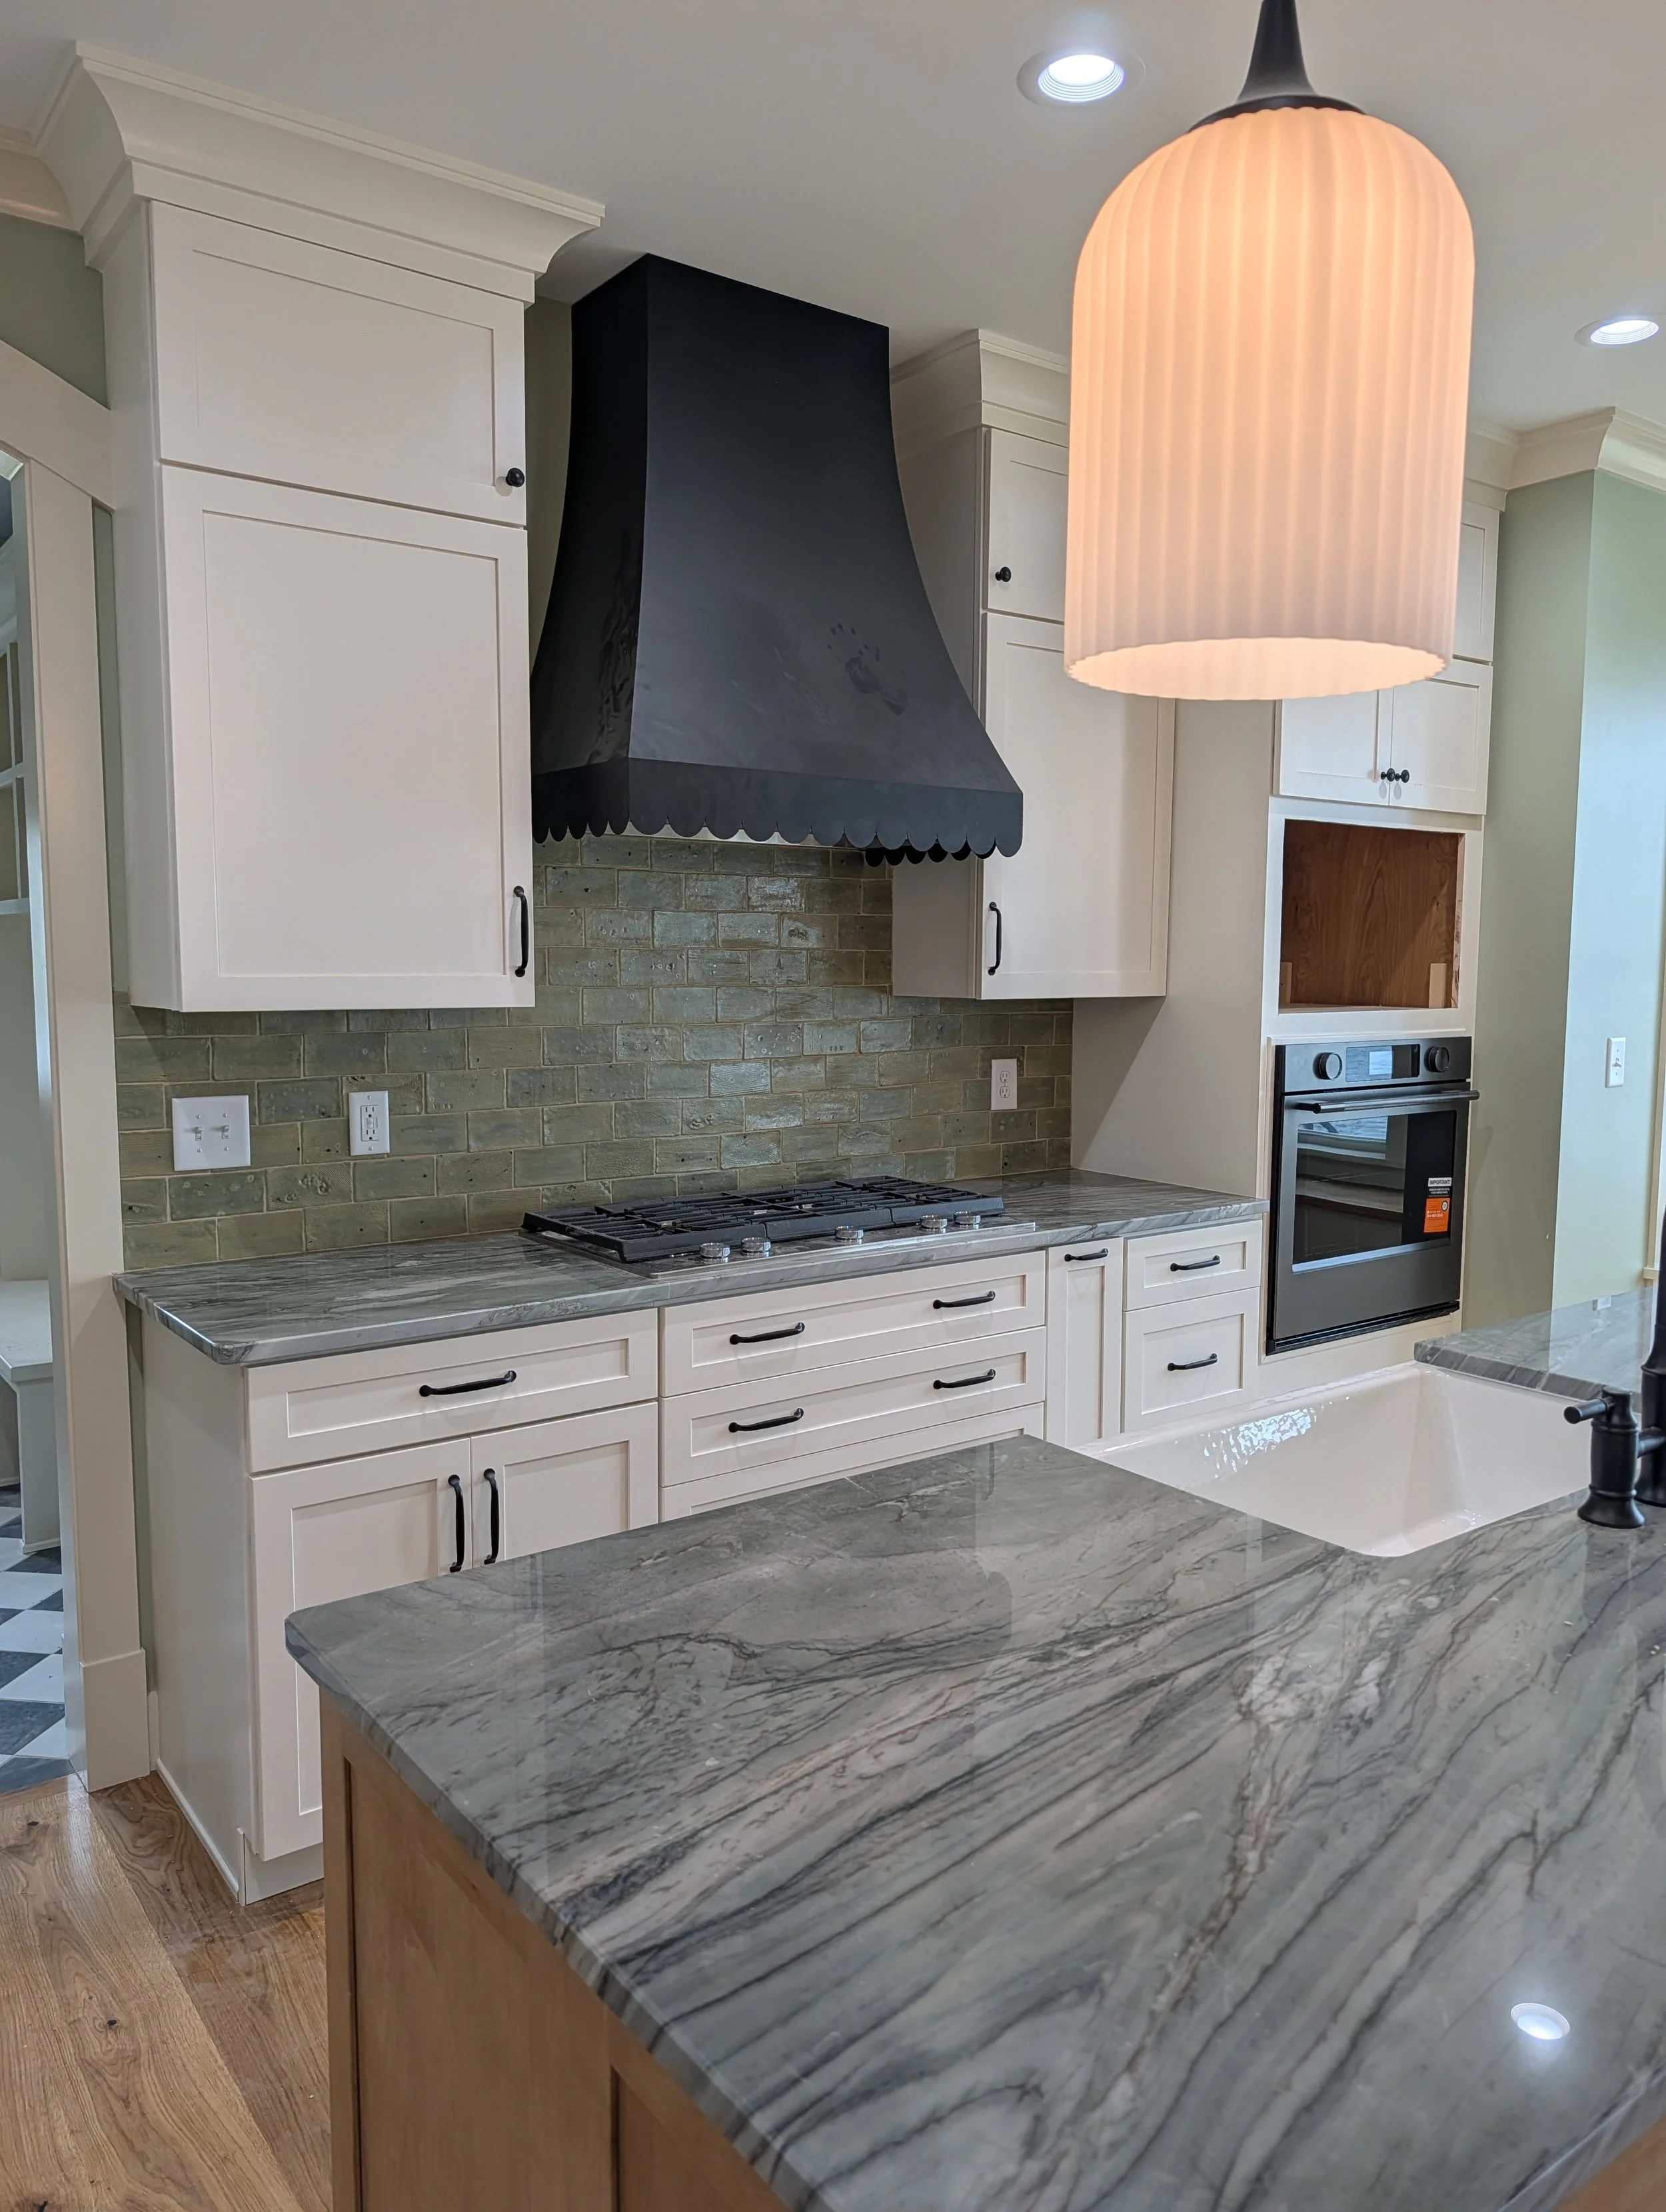
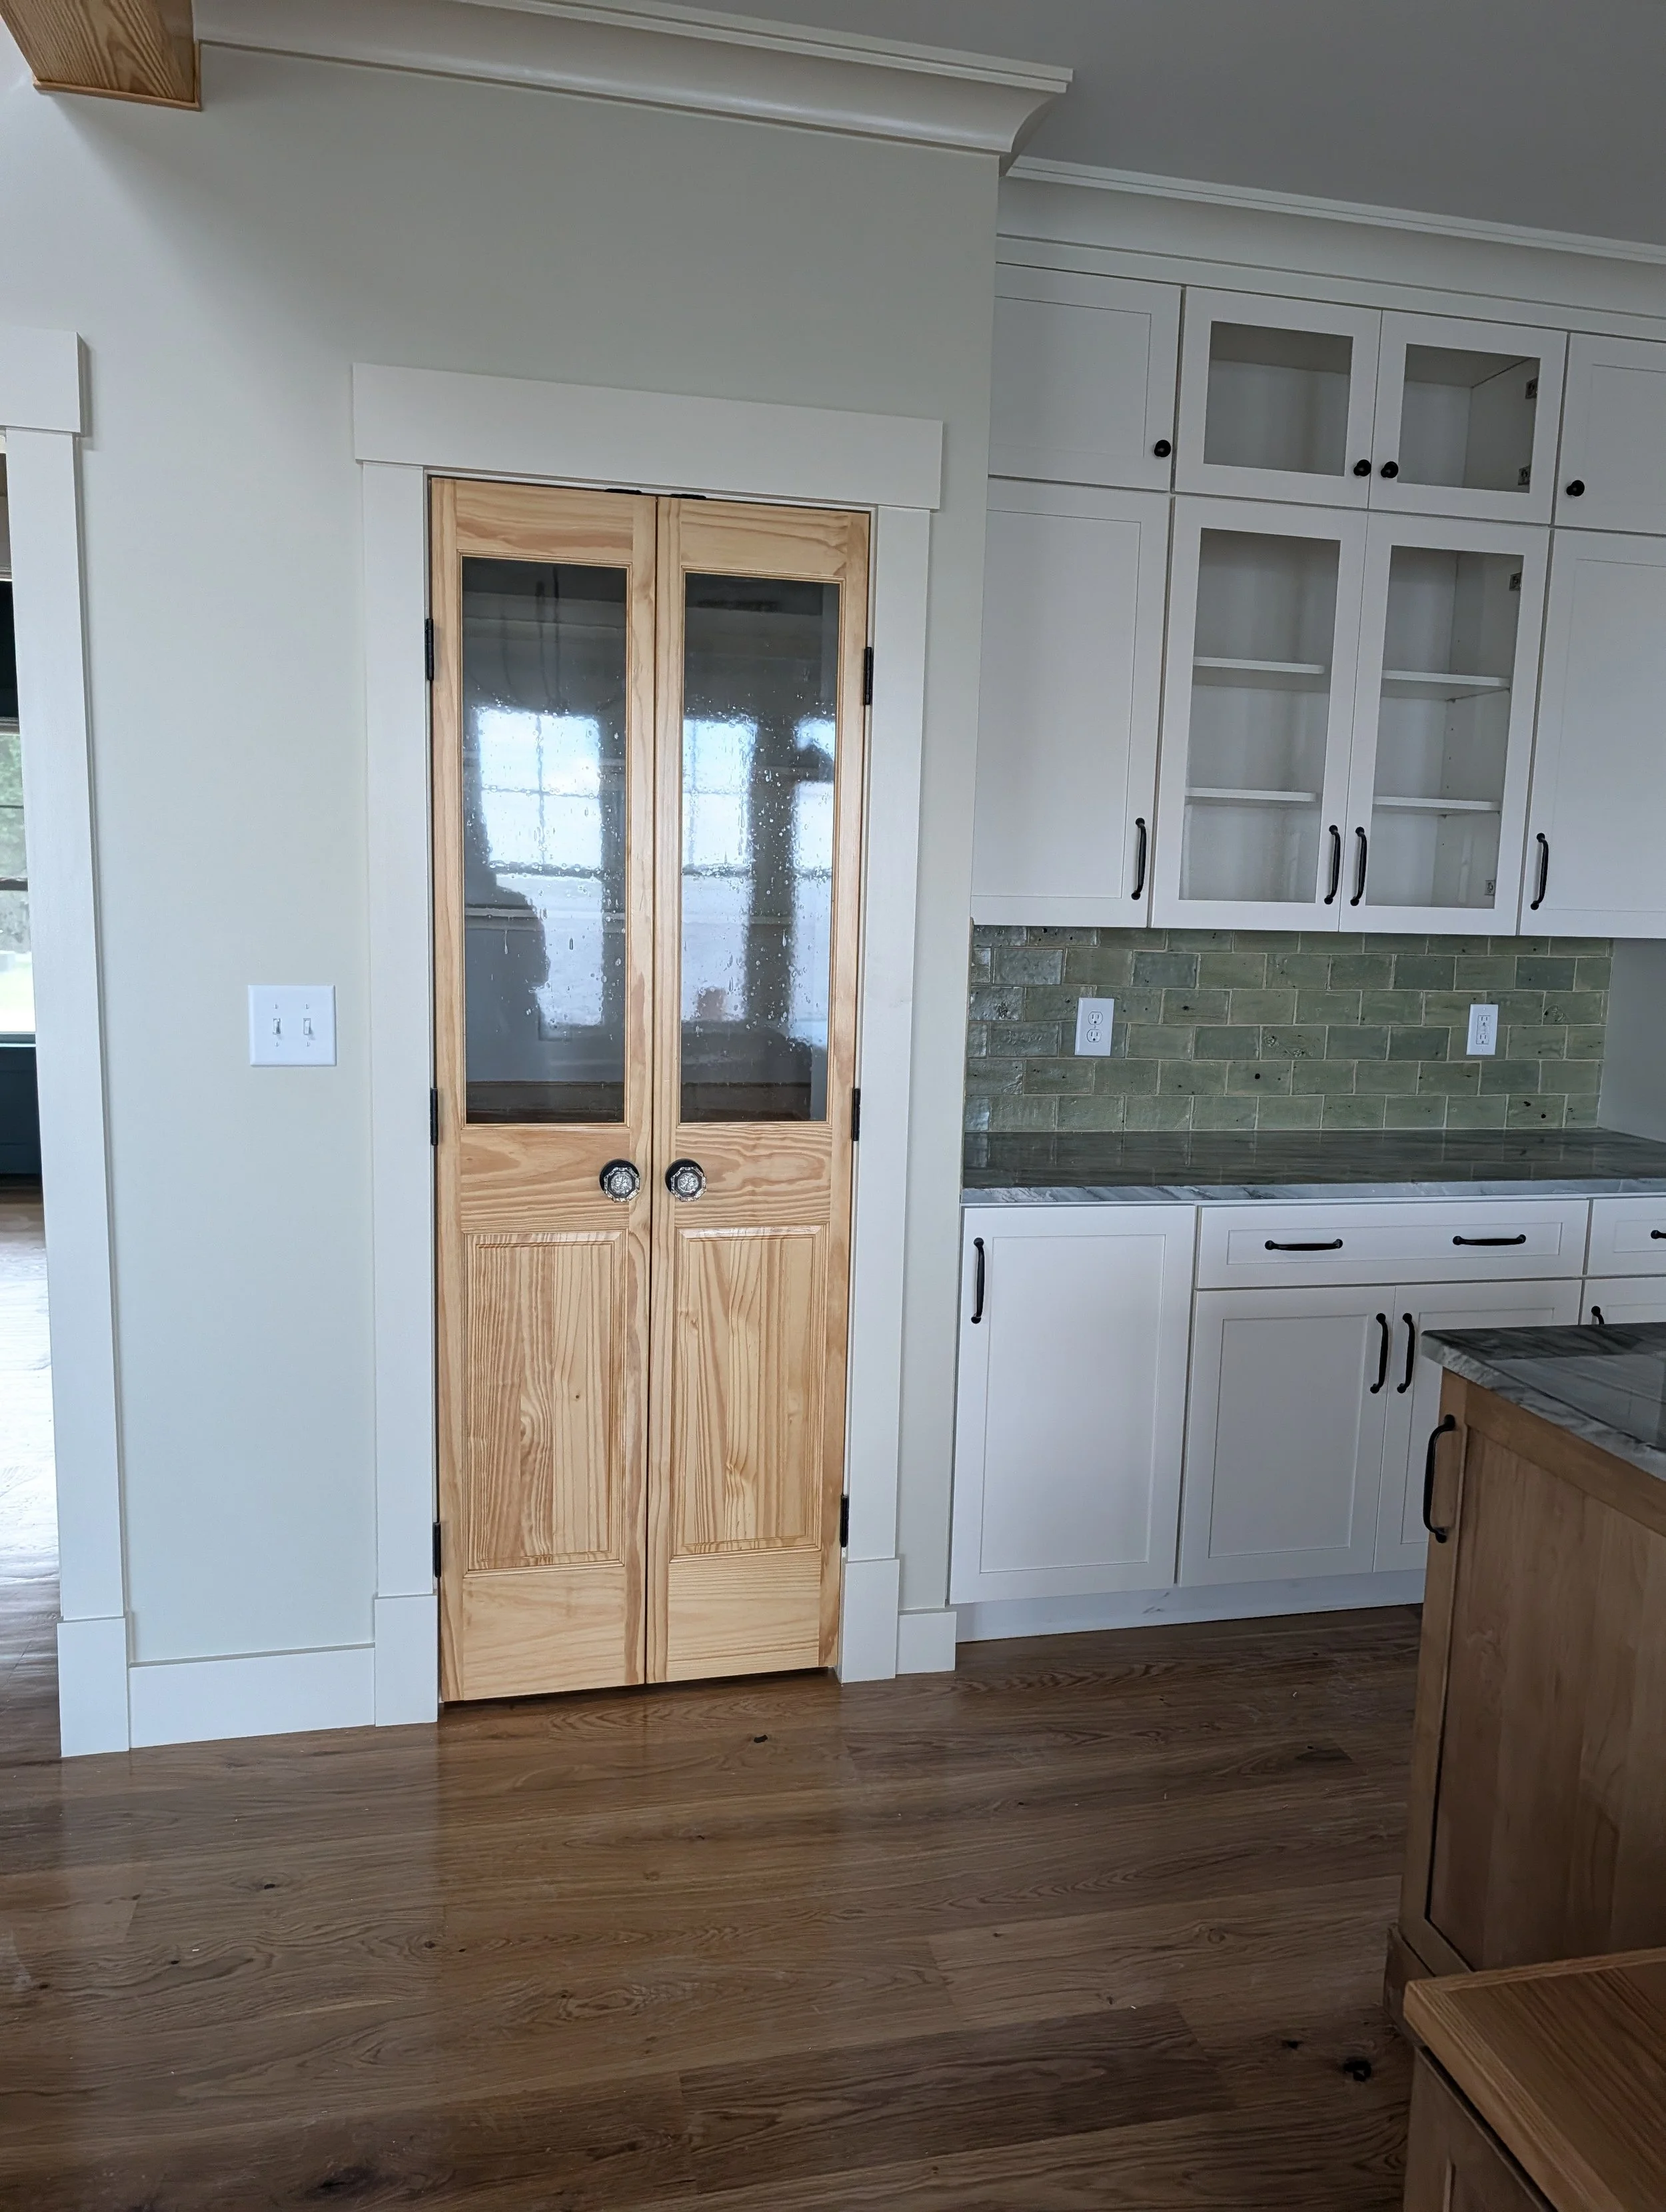
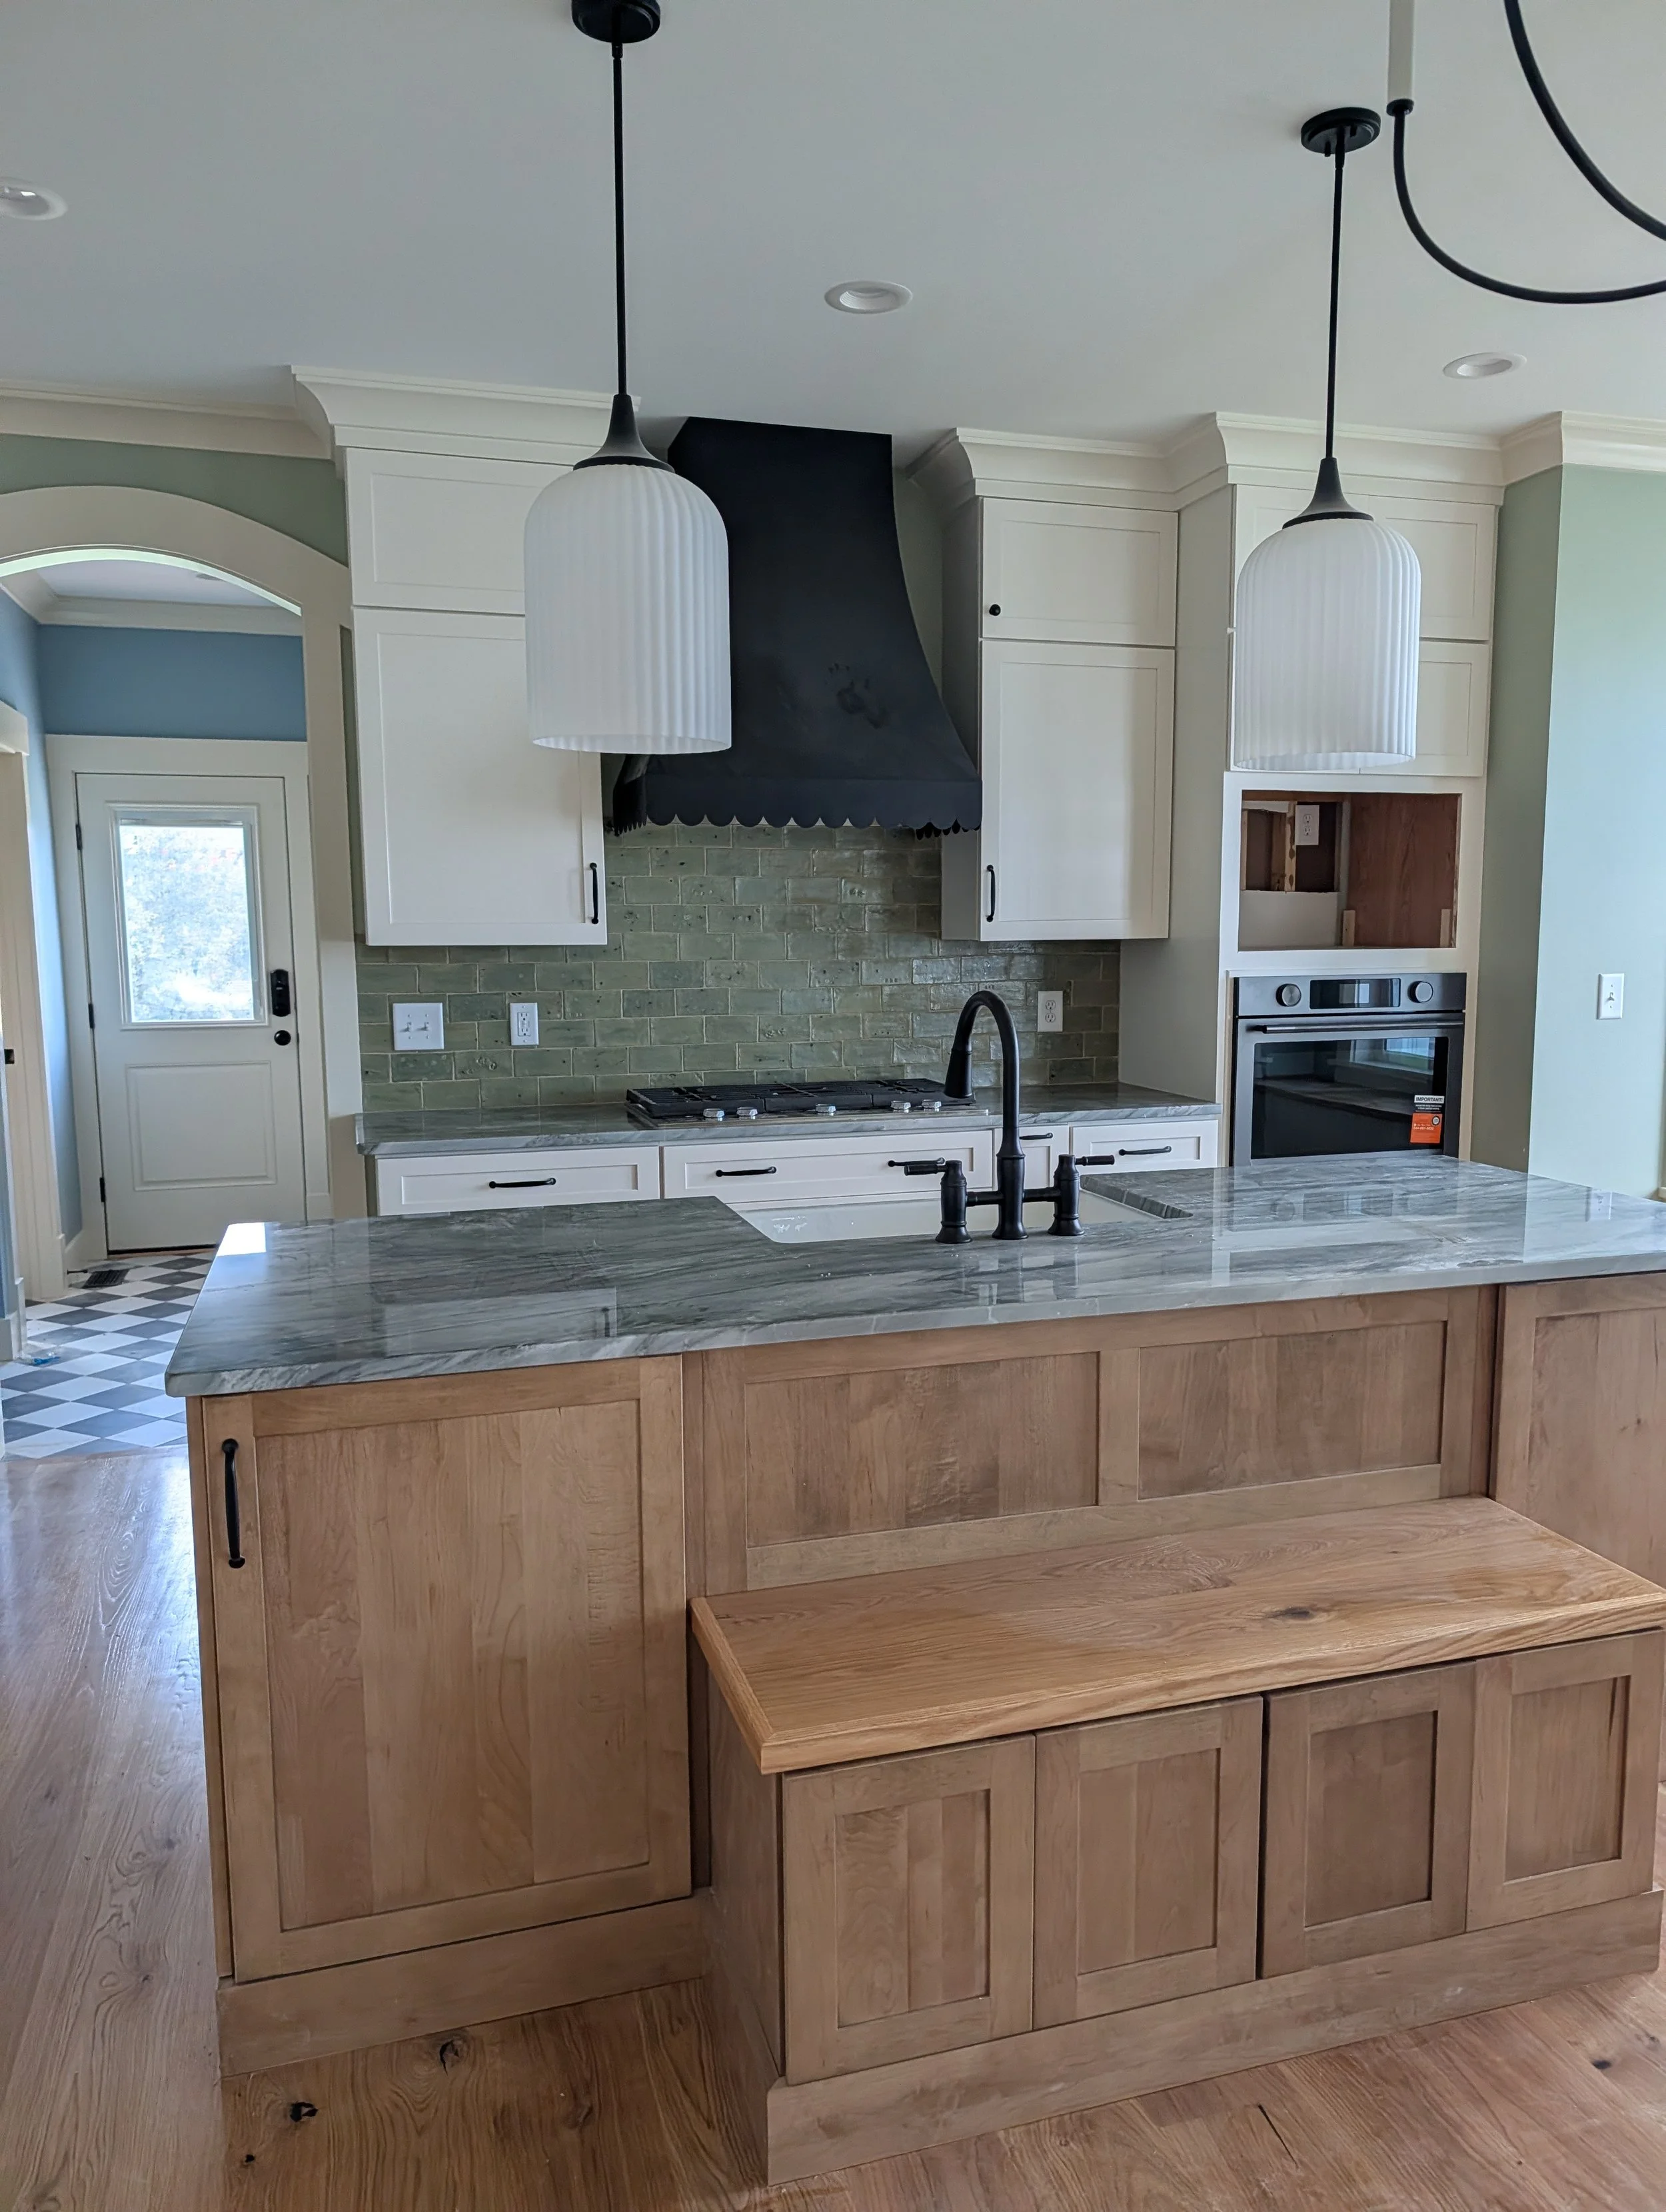
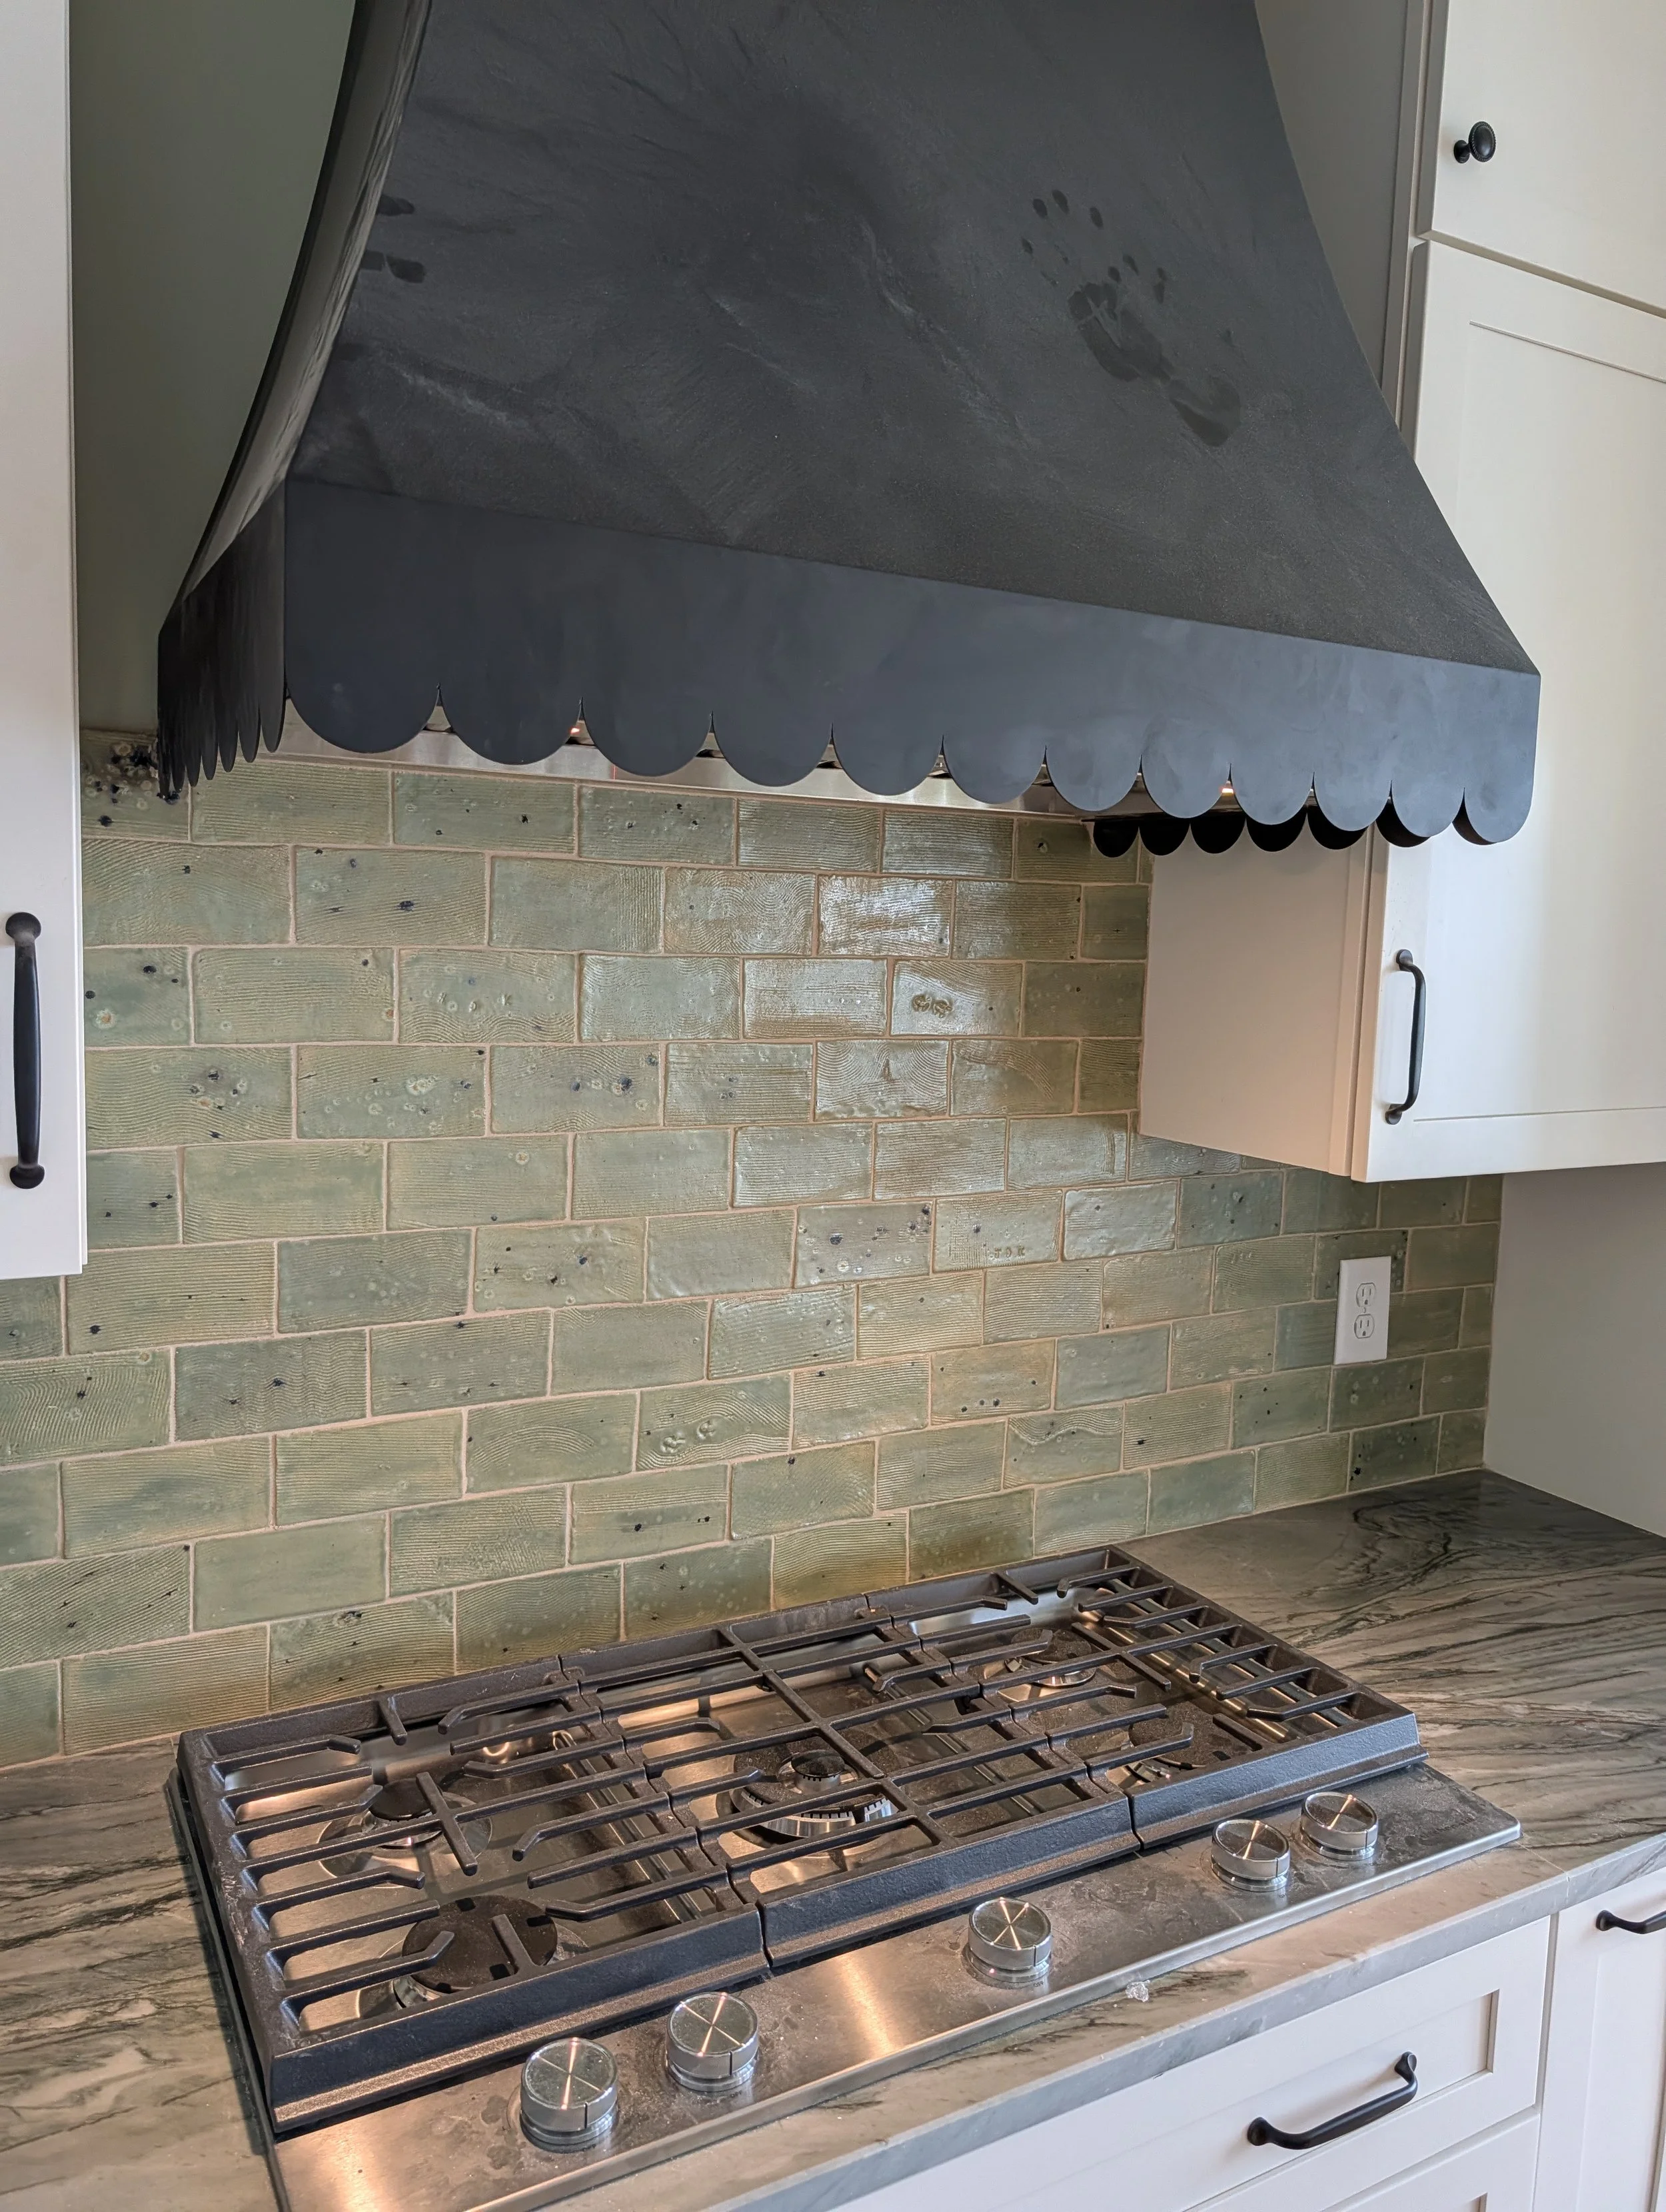
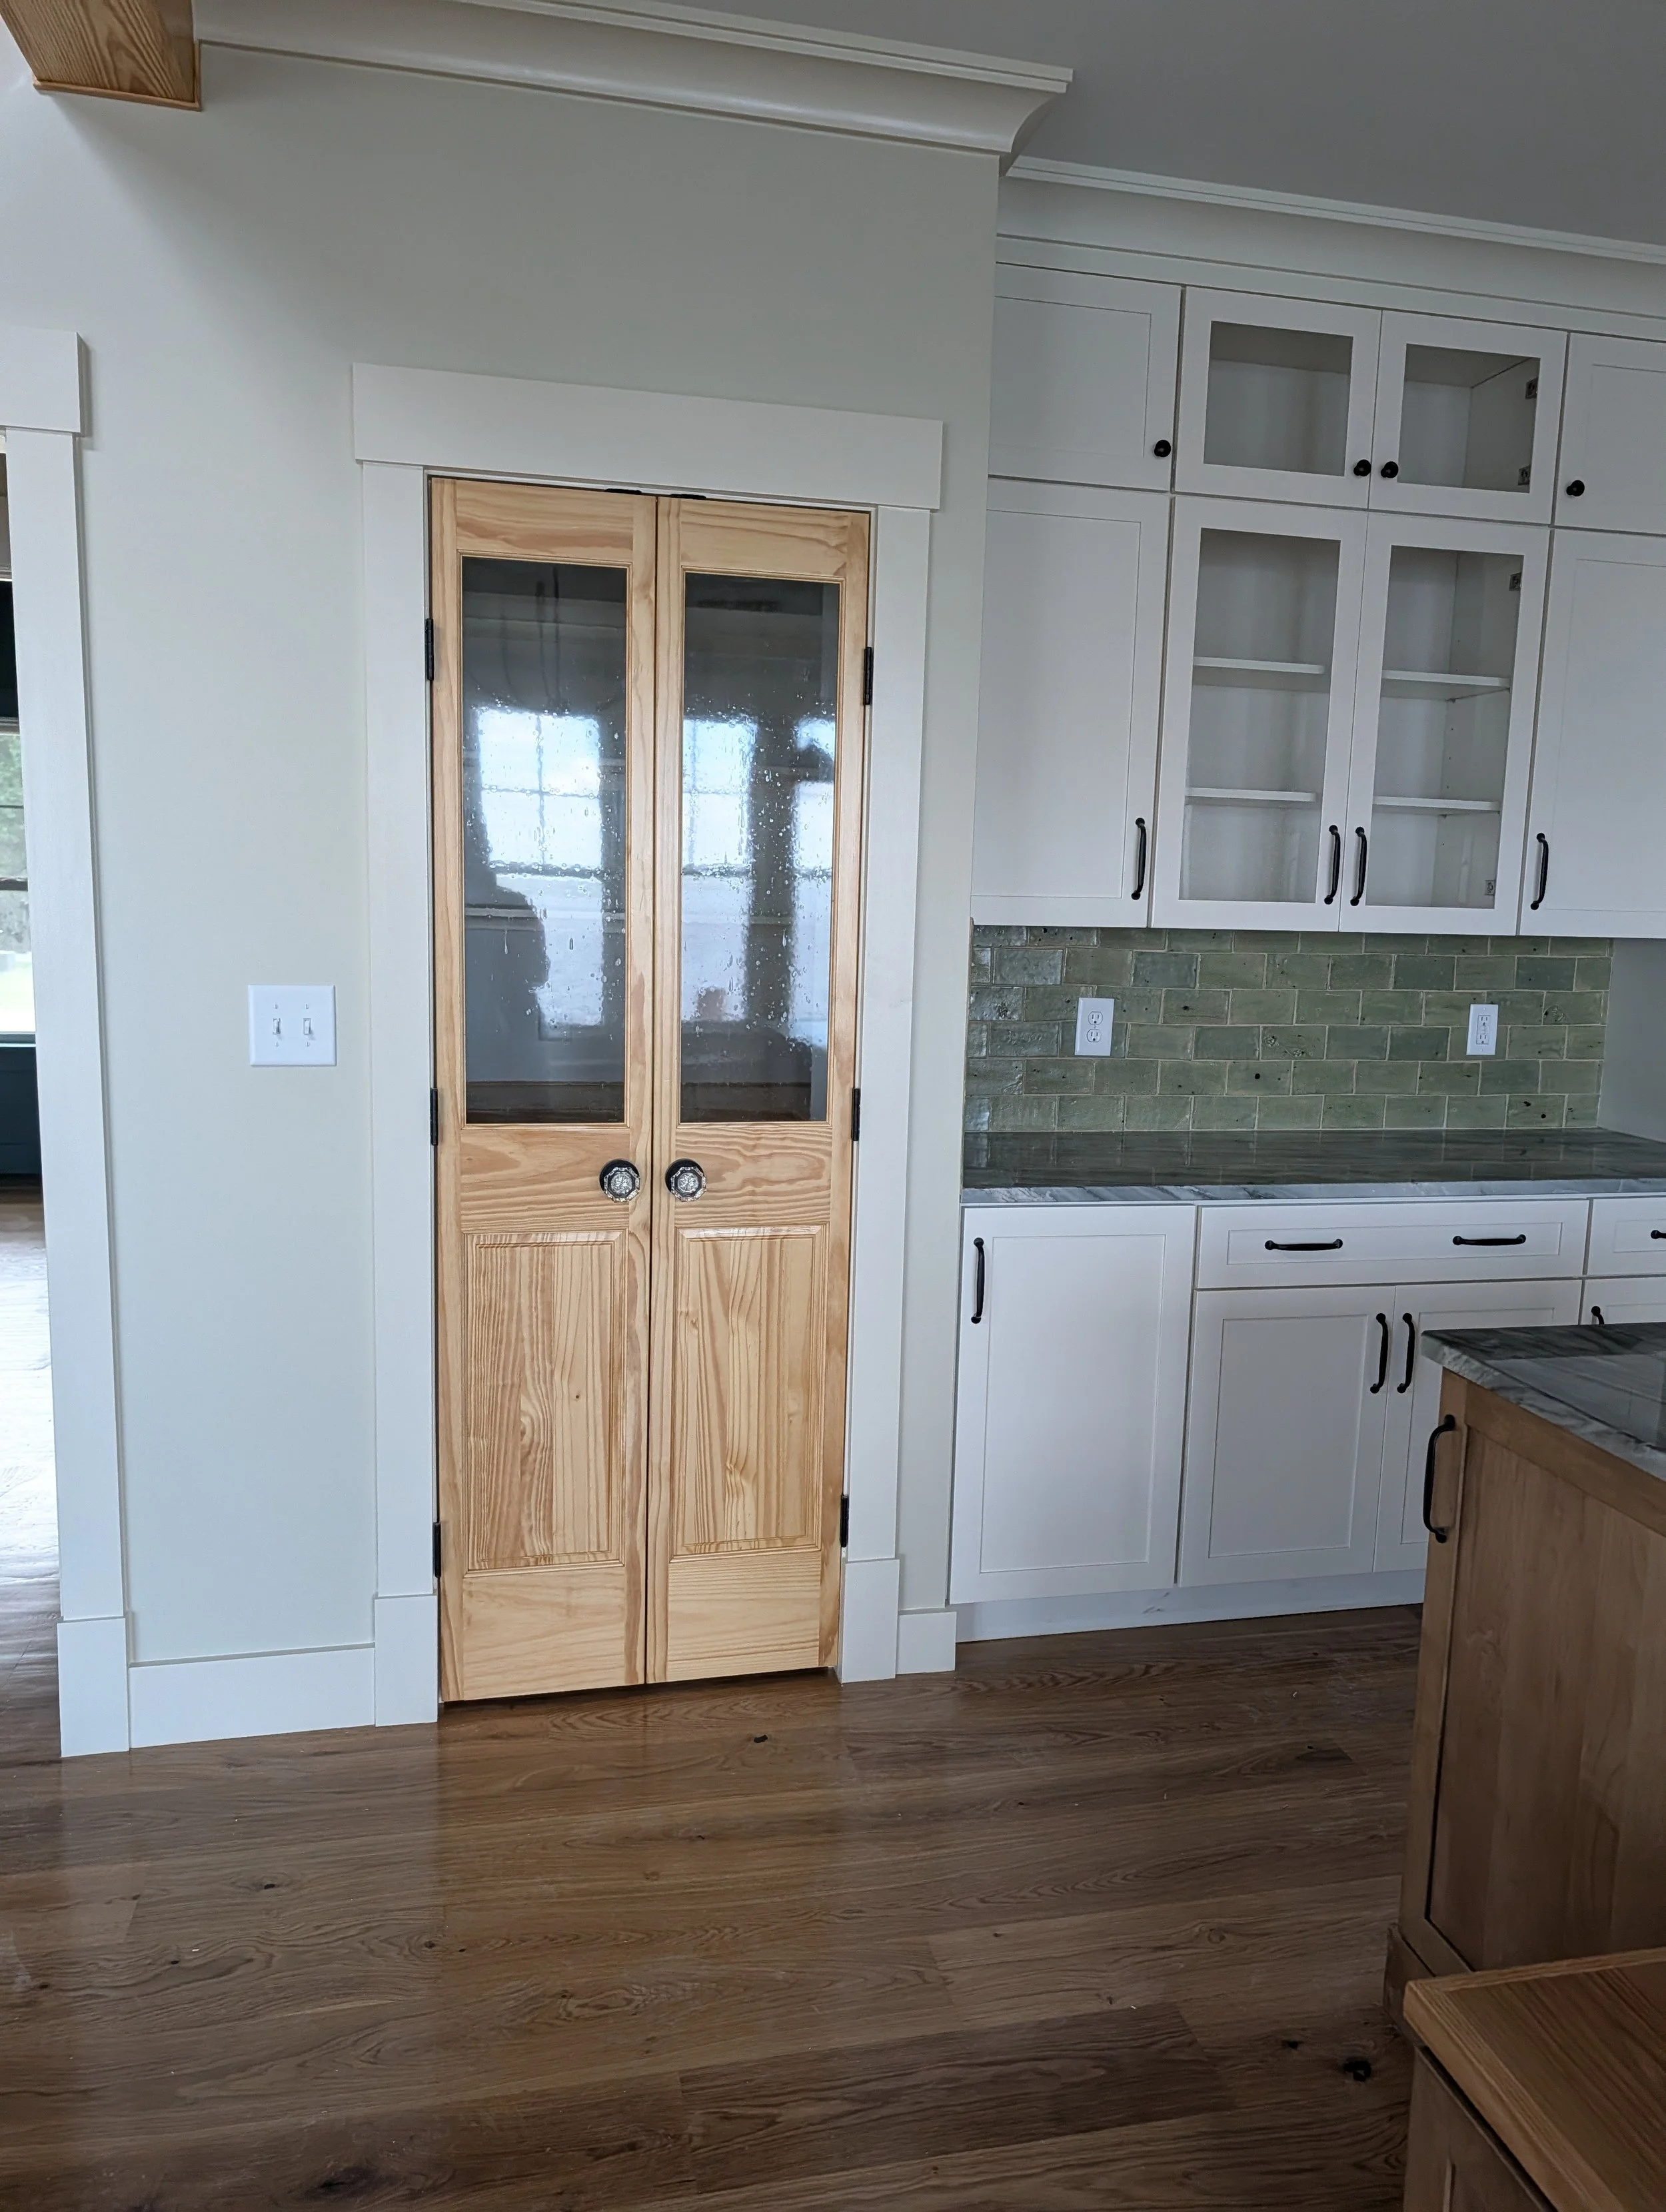
I recently had the very real and exciting opportunity to design and create my very own backsplash tiles for our newly built home! Such a dream come true and they look so good!
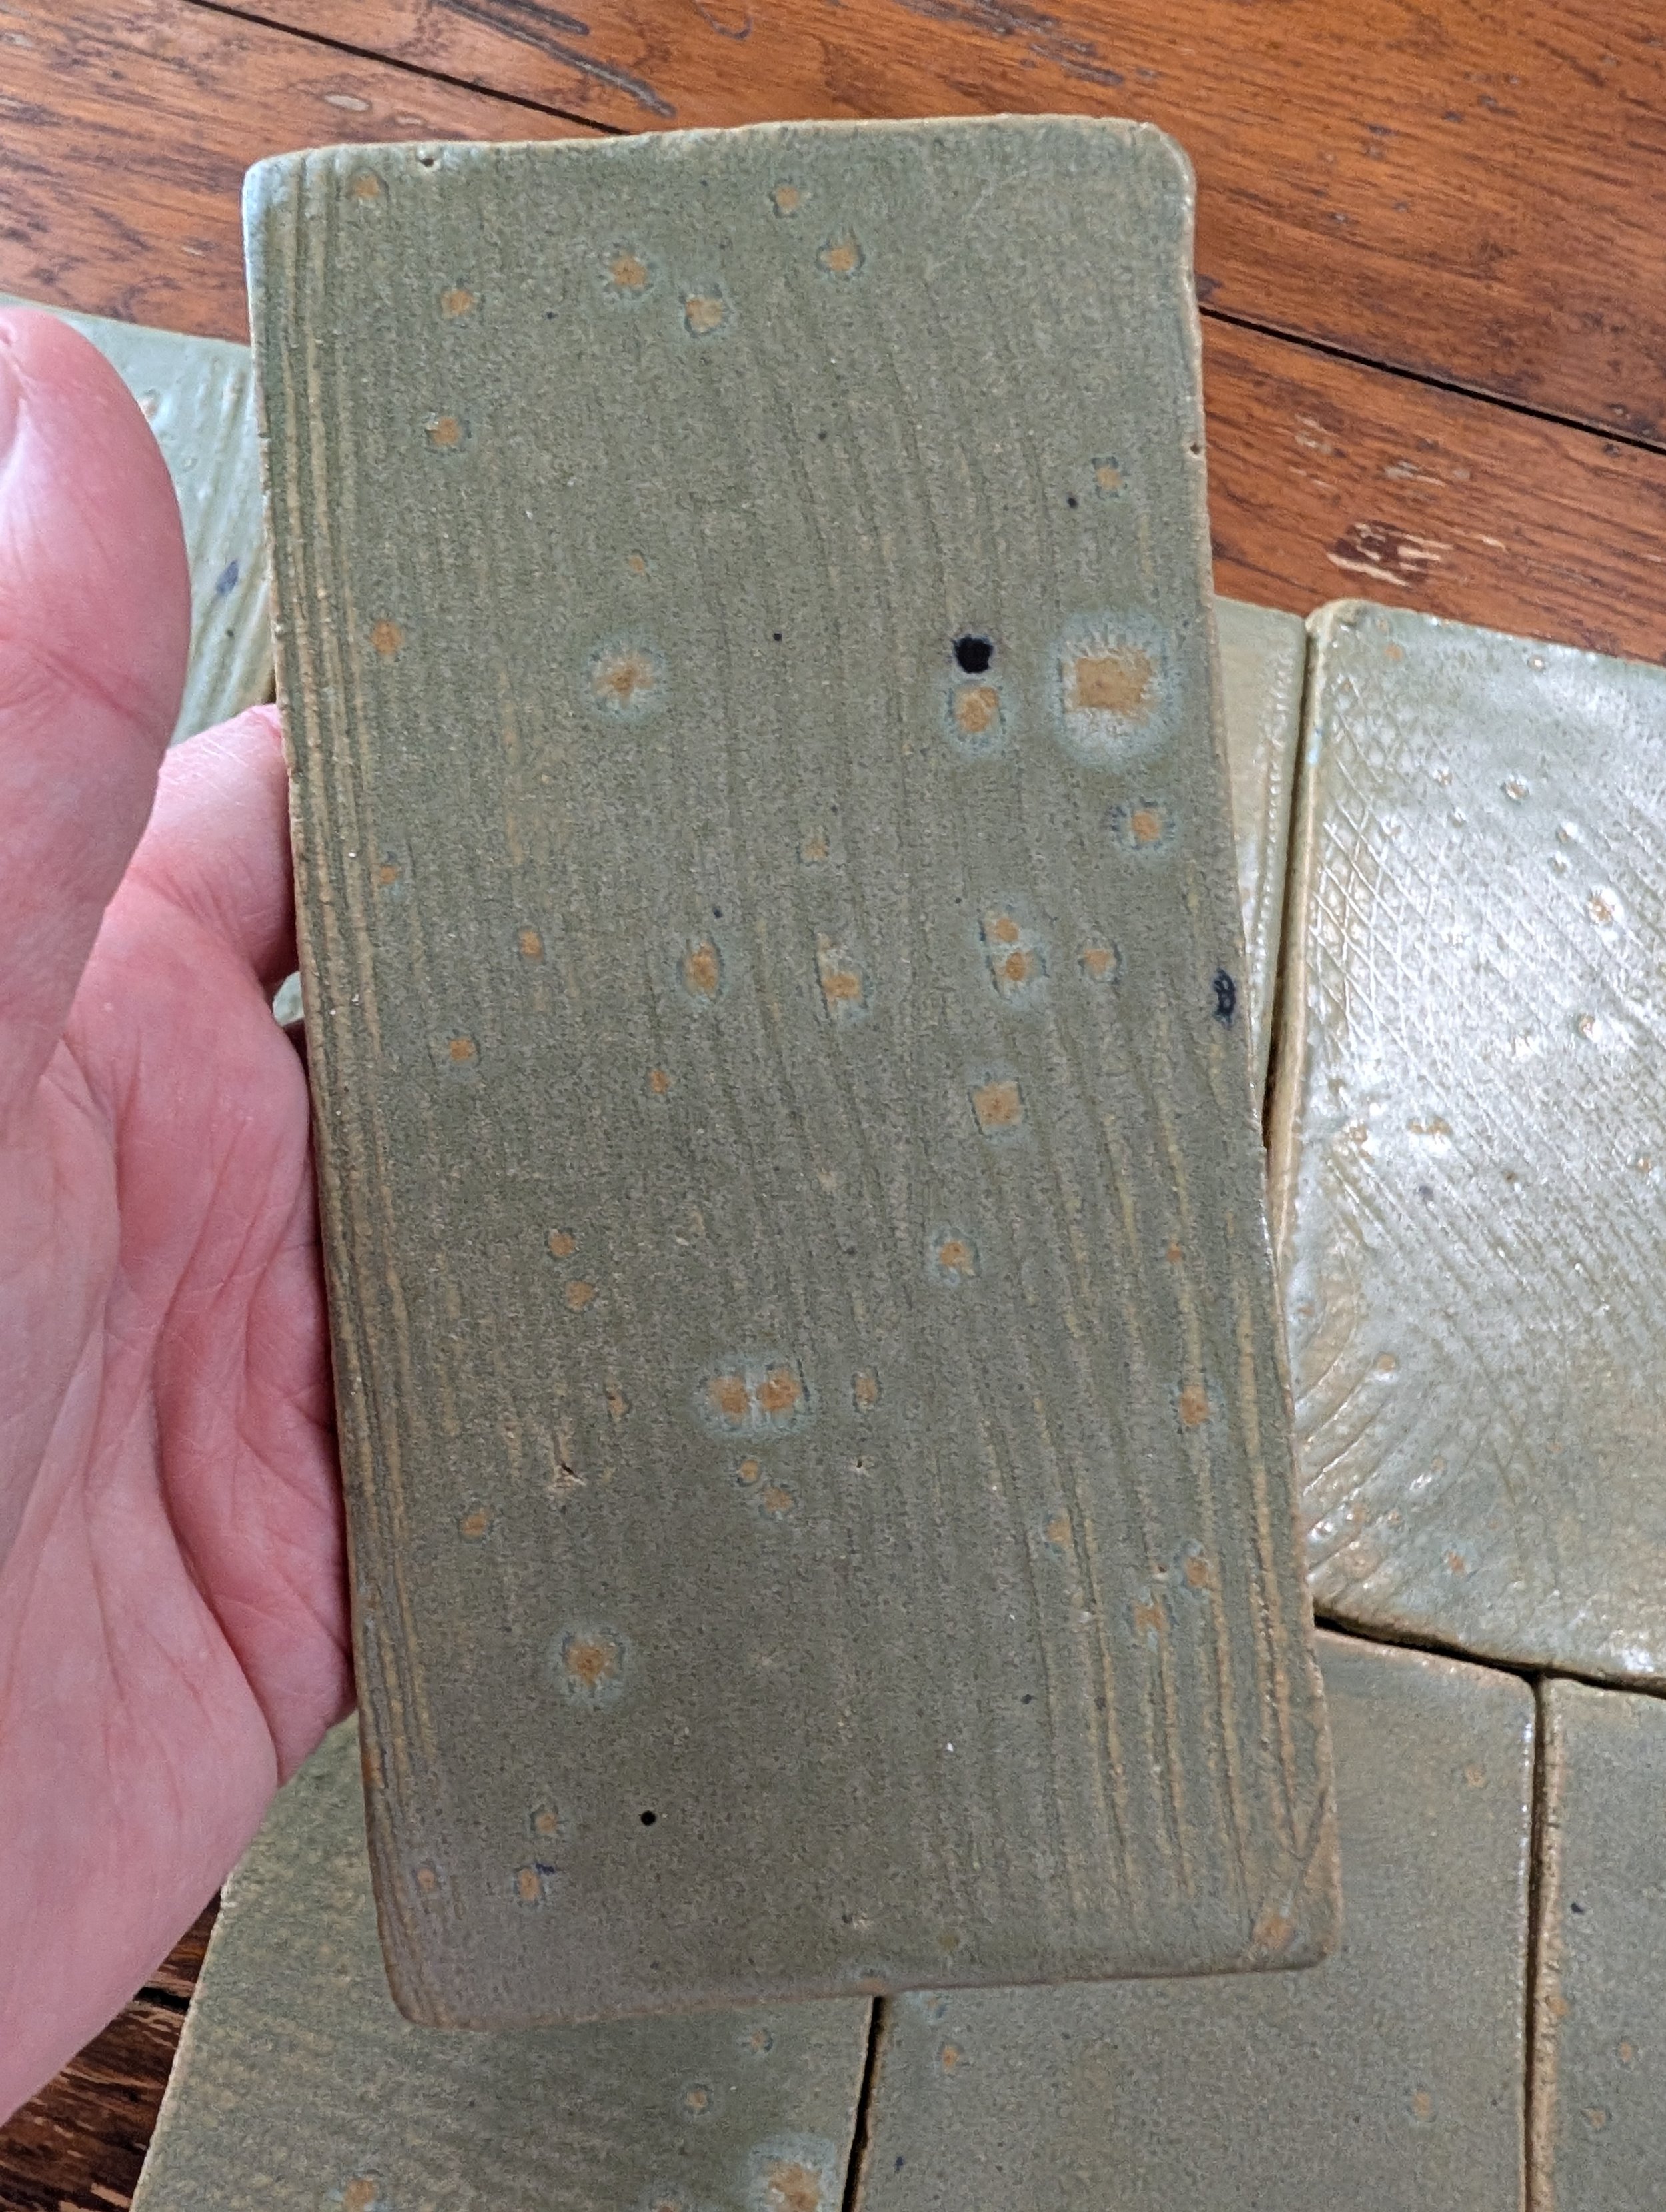
I made approximately 306 3x6 inch tiles for 2 different sections in the kitchen.
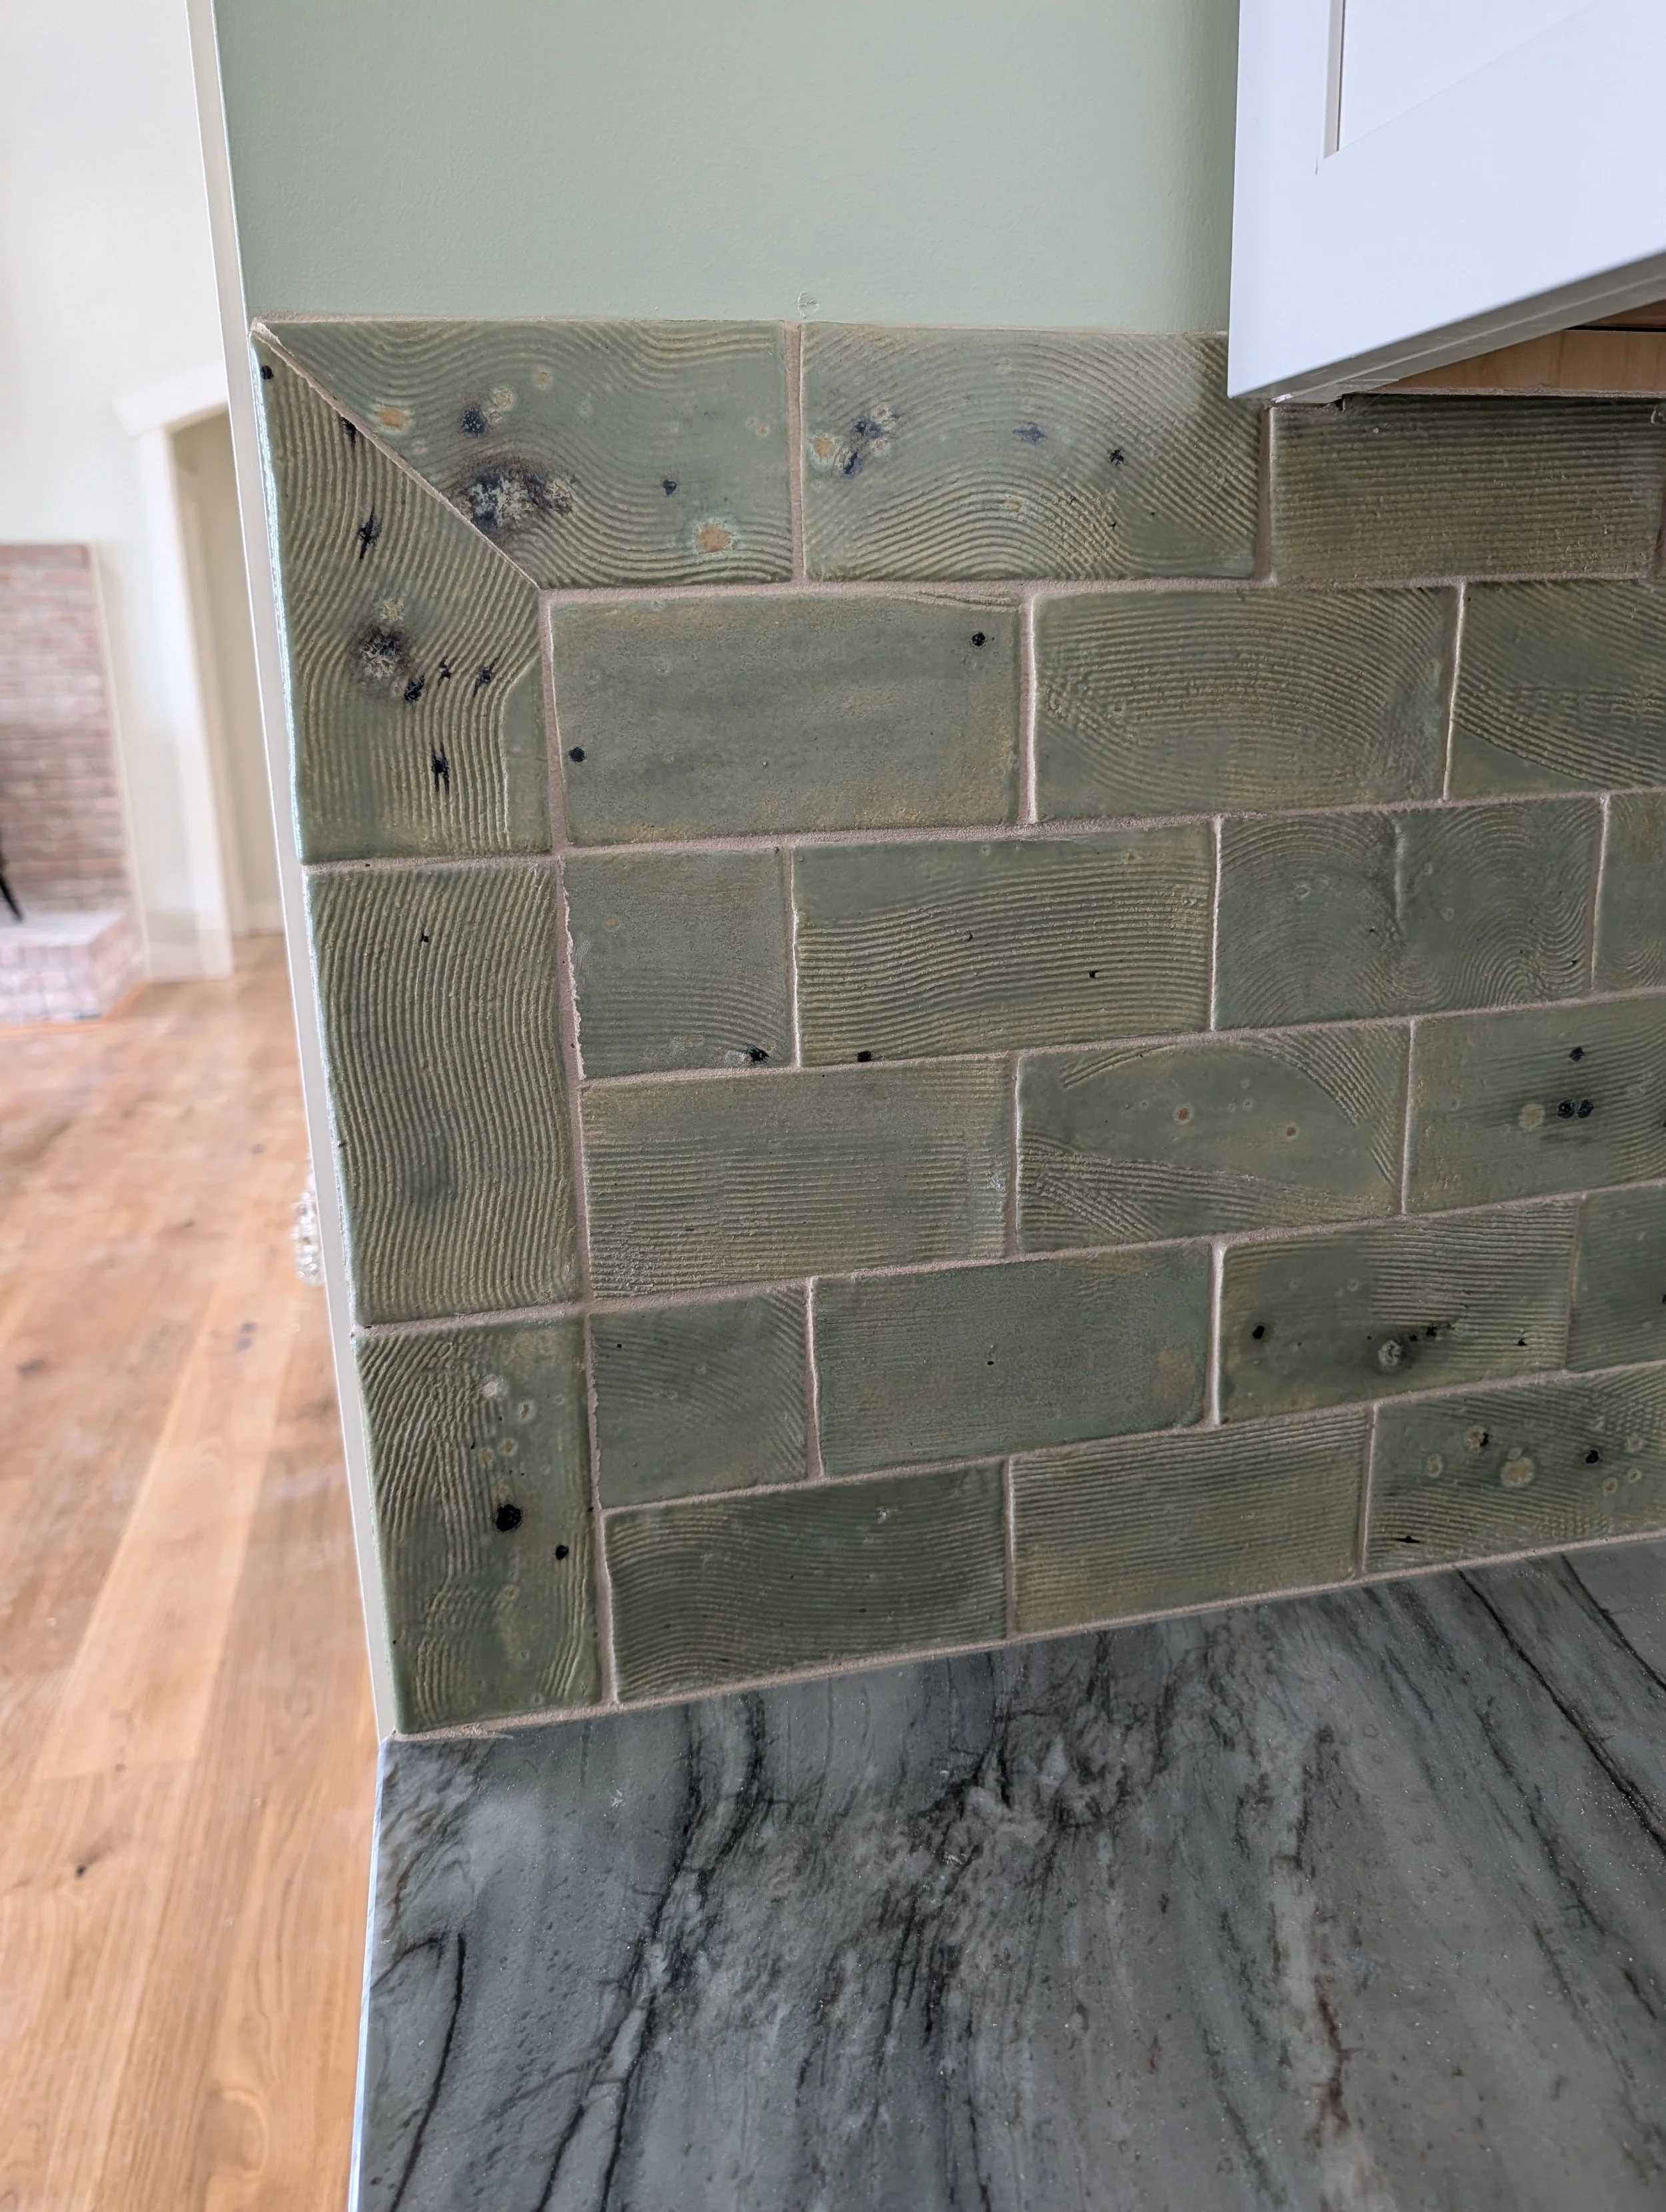
Our builders’ tile crew installed the tiles and did a fantastic job! The tiles, being hand rolled, hand marked and moved individually for drying means each tile has some variations which can create imperfect and organic grout work, whereas factory made tiles are all straight and exactly the same. Thank you to the crew for working with these handmade tiles! Excellent work!
My dear friend and fellow artist, Marsha was able to fire them all in her kiln. A HUGE thank you Marsha for all your help glazing the tiles too! What a wonderful BIG project!
Check out some process pictures below.
Steps I used to create these tiles:
I am using a sculptural clay body with lots of grog to help with warping.
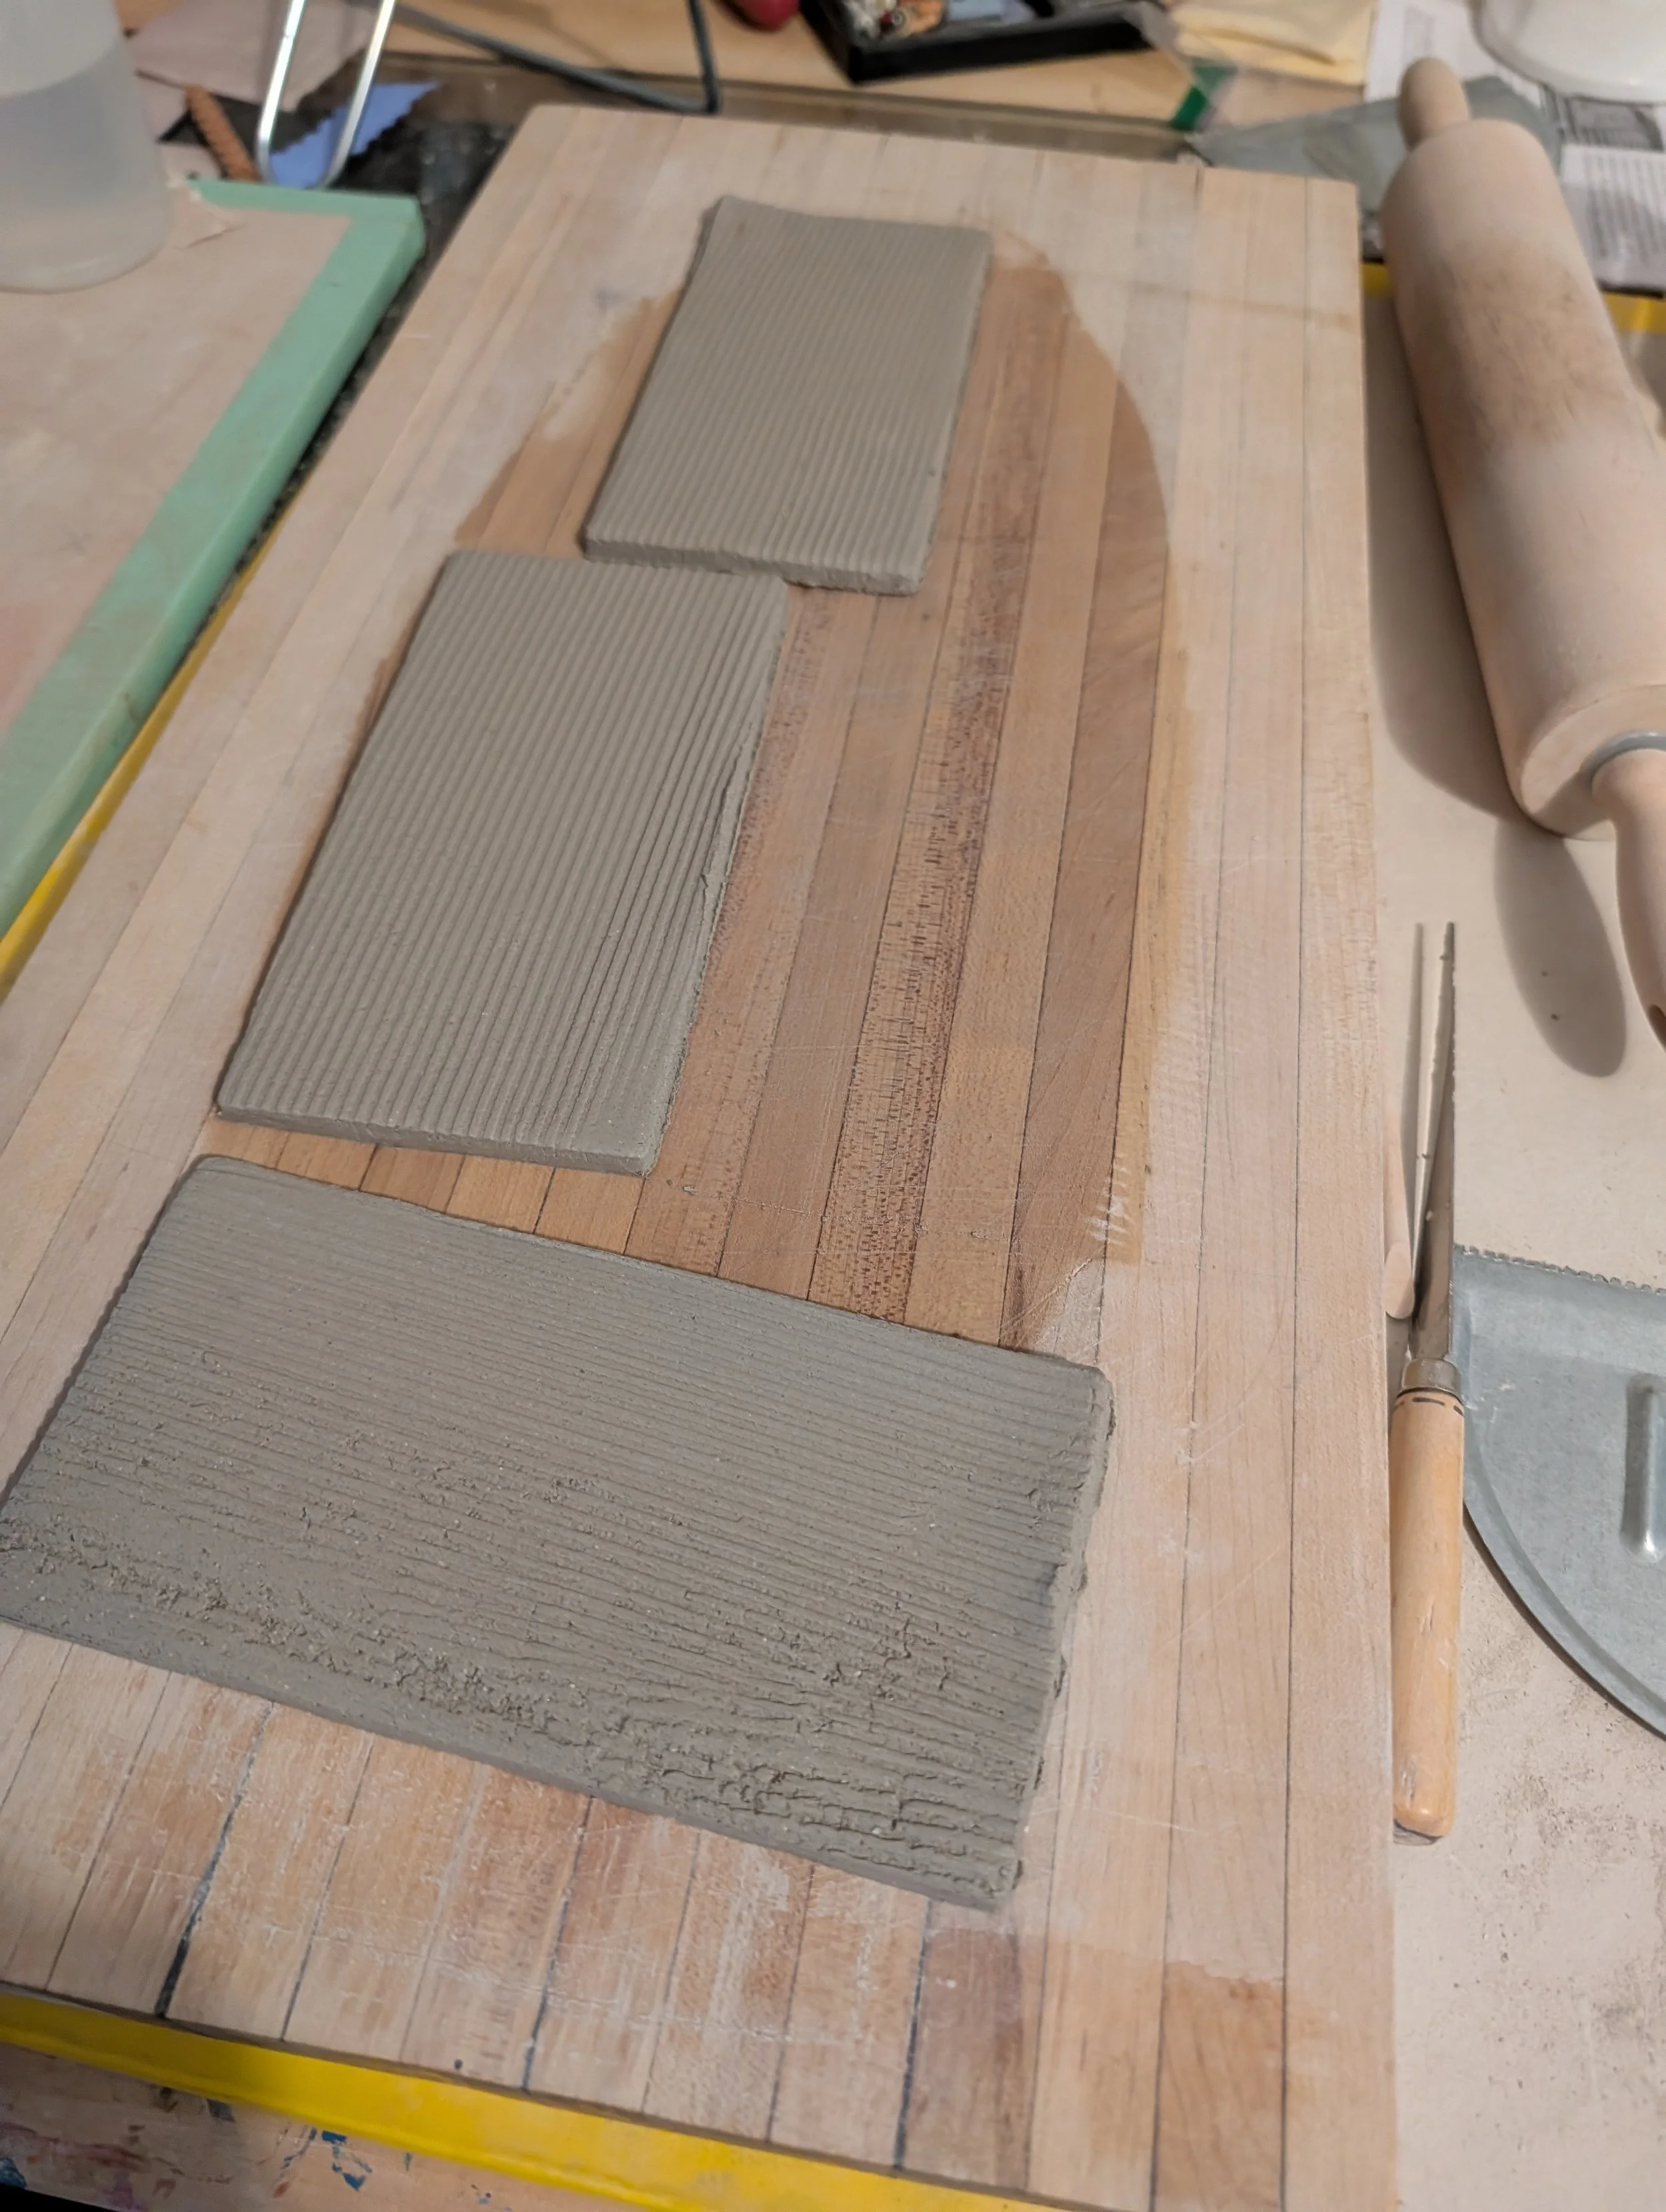
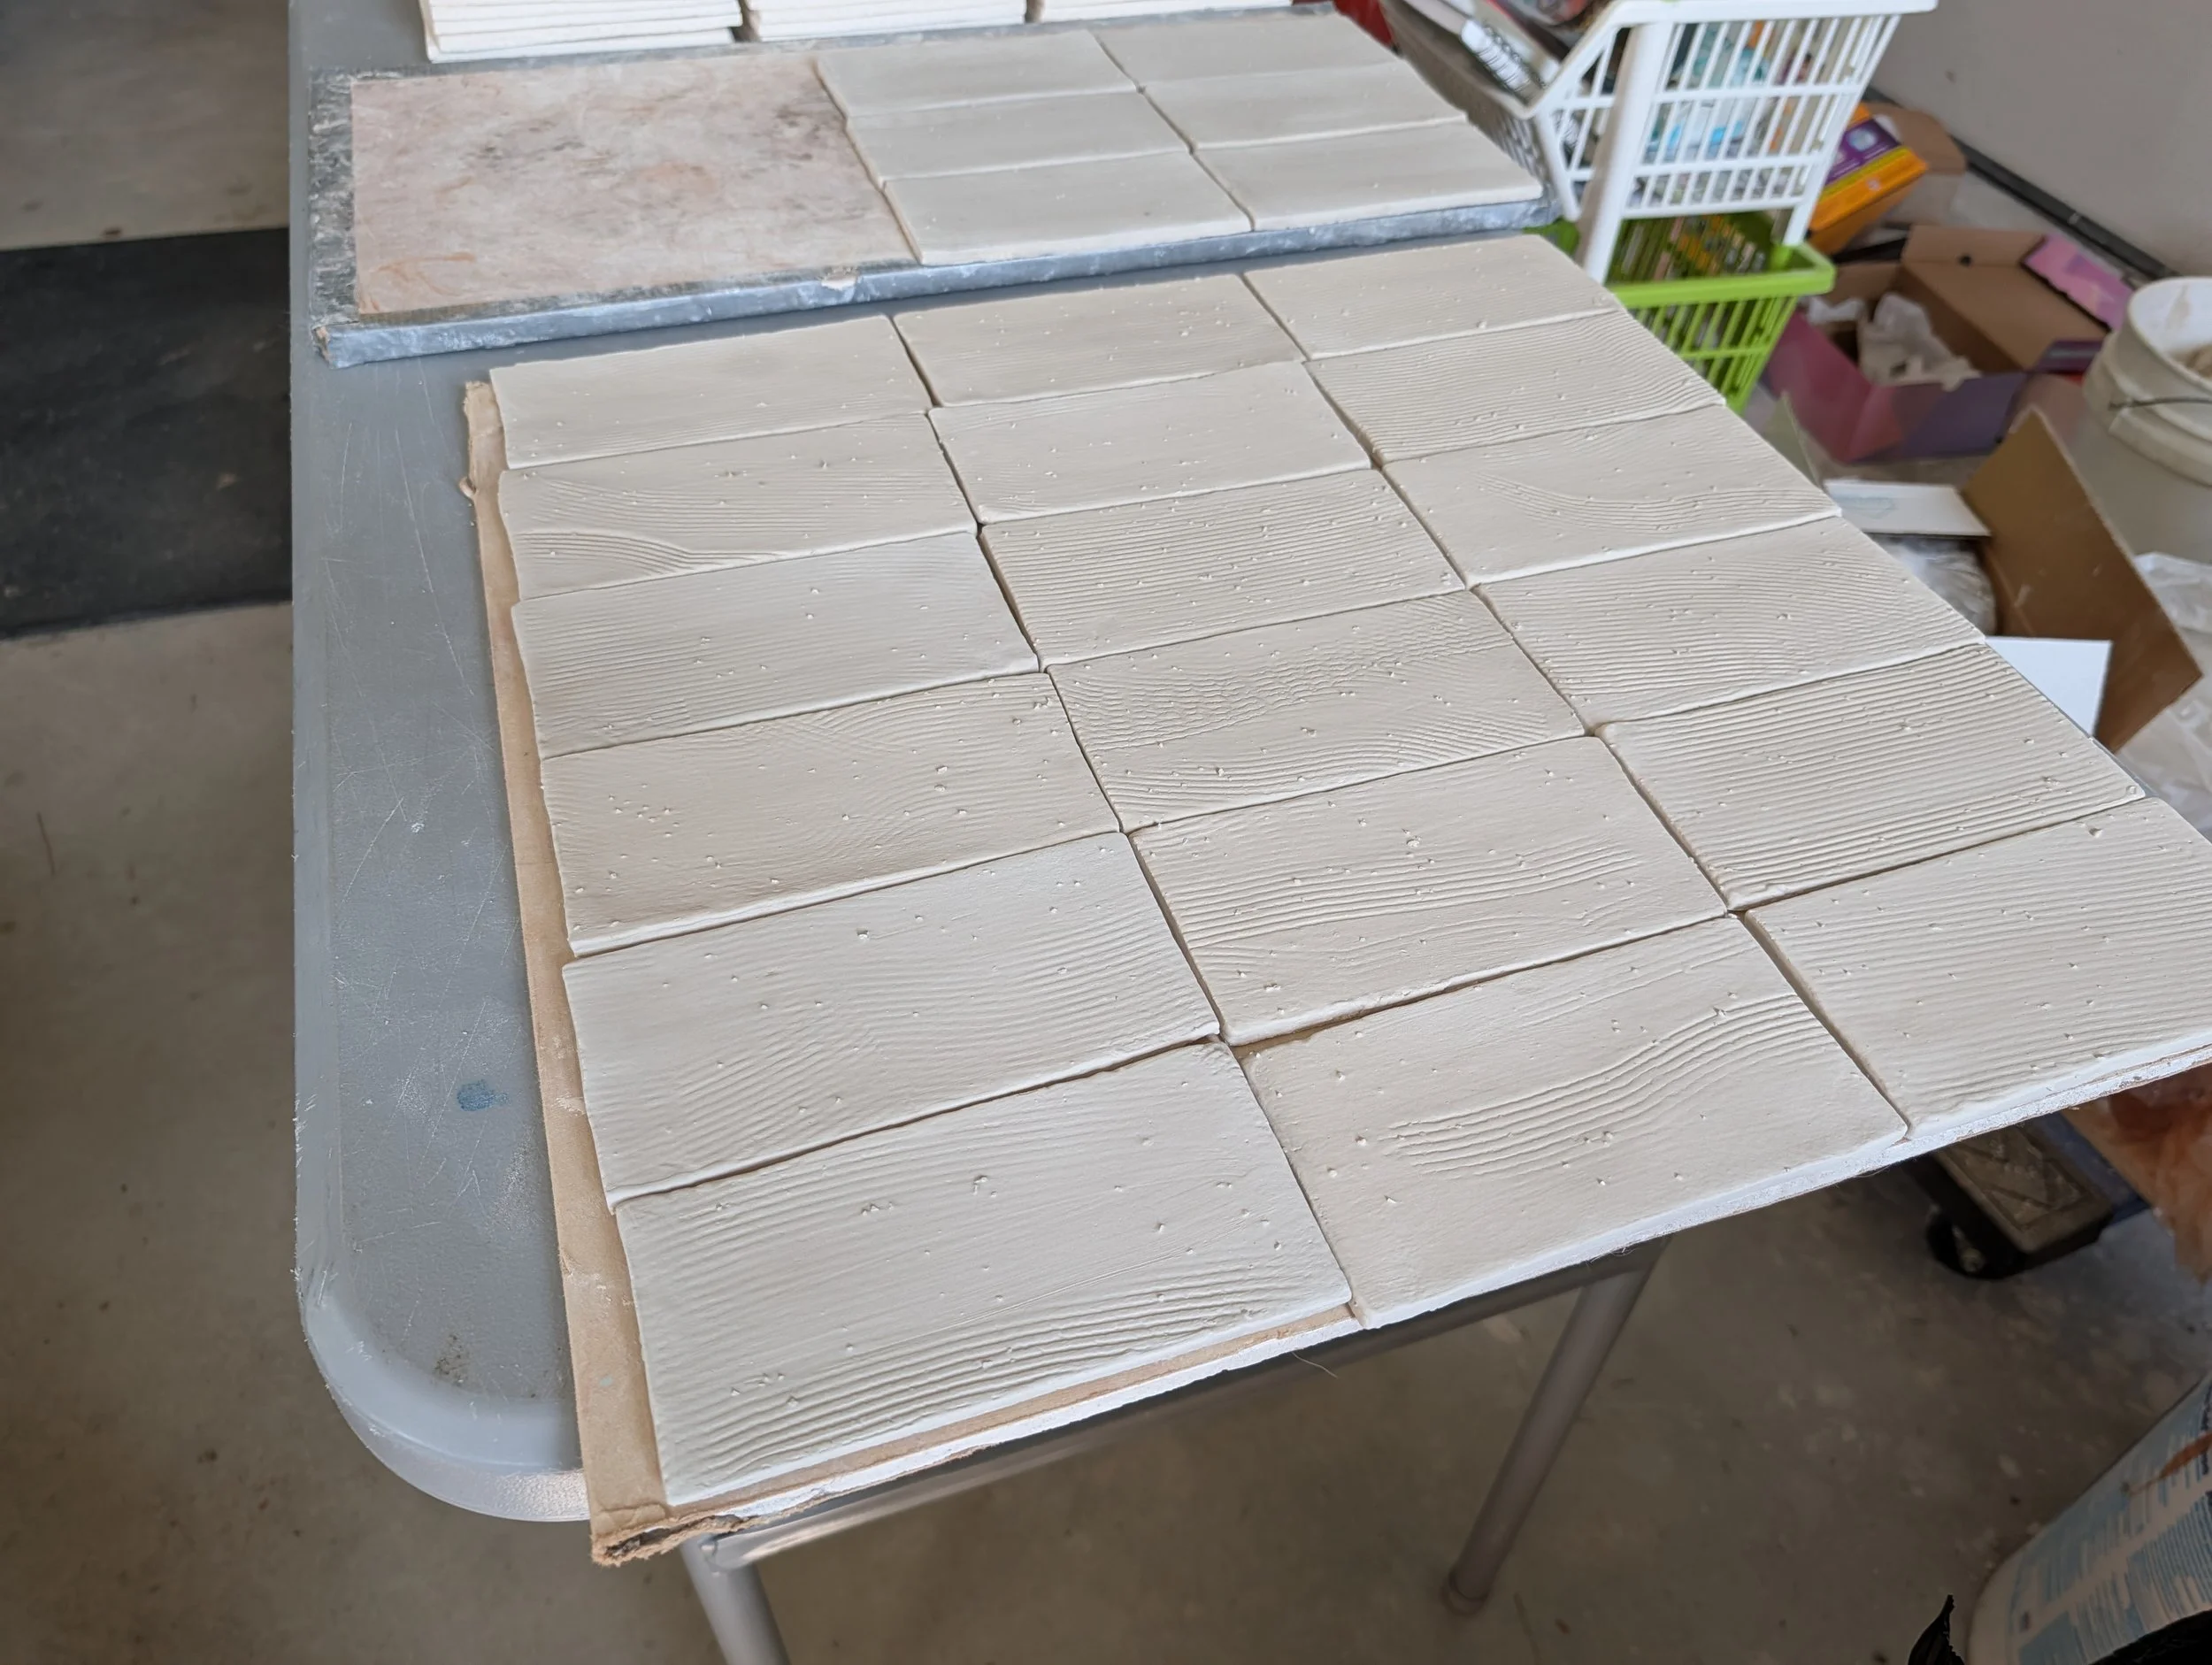
Cut clay off the block and rolled it with a wooden hand roller. I used 2 square dowels rods to ensure the thickness is more uniform.
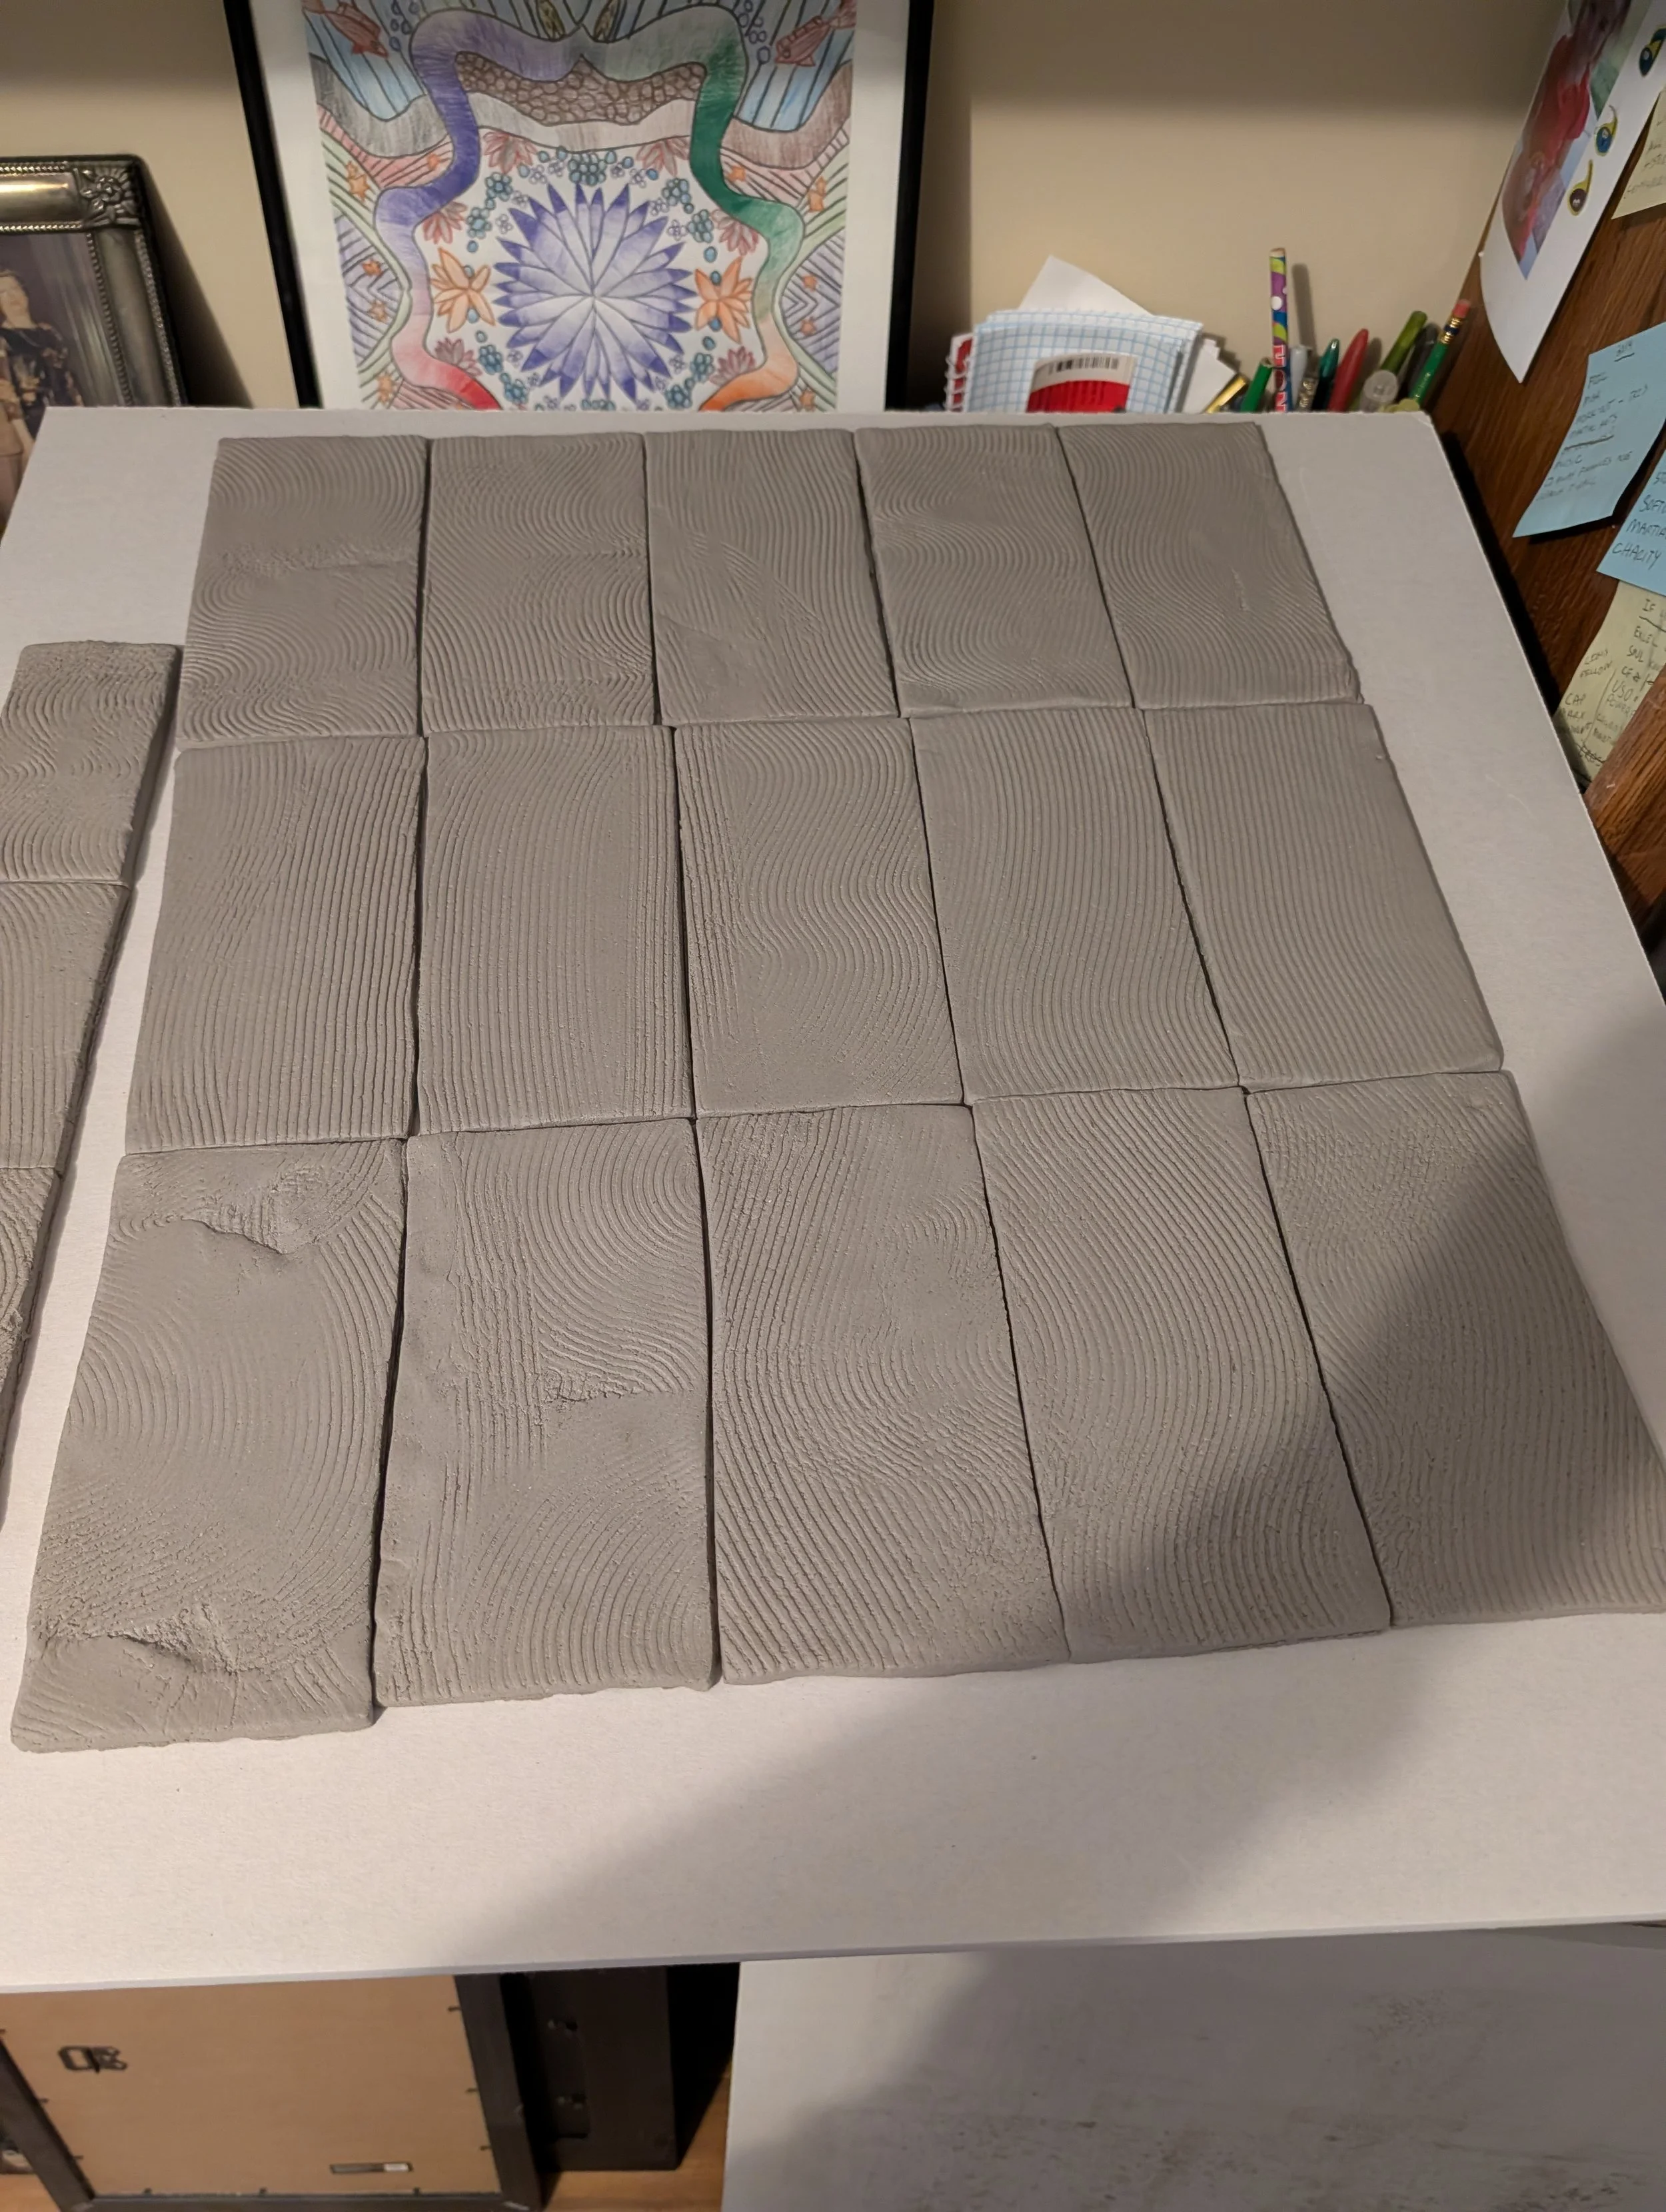
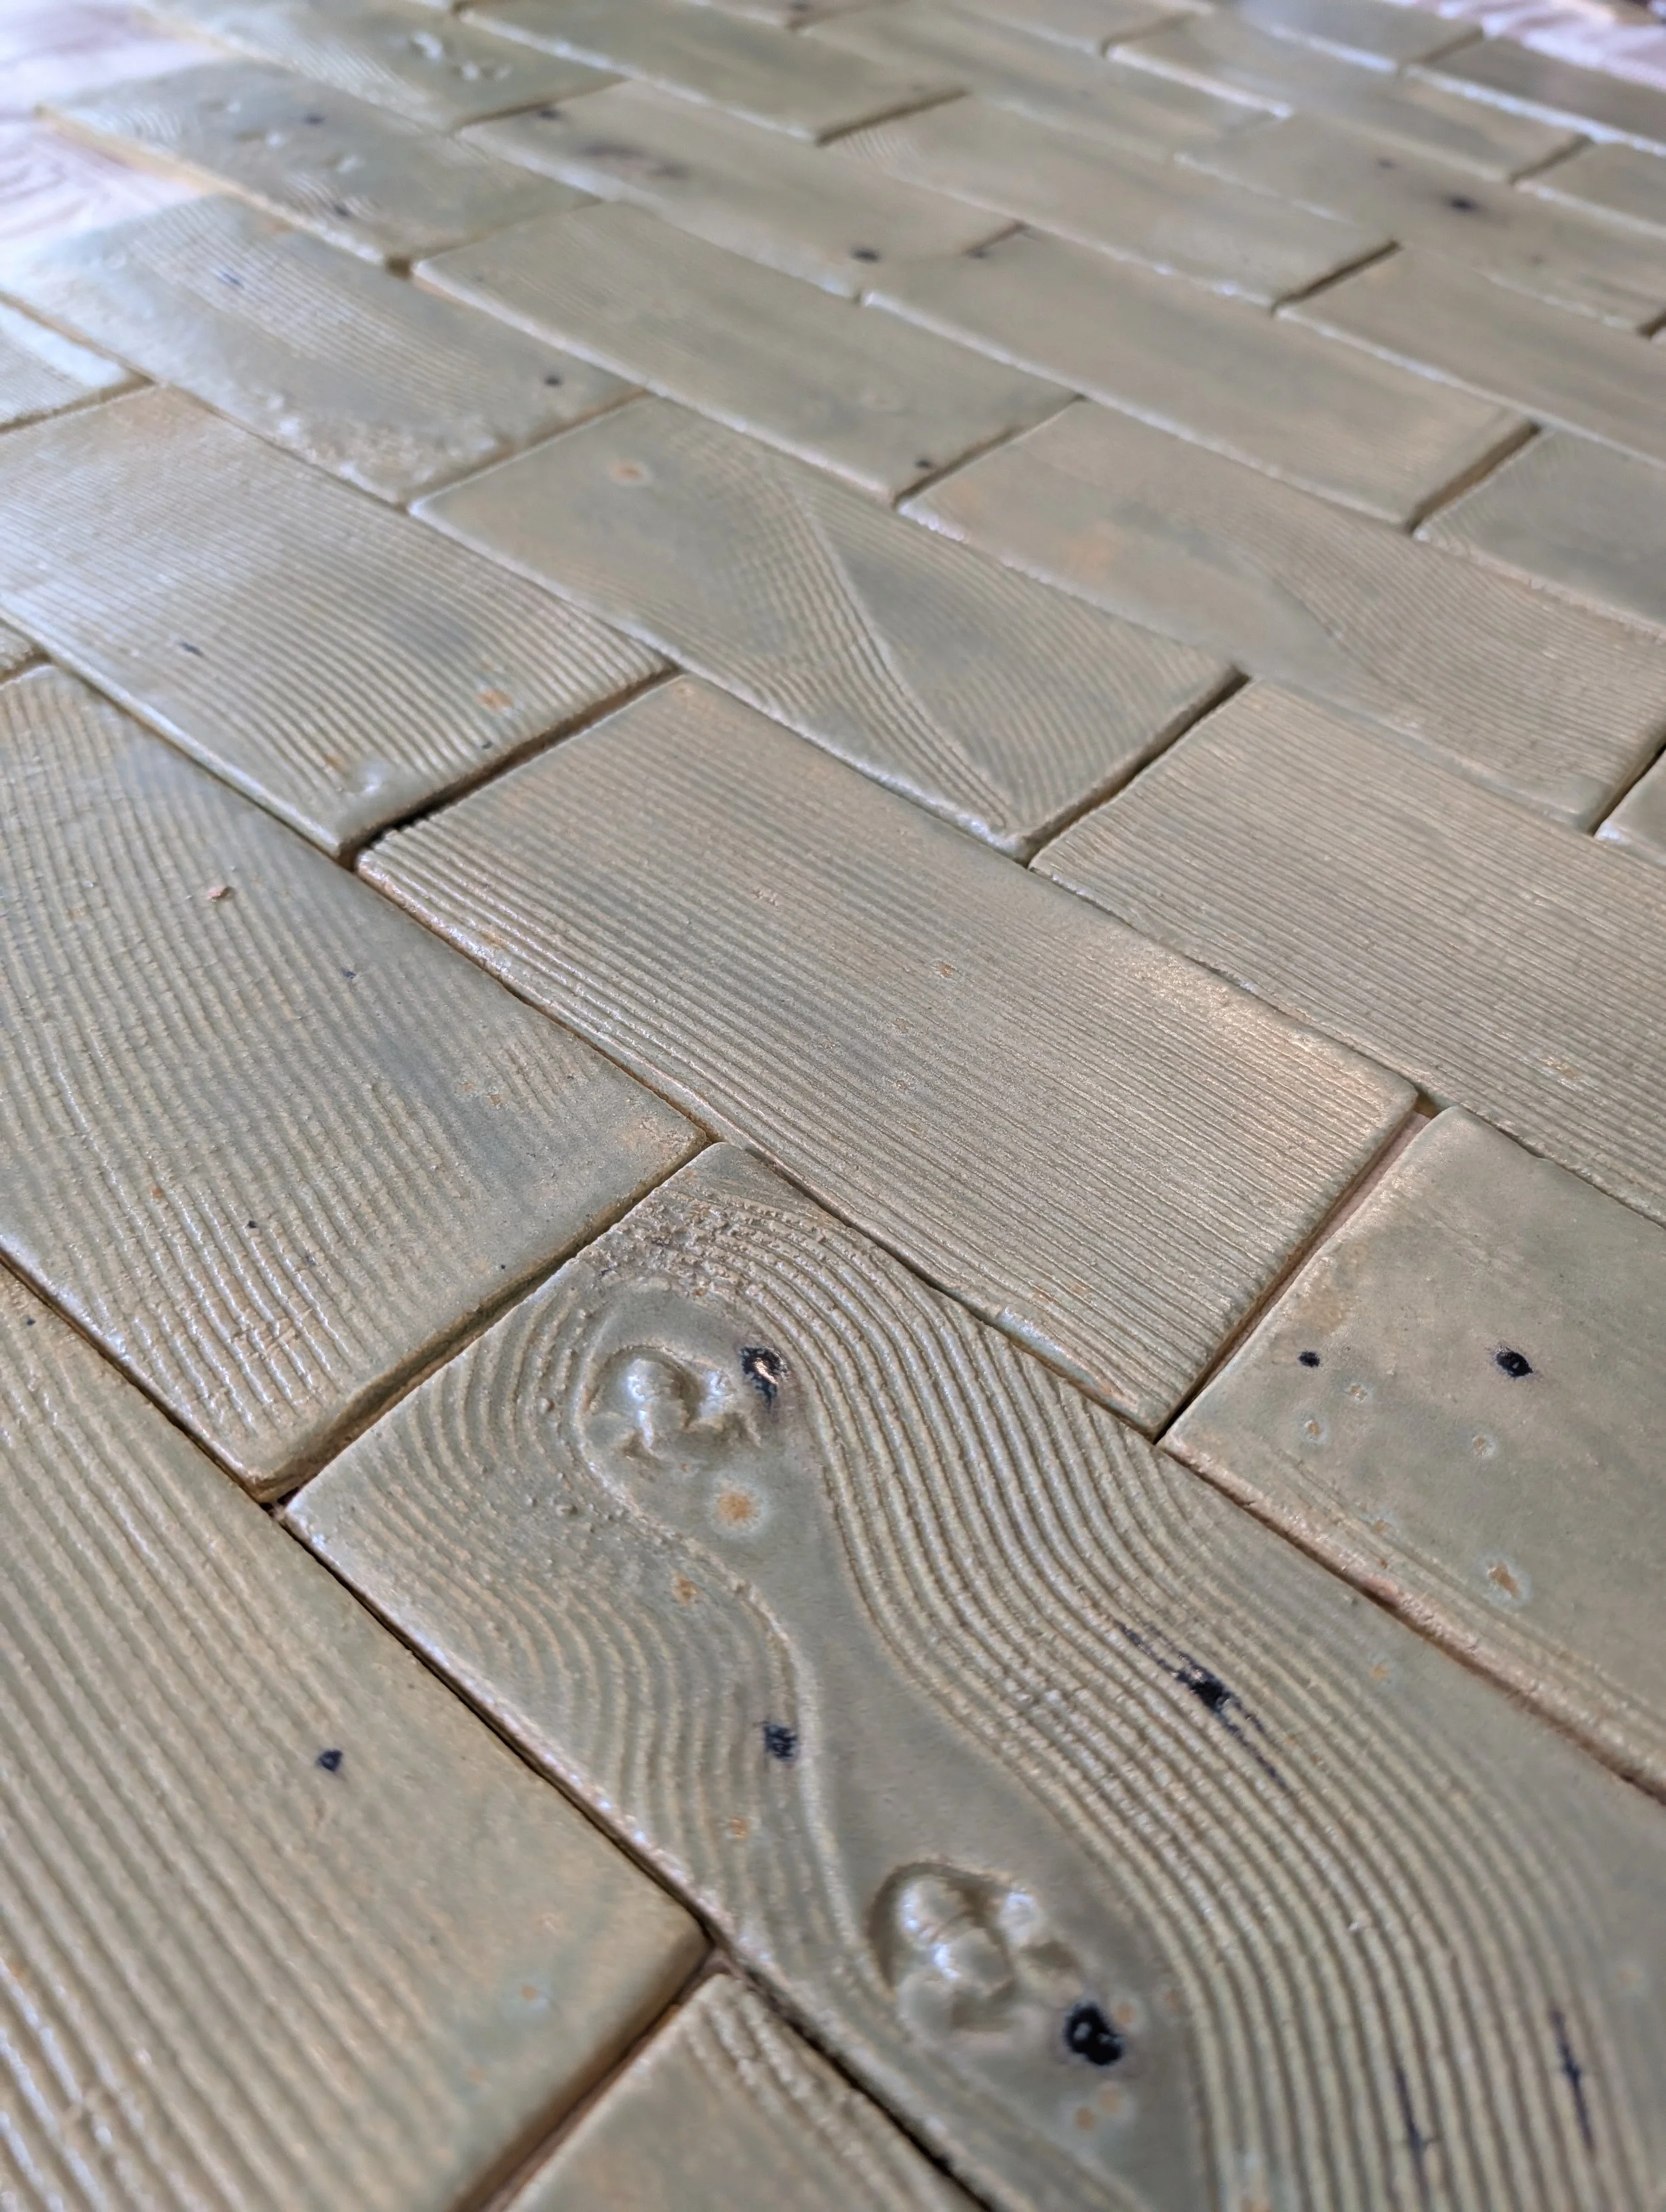
I added textures as needed/wanted.
Using a spring loaded tile cutter, I cut the tiles as closely together as possible.
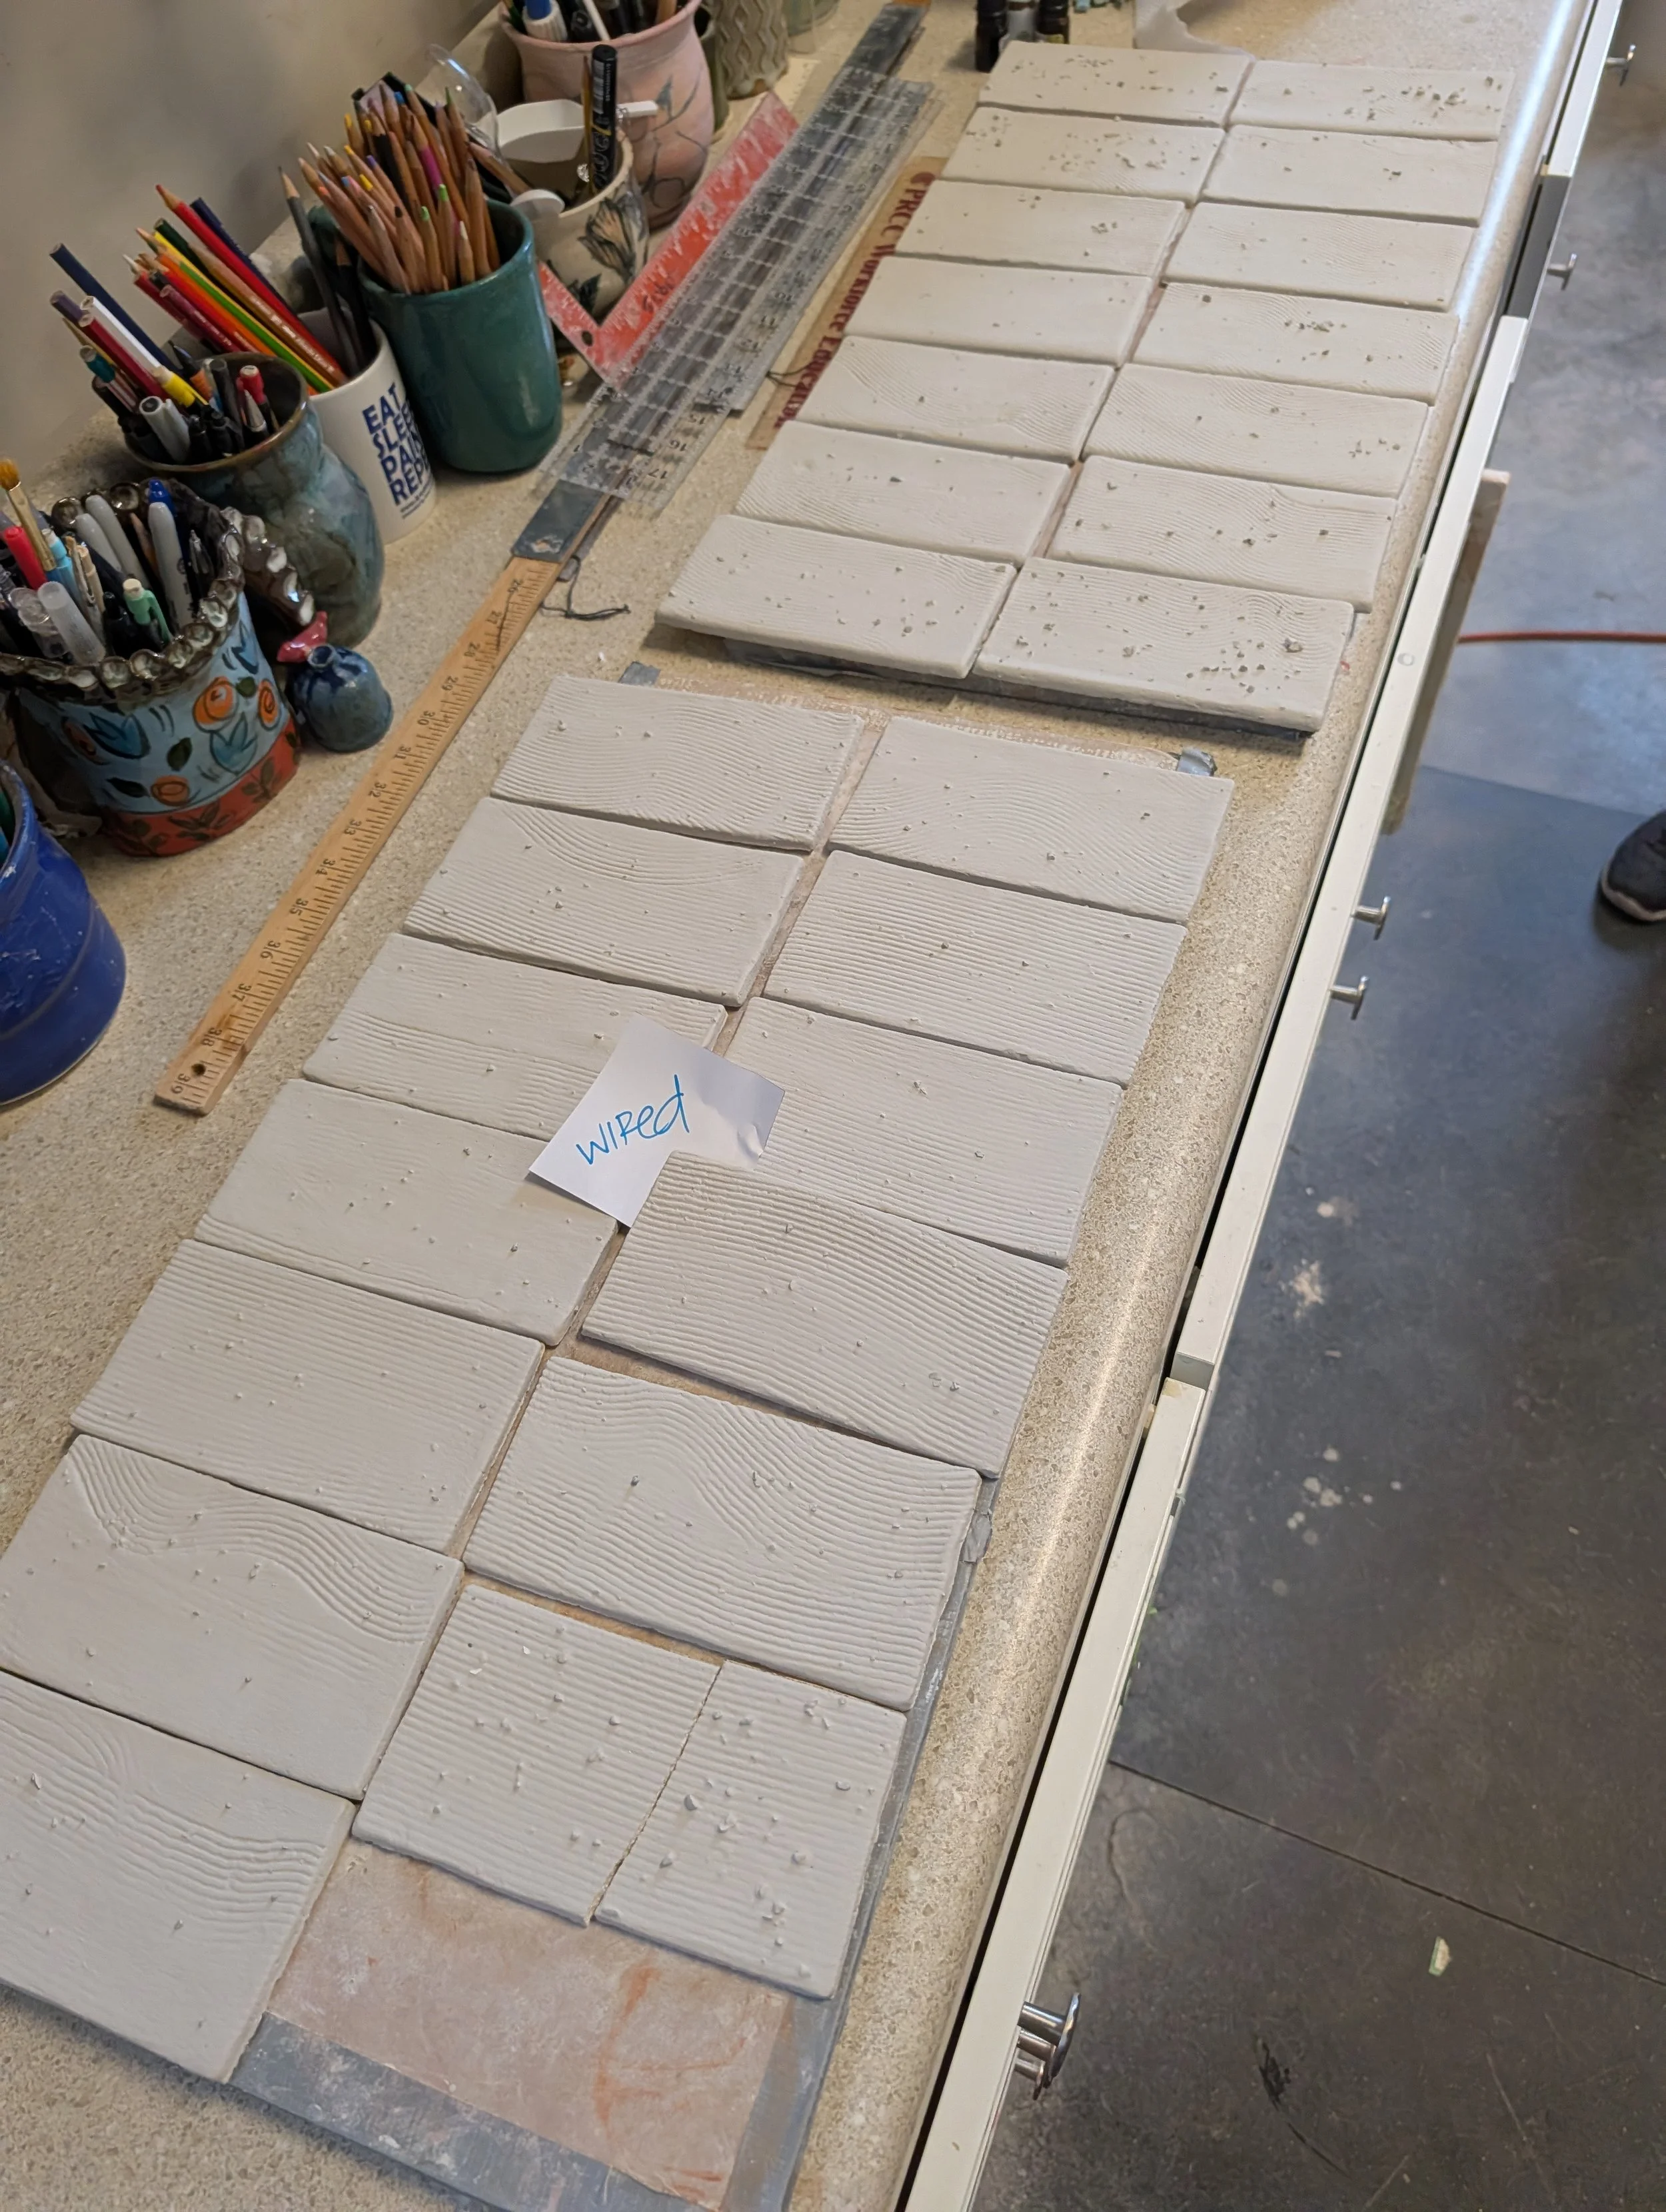
I pulled away excess clay, reshaped and aligned each tile as necessary and got the tiles to a drywall “sandwich” to sit and slow dry.
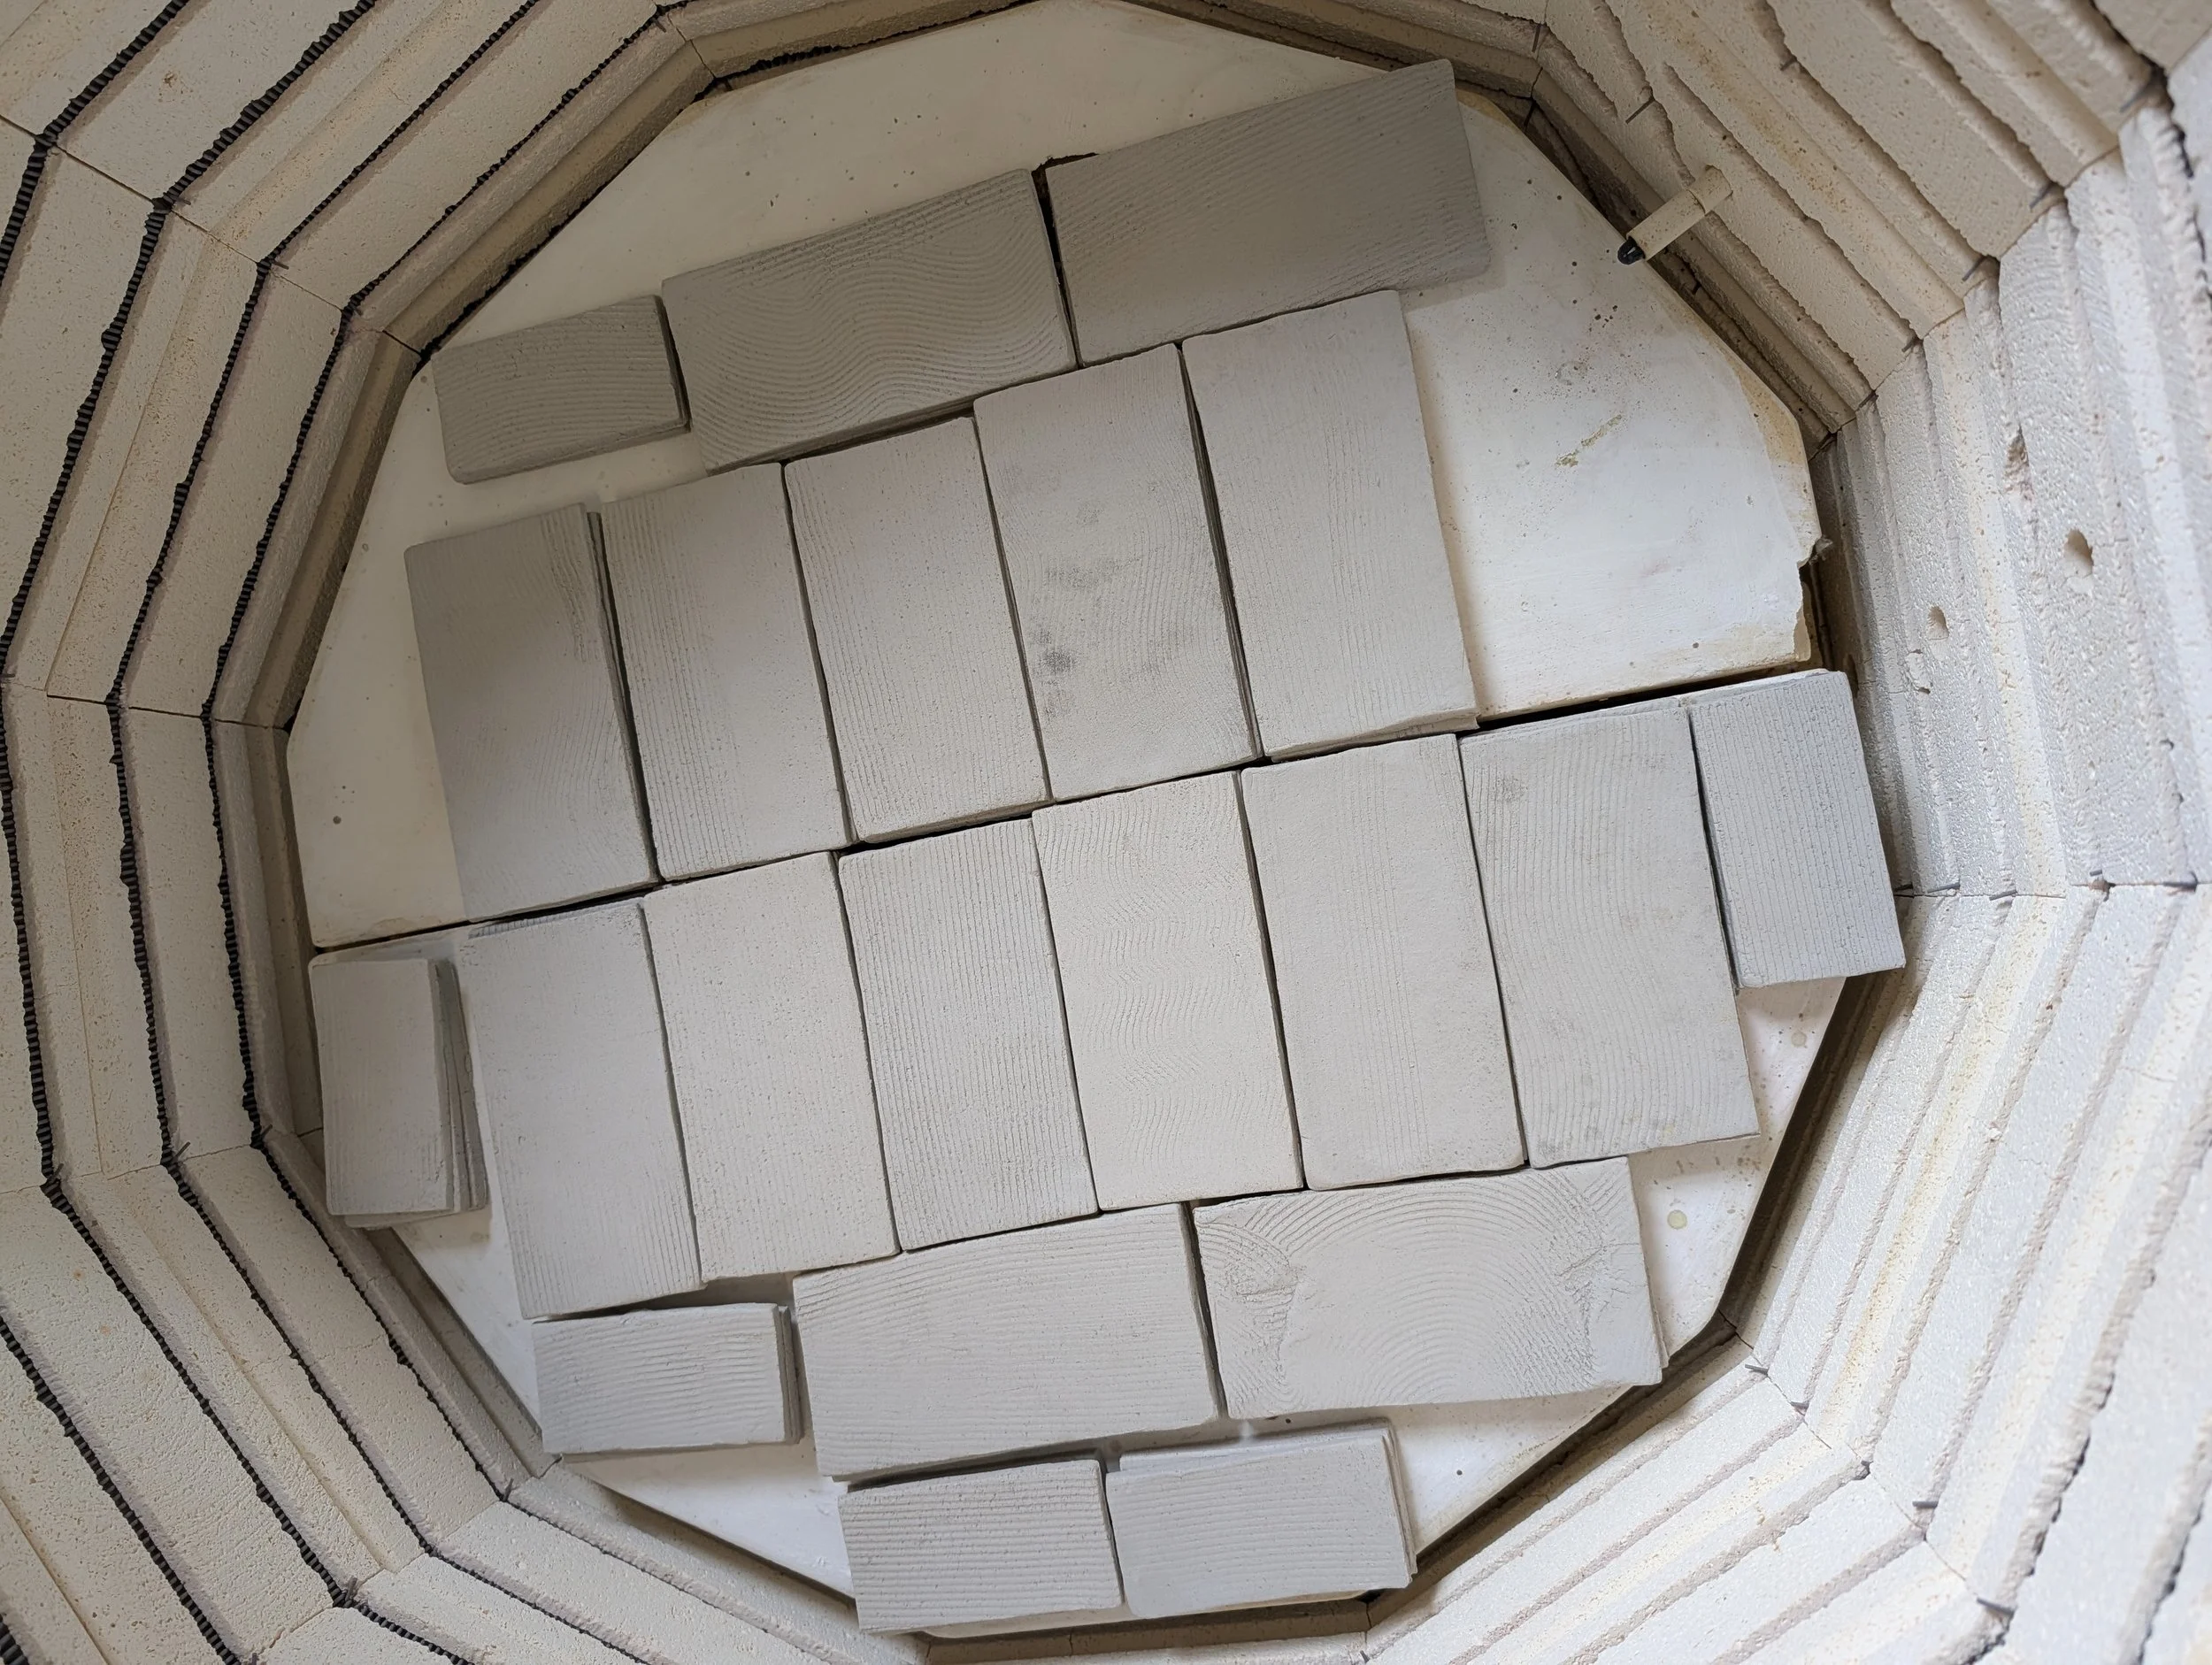
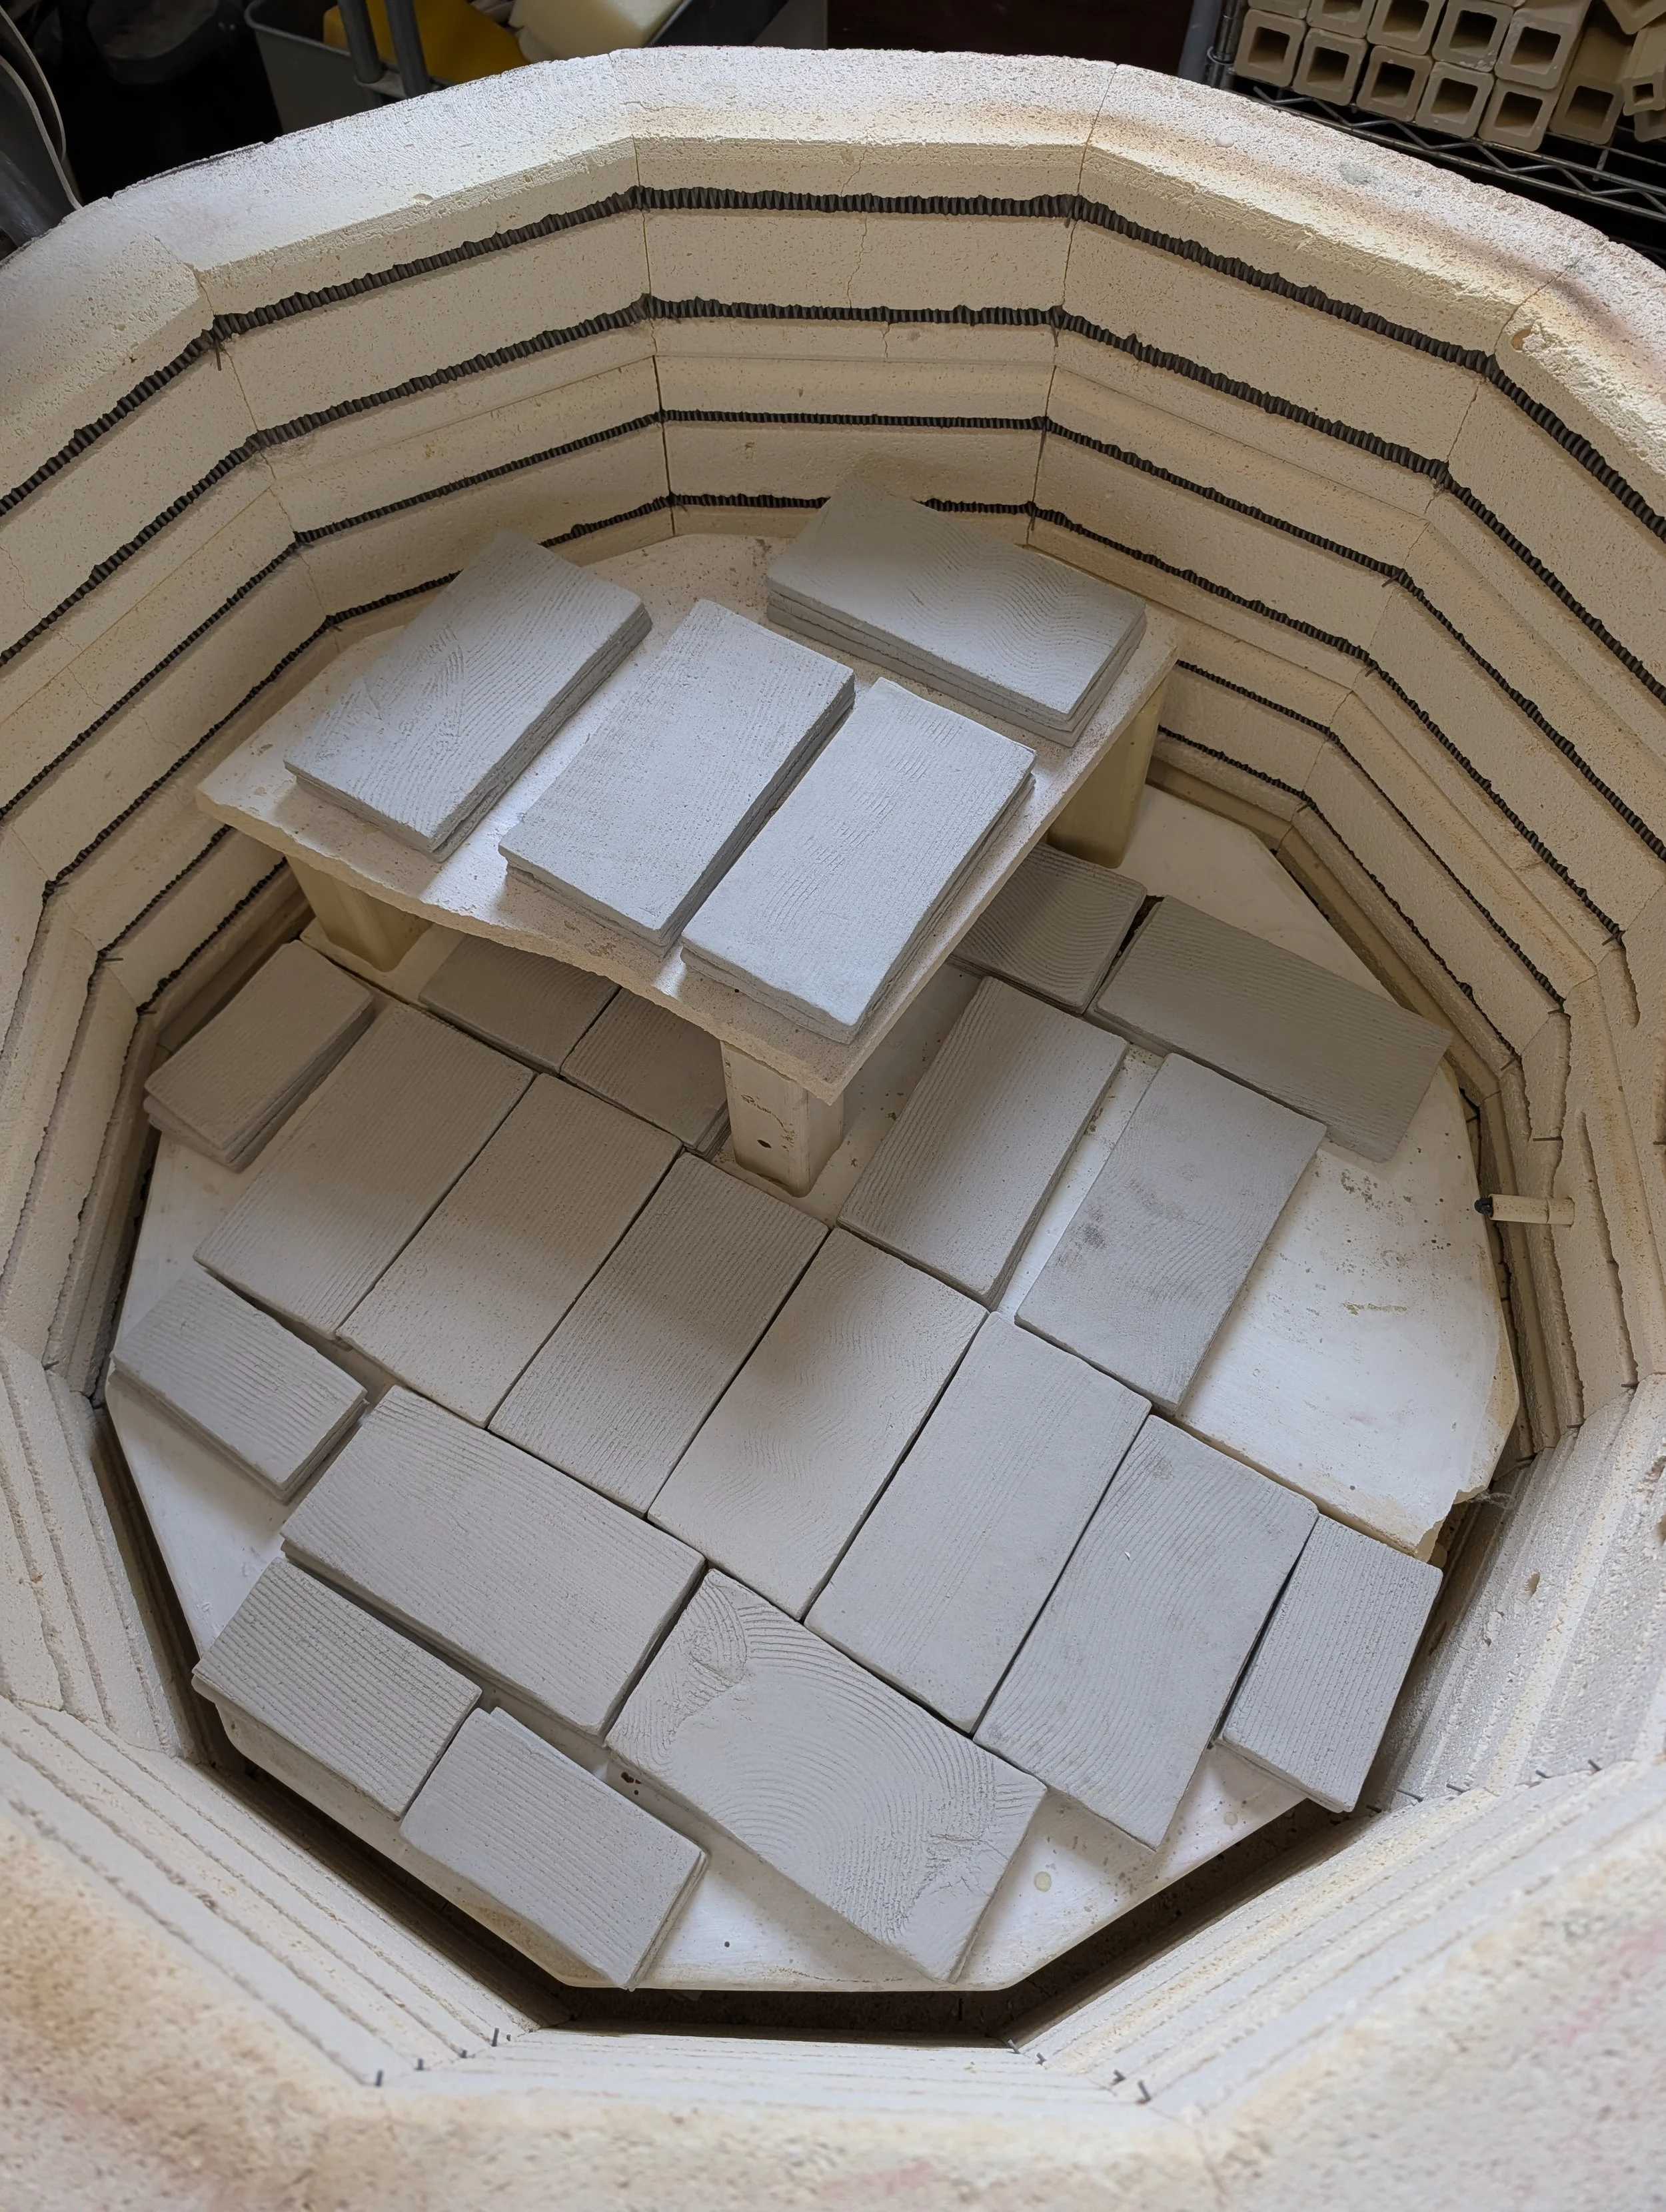
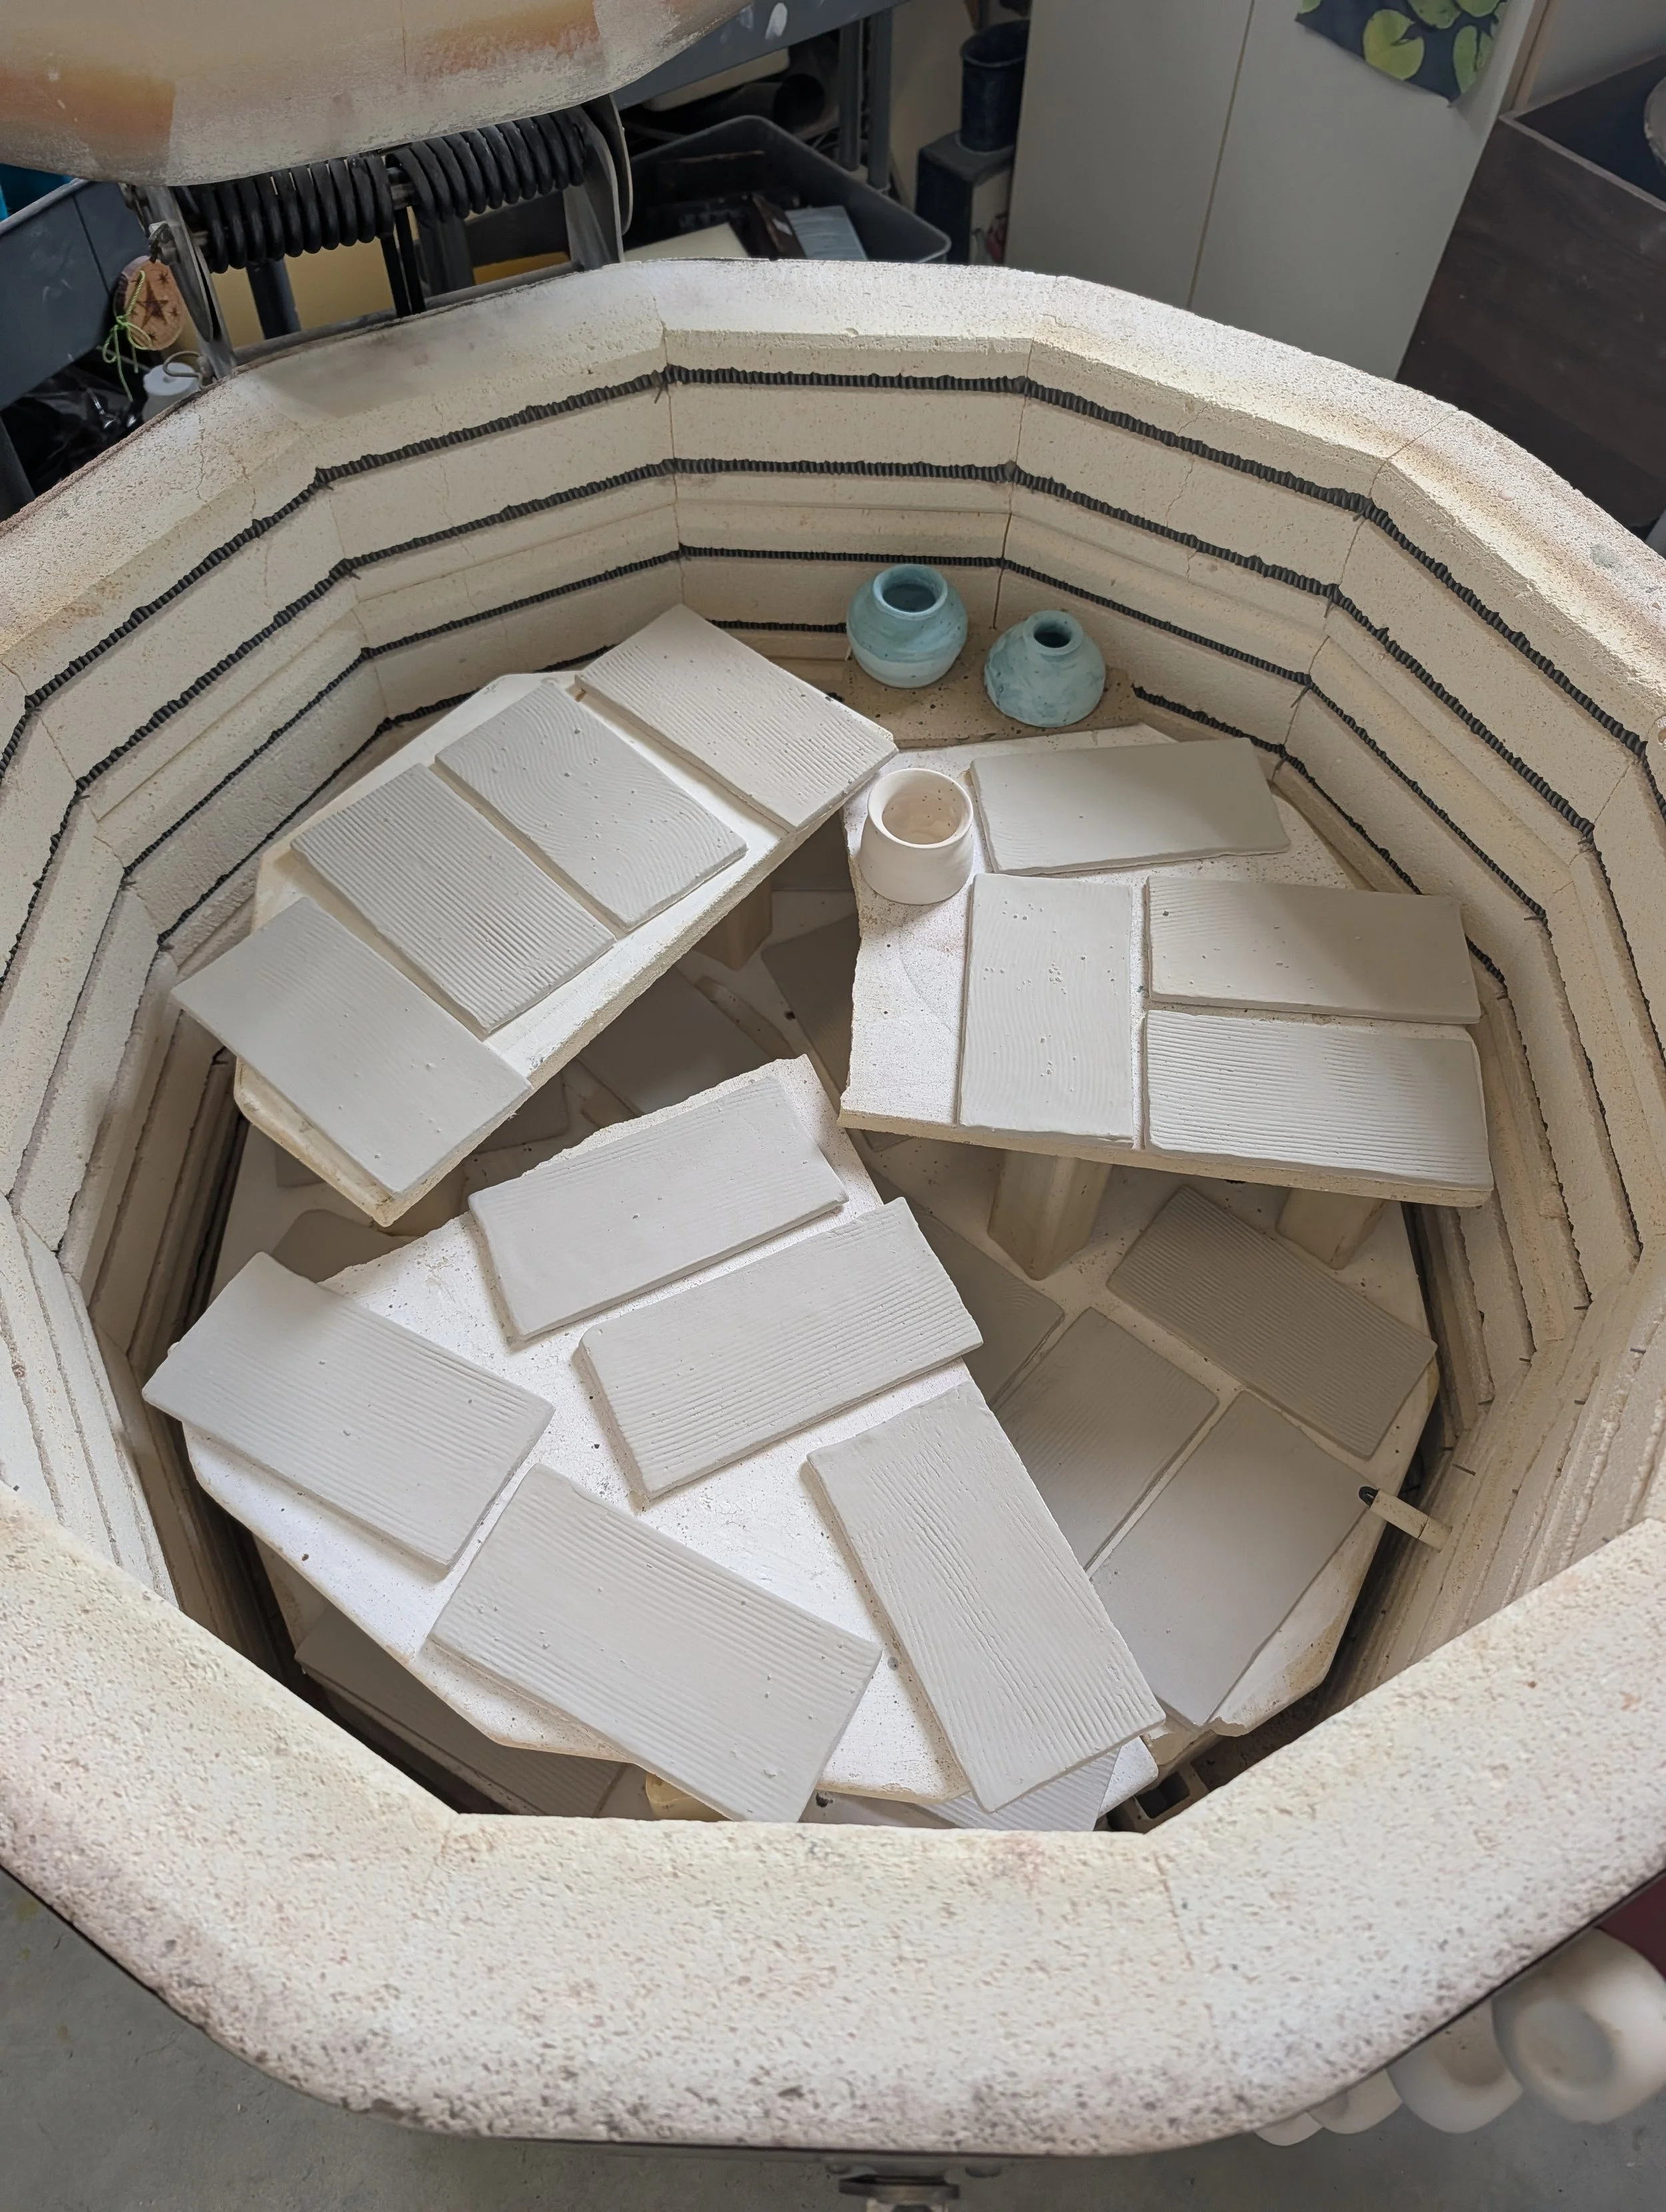
Once dry, I moved them to the kiln and loaded them up in stacks of 3 for a bisque firing. This is the most fragile stage and fortunately I only had one tile break. This is a testament to how awesome this clay is!
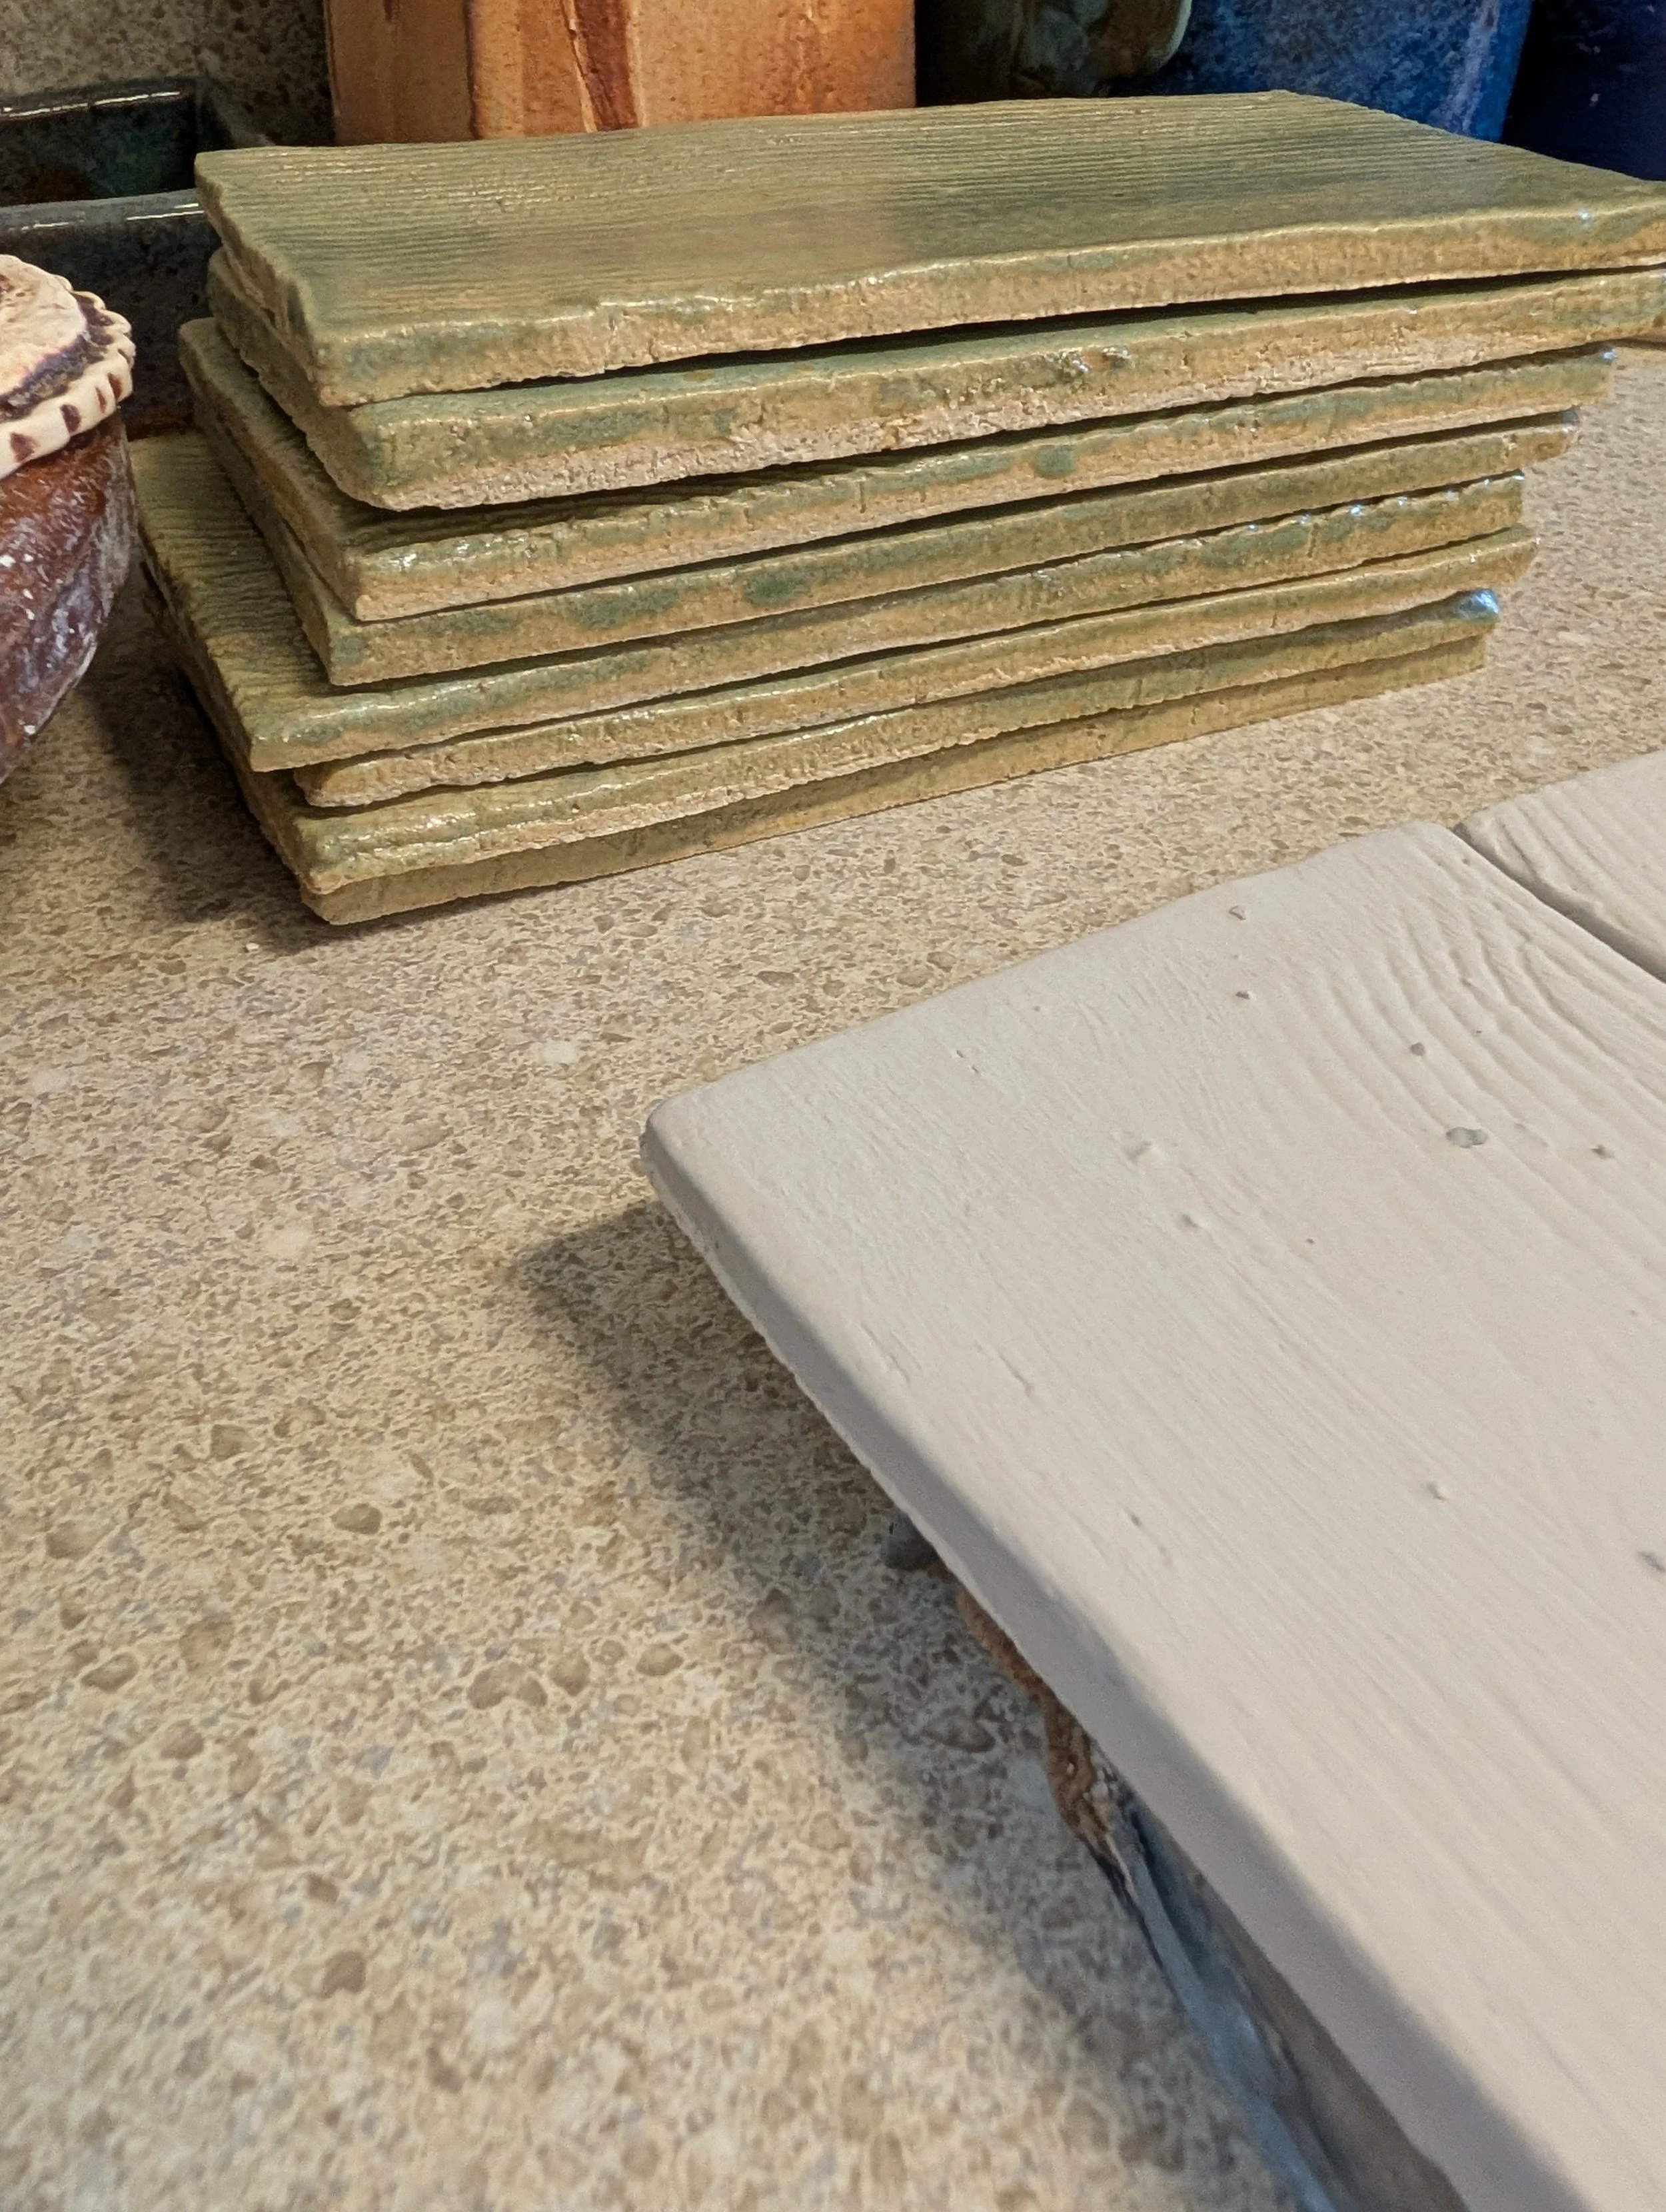
Once the first firing is complete, I removed the tiles, cleaned them with a damp sponge and began to glaze them 2-3 coats per tile. One coat on the edges.
Finally, I reloaded the tiles back in the kiln having to fire many more firings as I cannot stack them in a glaze firing. Single layers only for the glaze firings.
That’s it! Such a cool process and I enjoyed it very much! I learned a ton on taking such a creative challenge, time management and how to work with the clay to have very little issues arise.
My biggest lesson and reflection from this tile building experience…. trust myself more from the start. I had doubts I could tackle it all, as you can see it is a lengthy process, especially when you have to make so many, but being encouraged by all of you, my friends and family helped me a great deal.
Also, a special thank you to those in the process with me…my hubby Jeff and my friend/designer Rana for encouraging and believing in me so much to tackle this project!
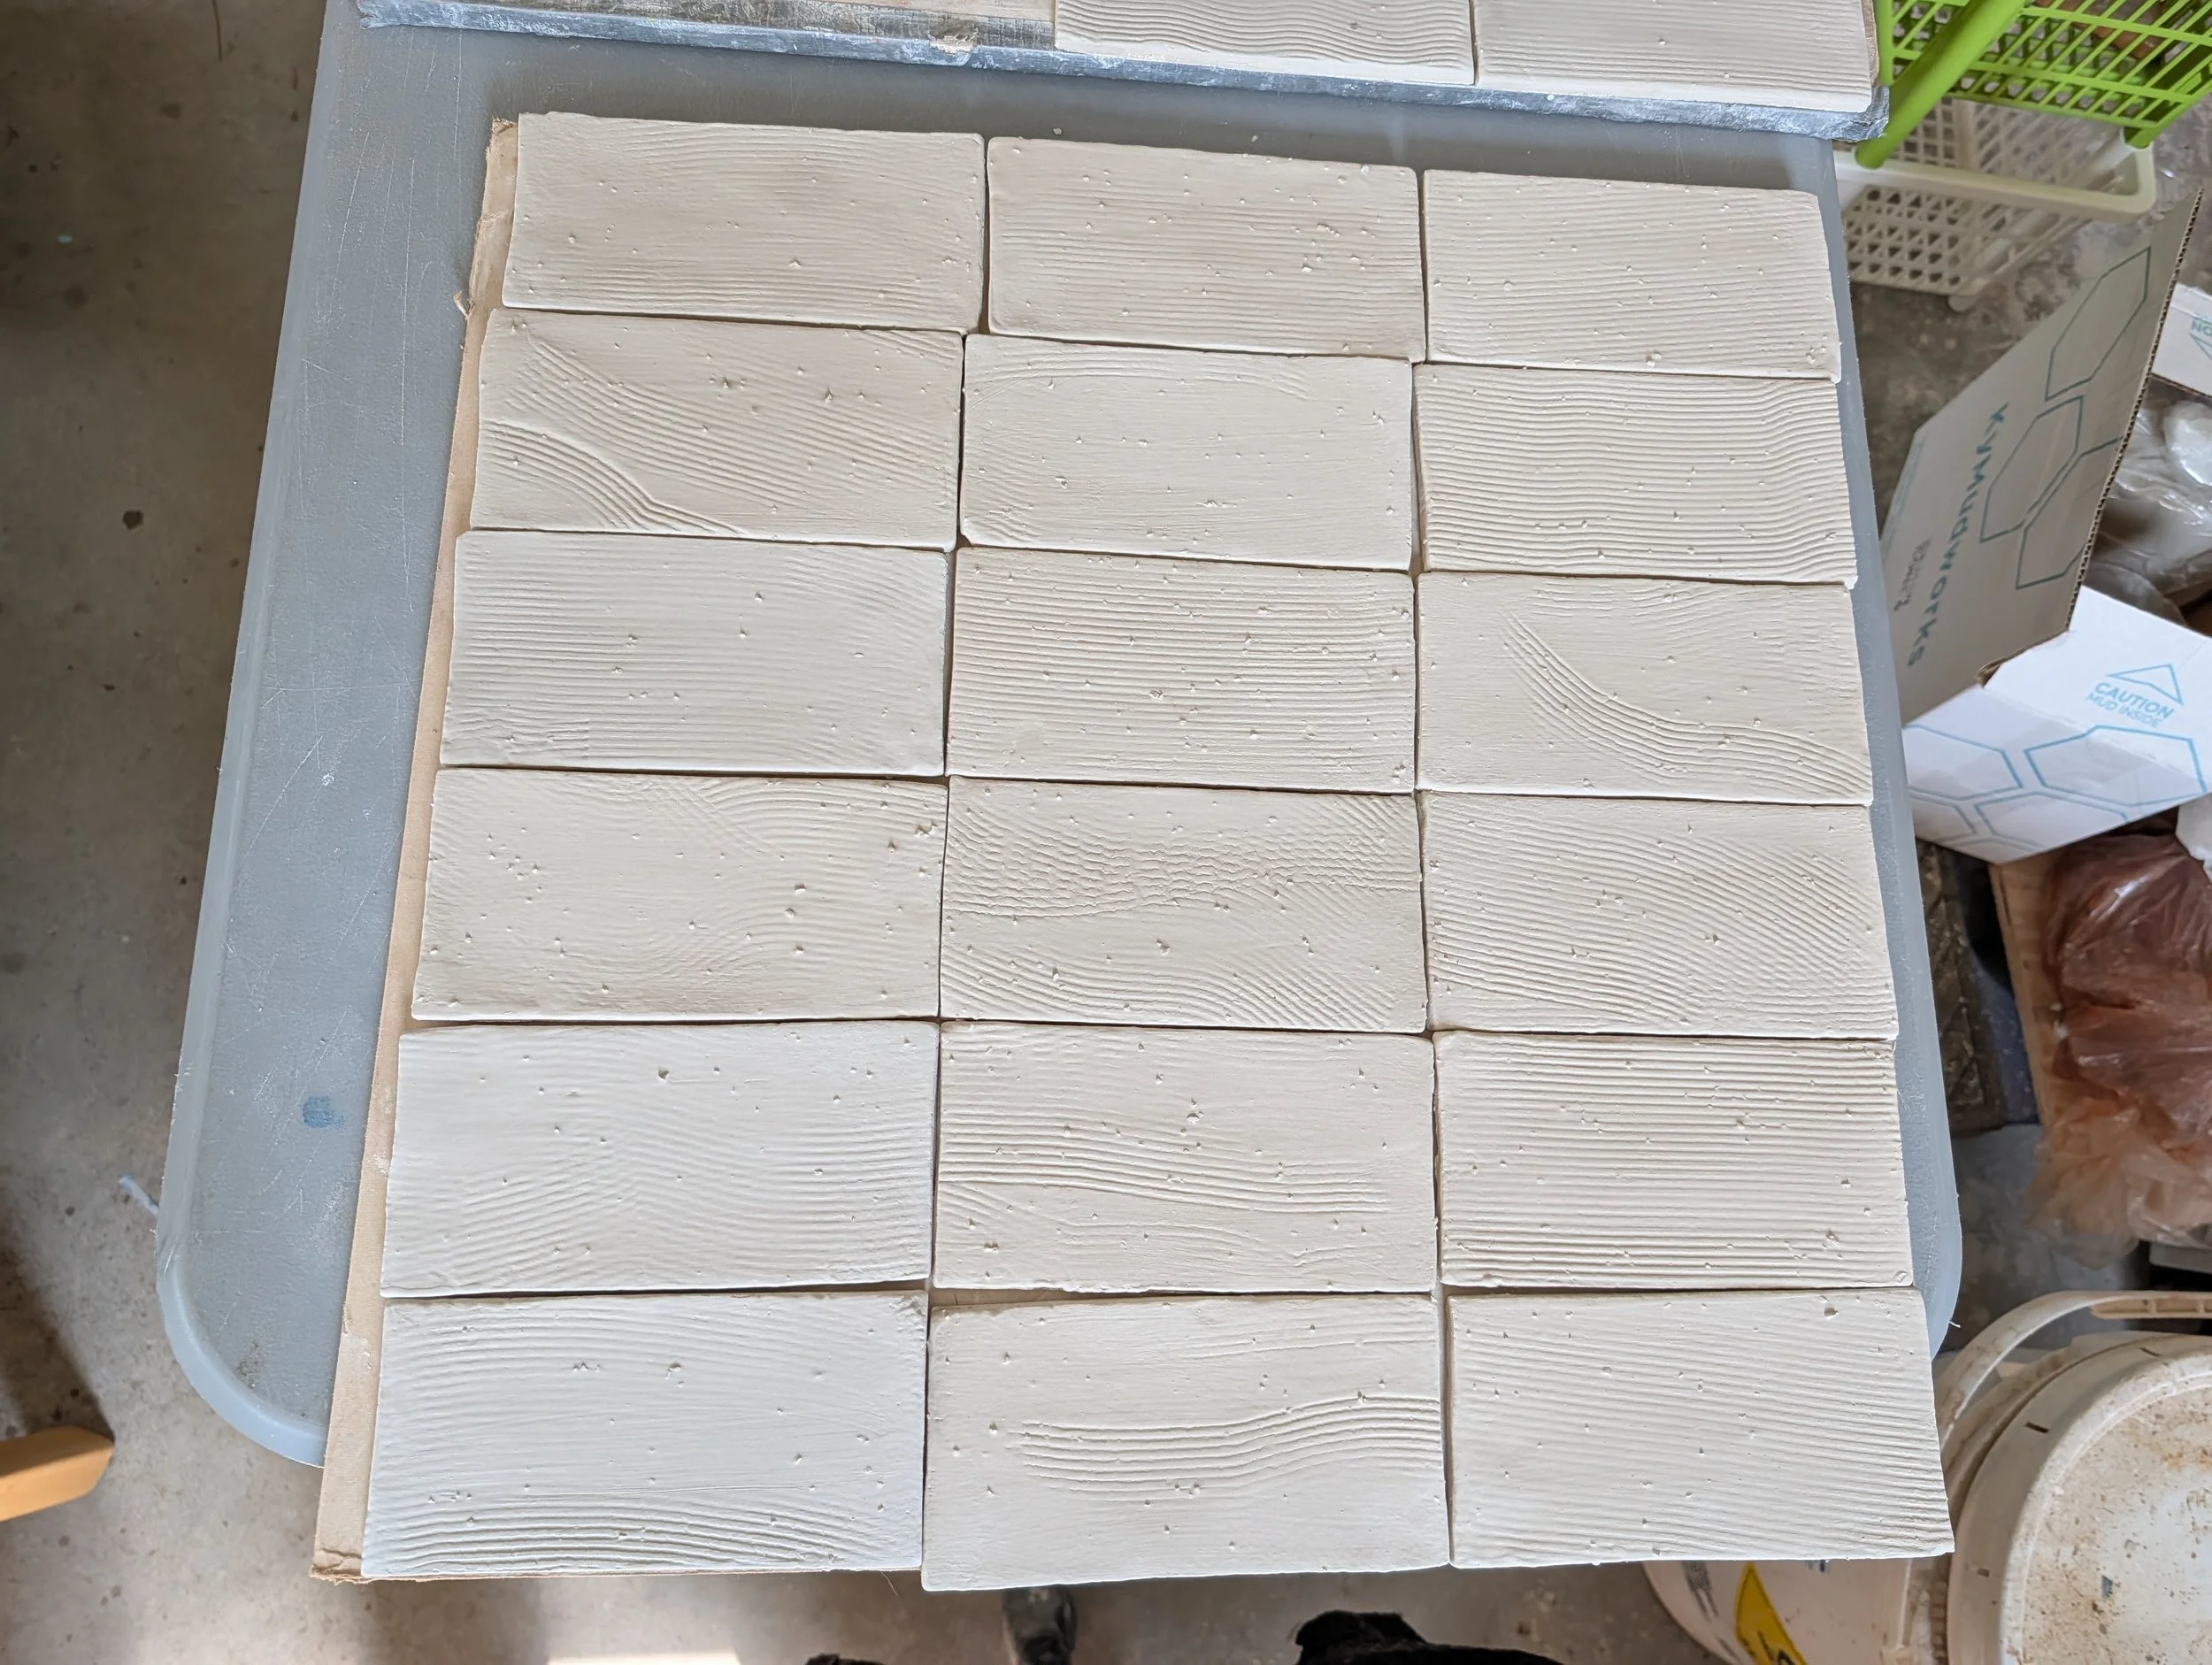
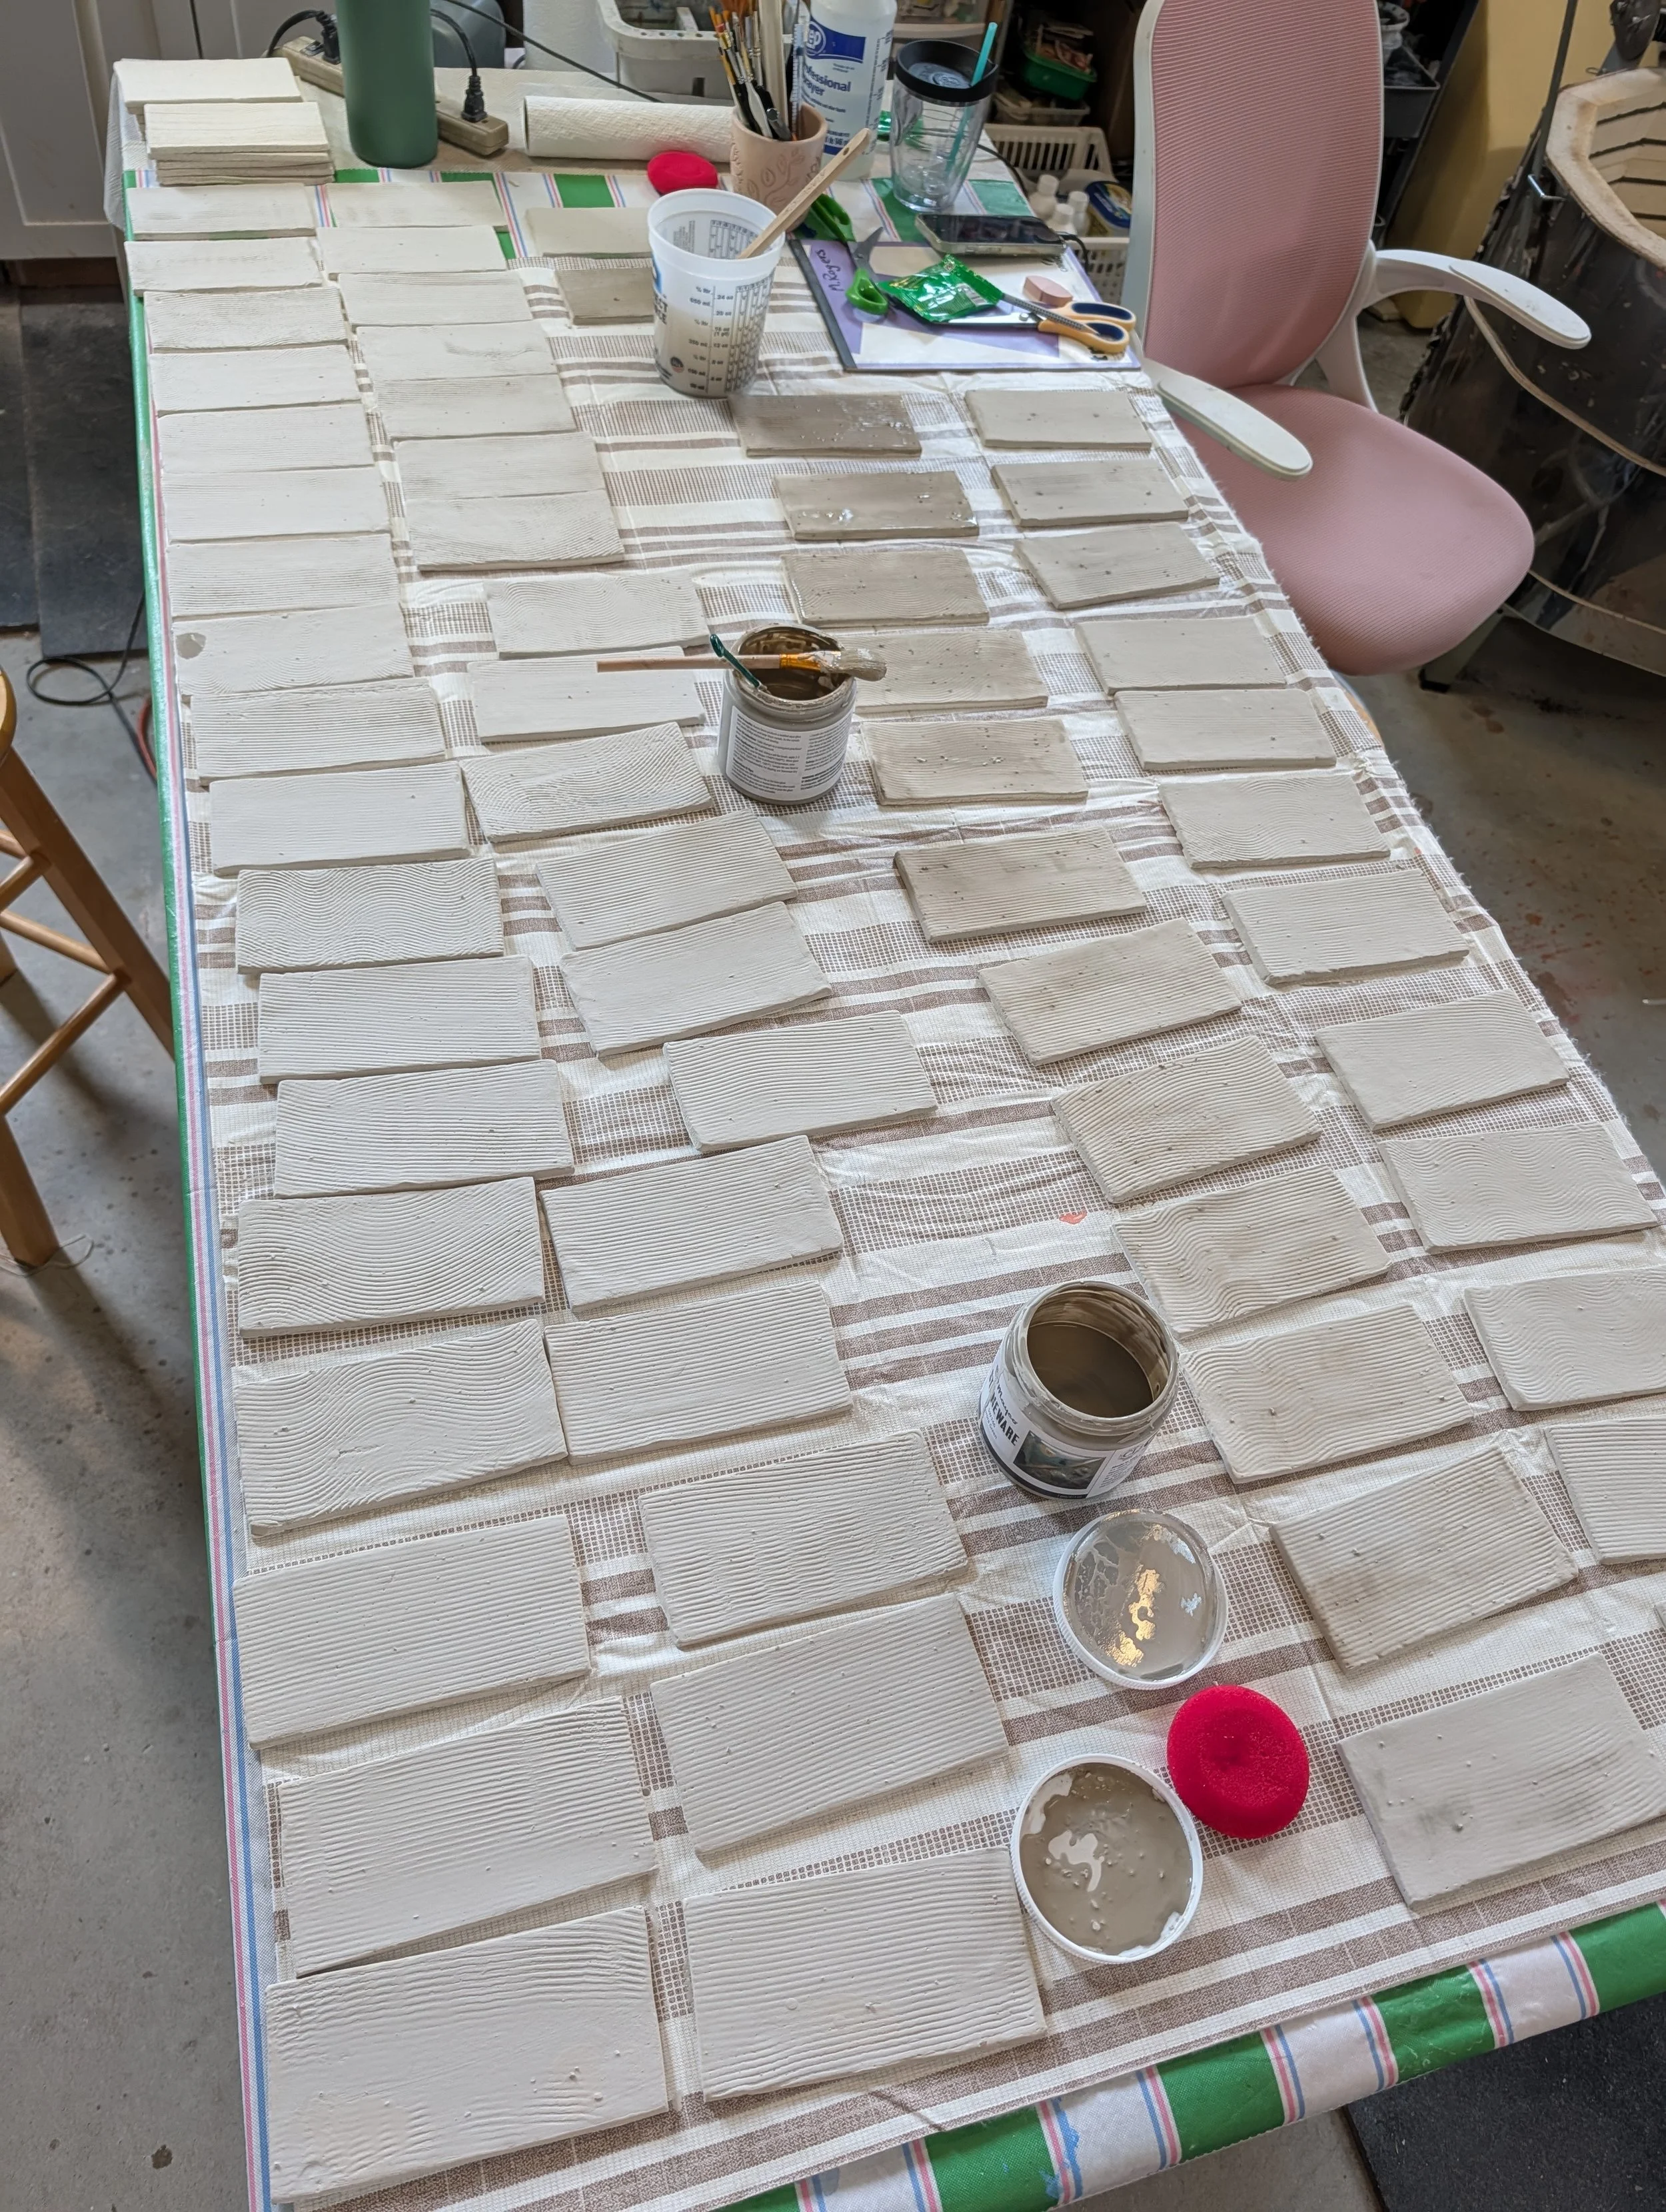
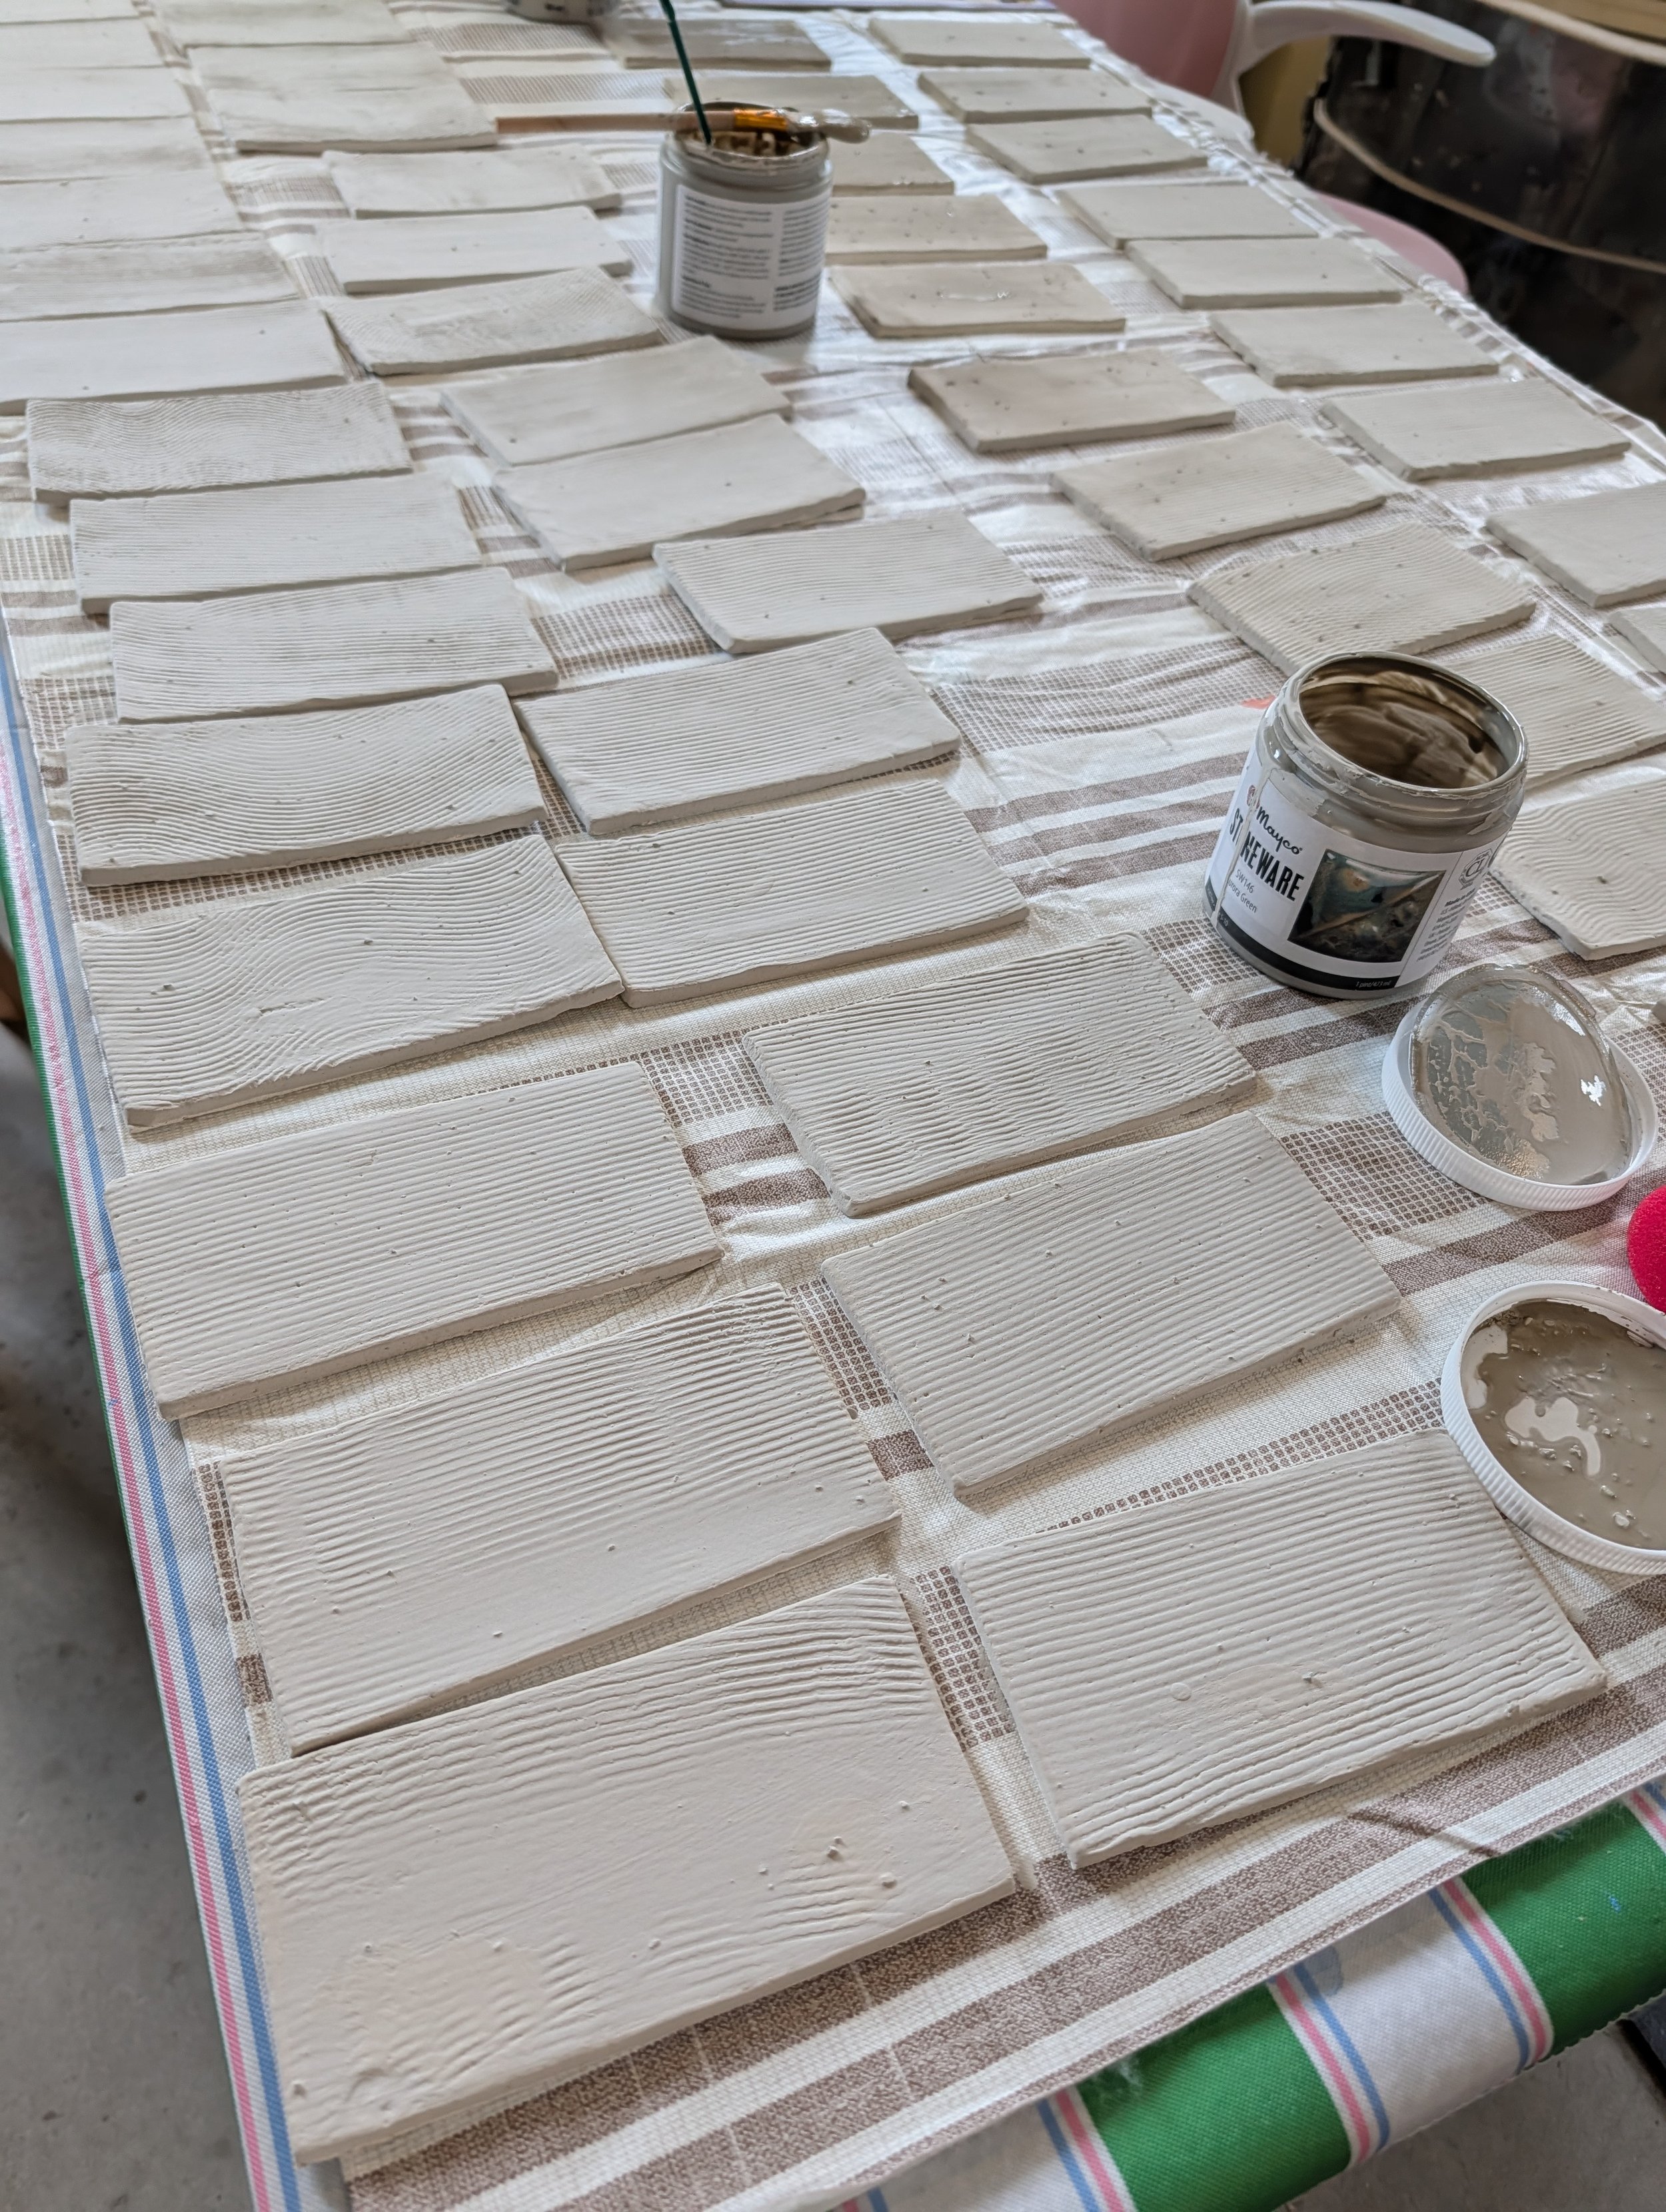
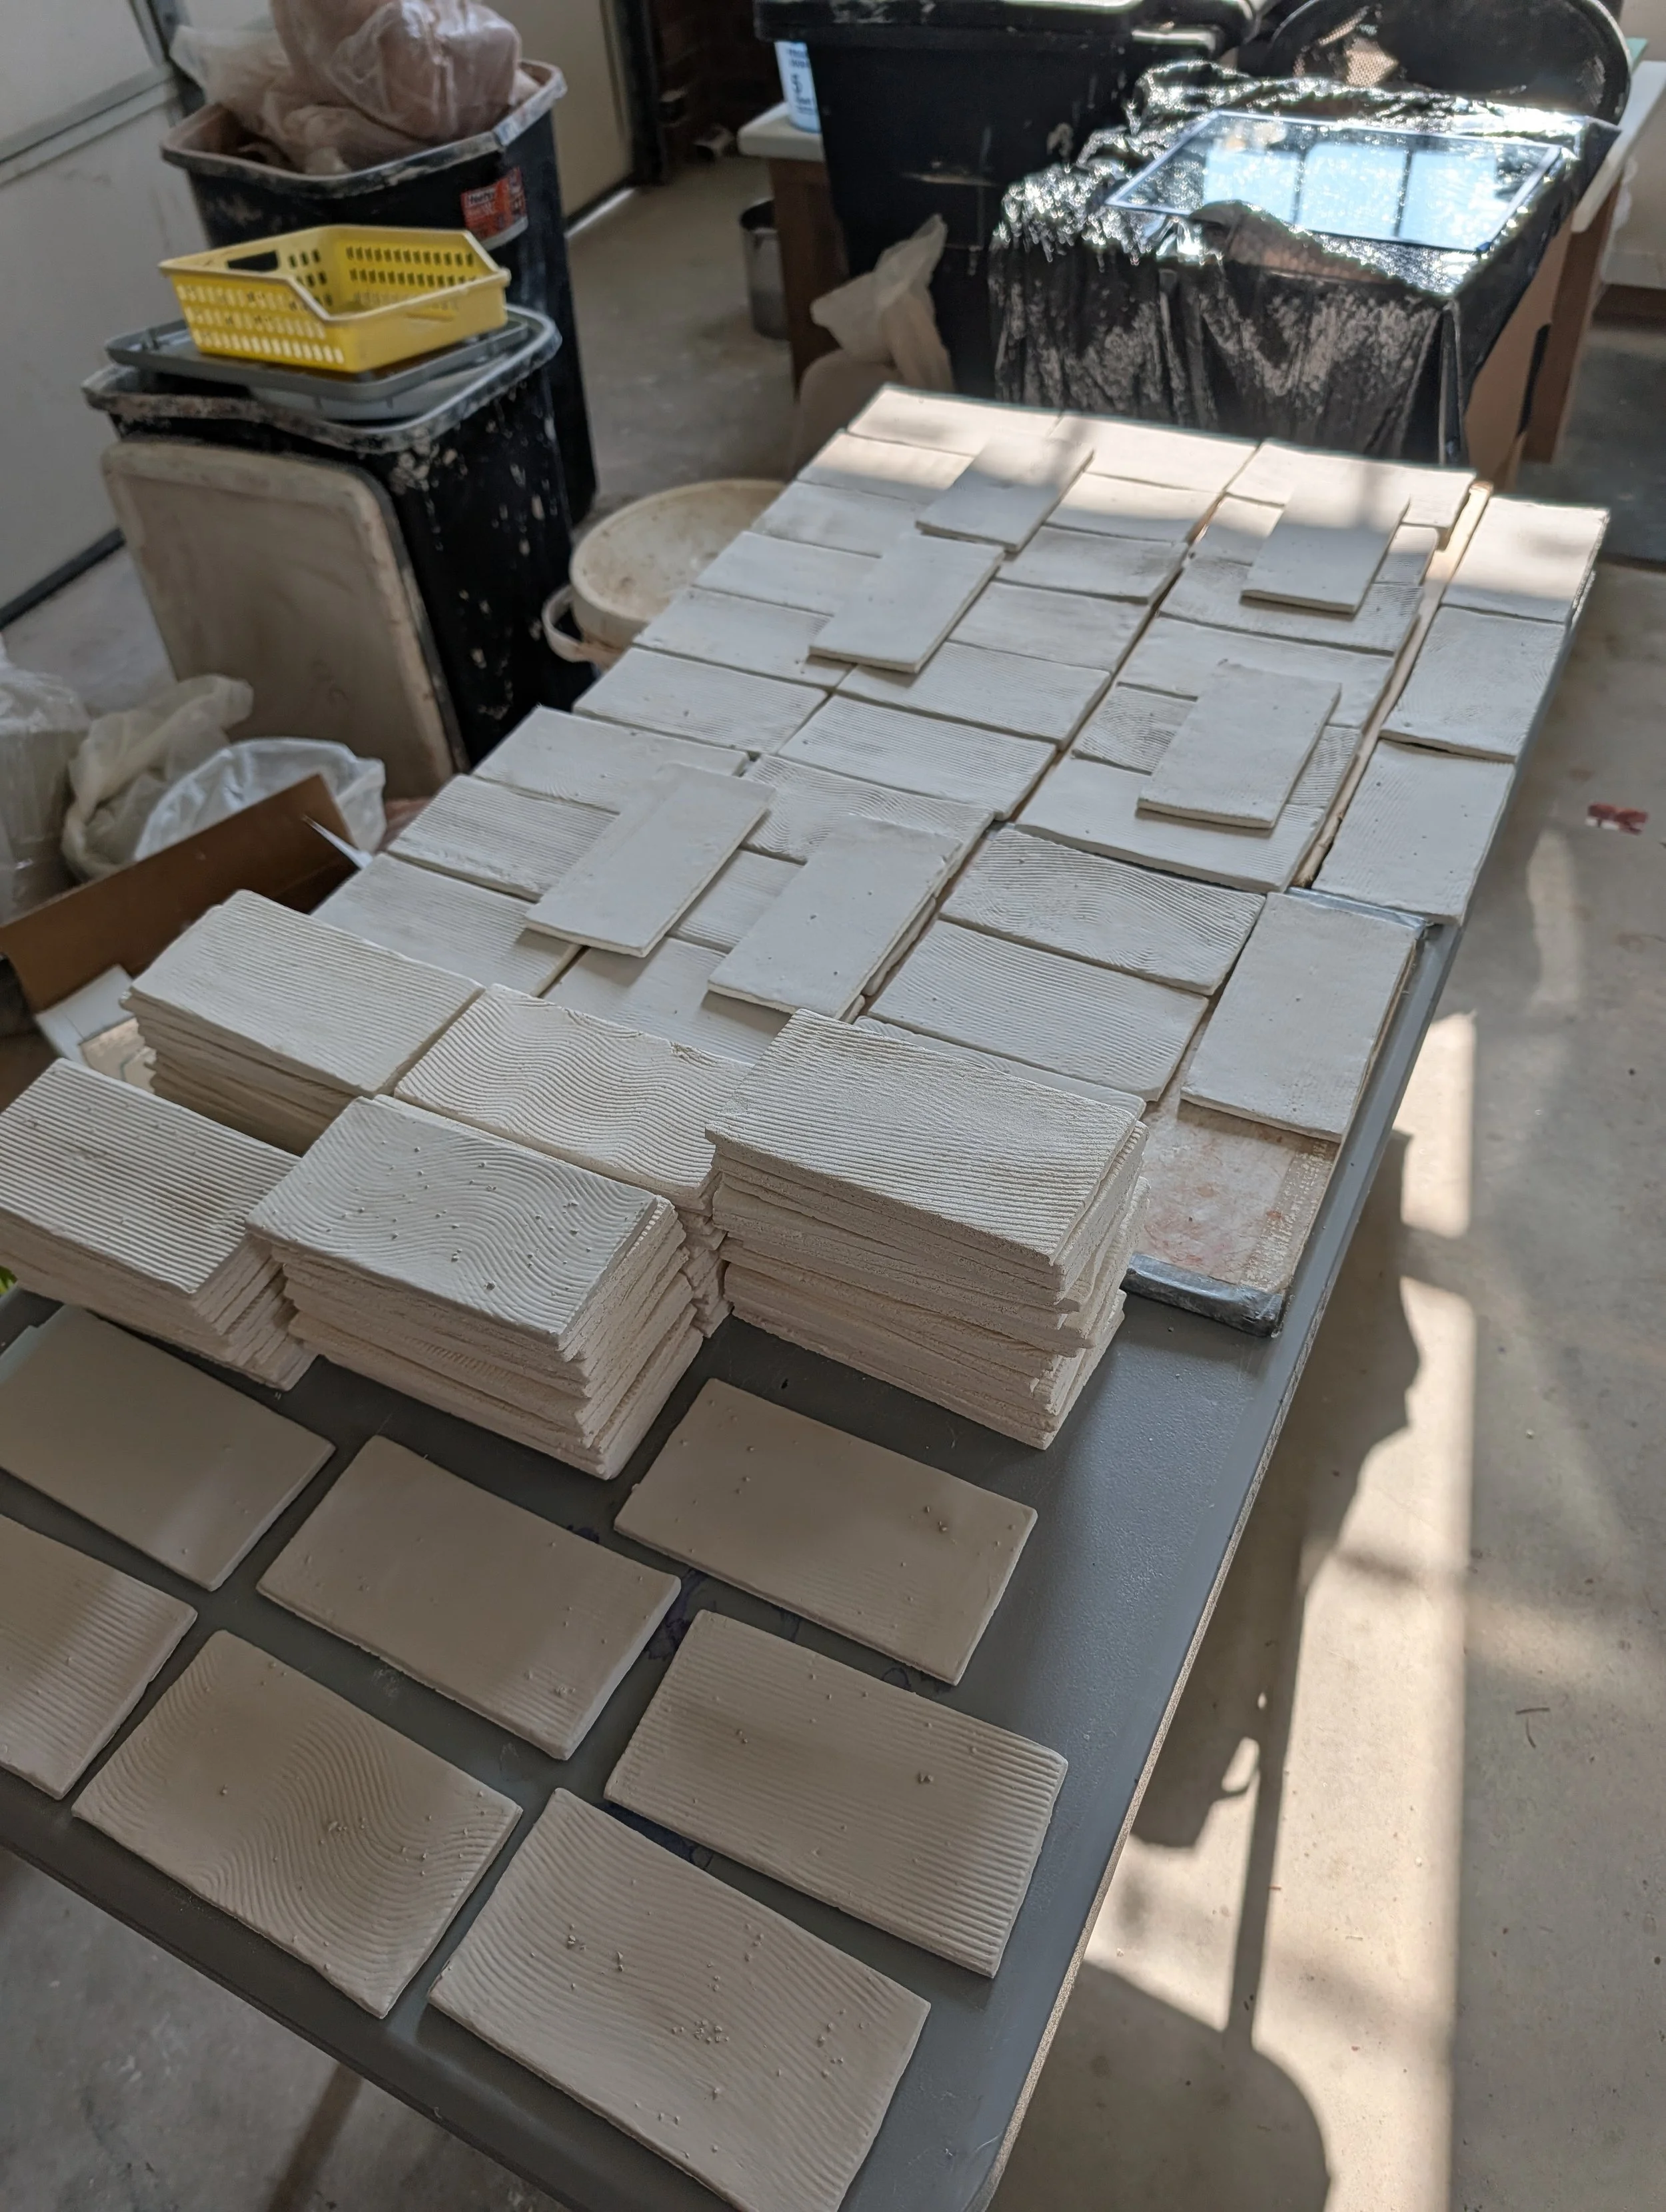
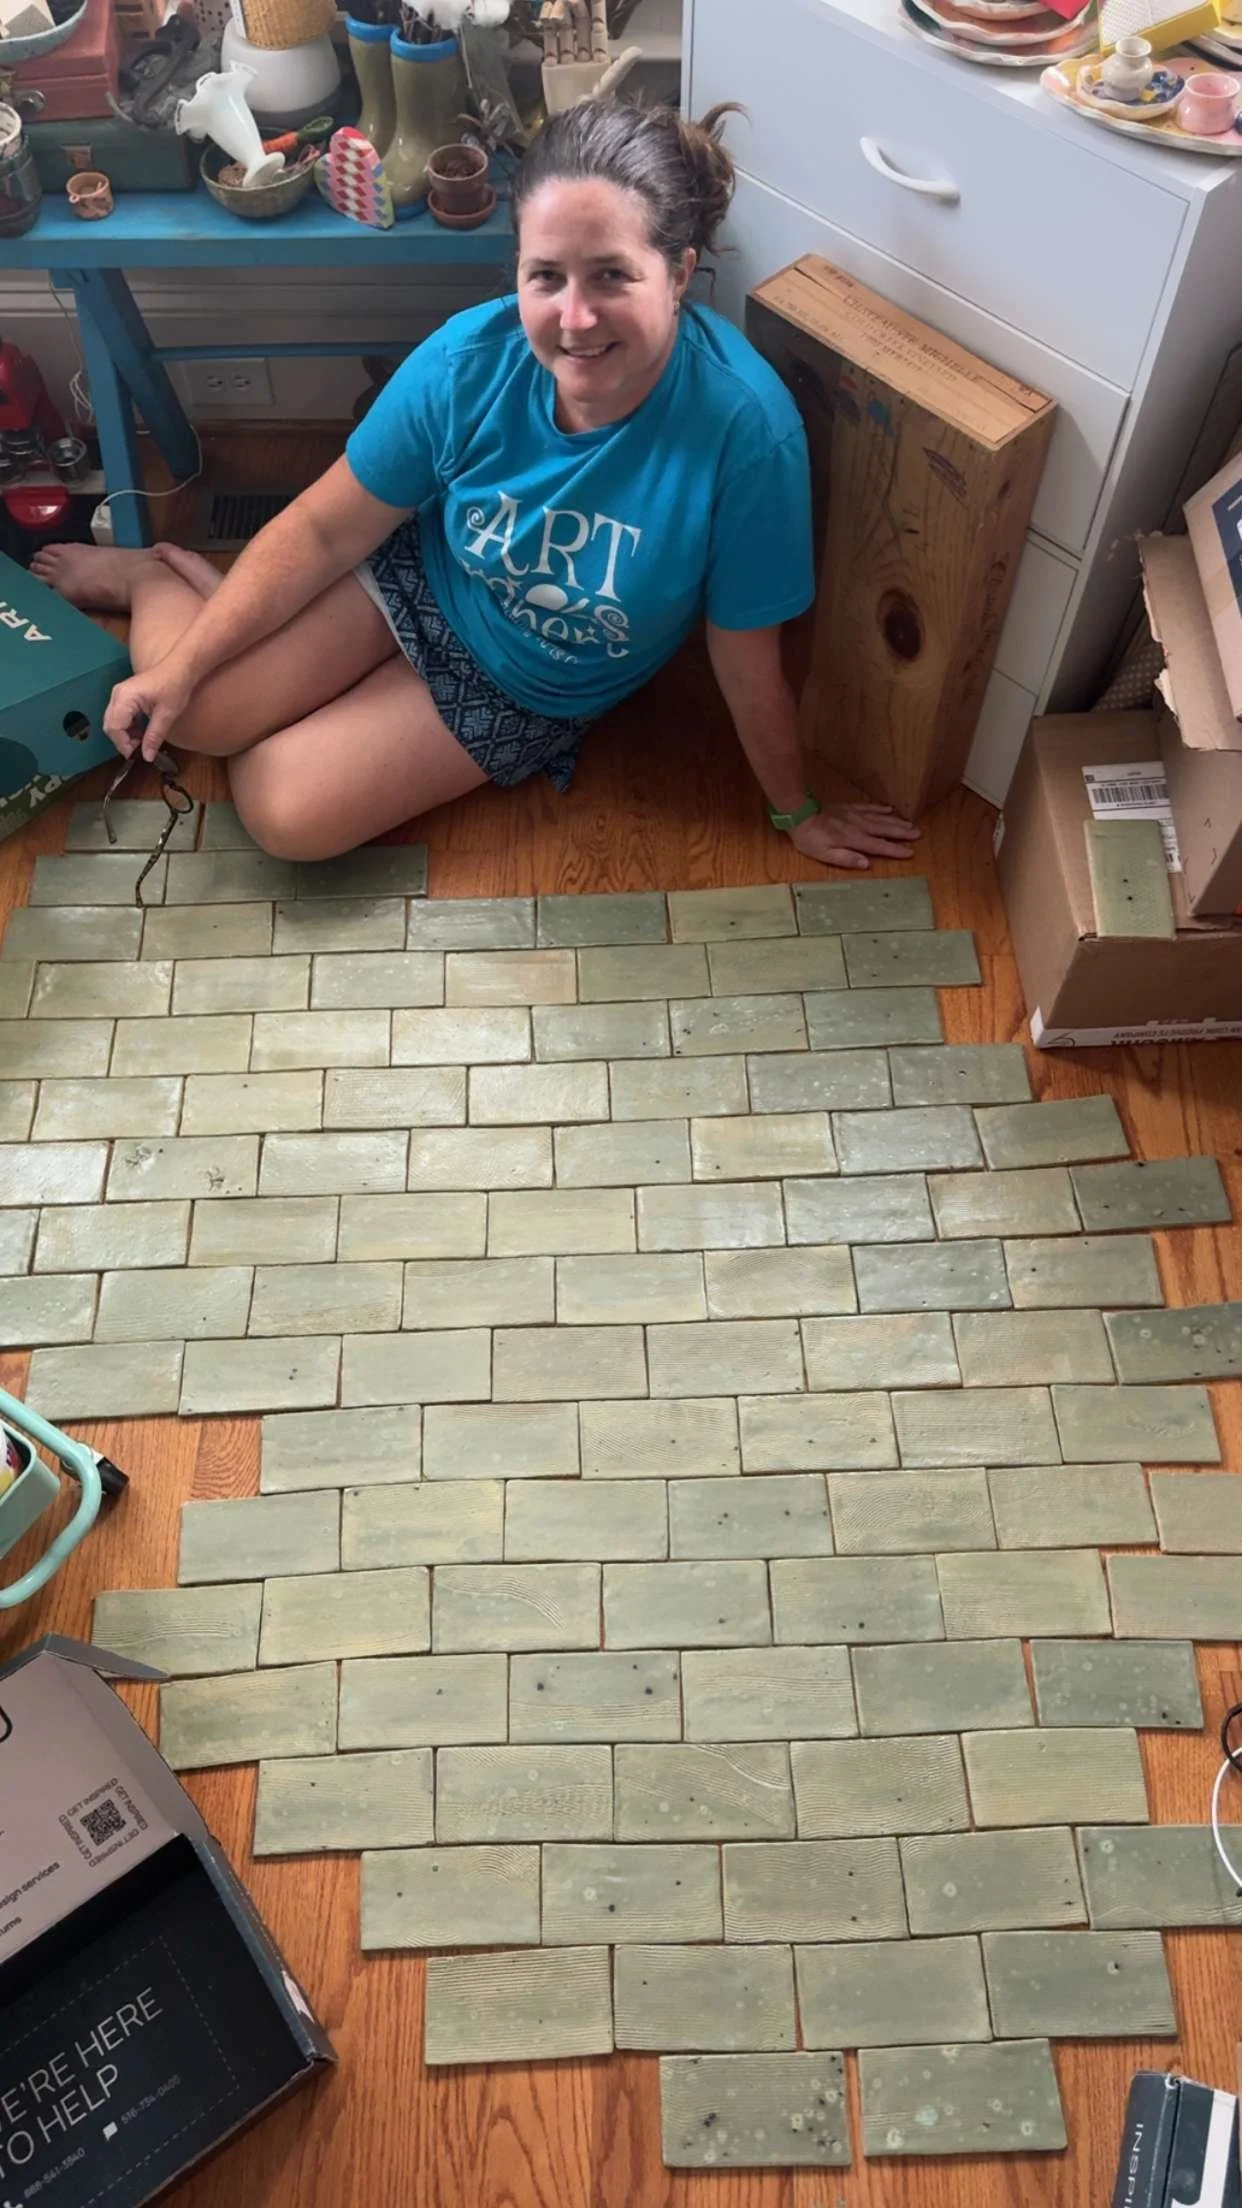
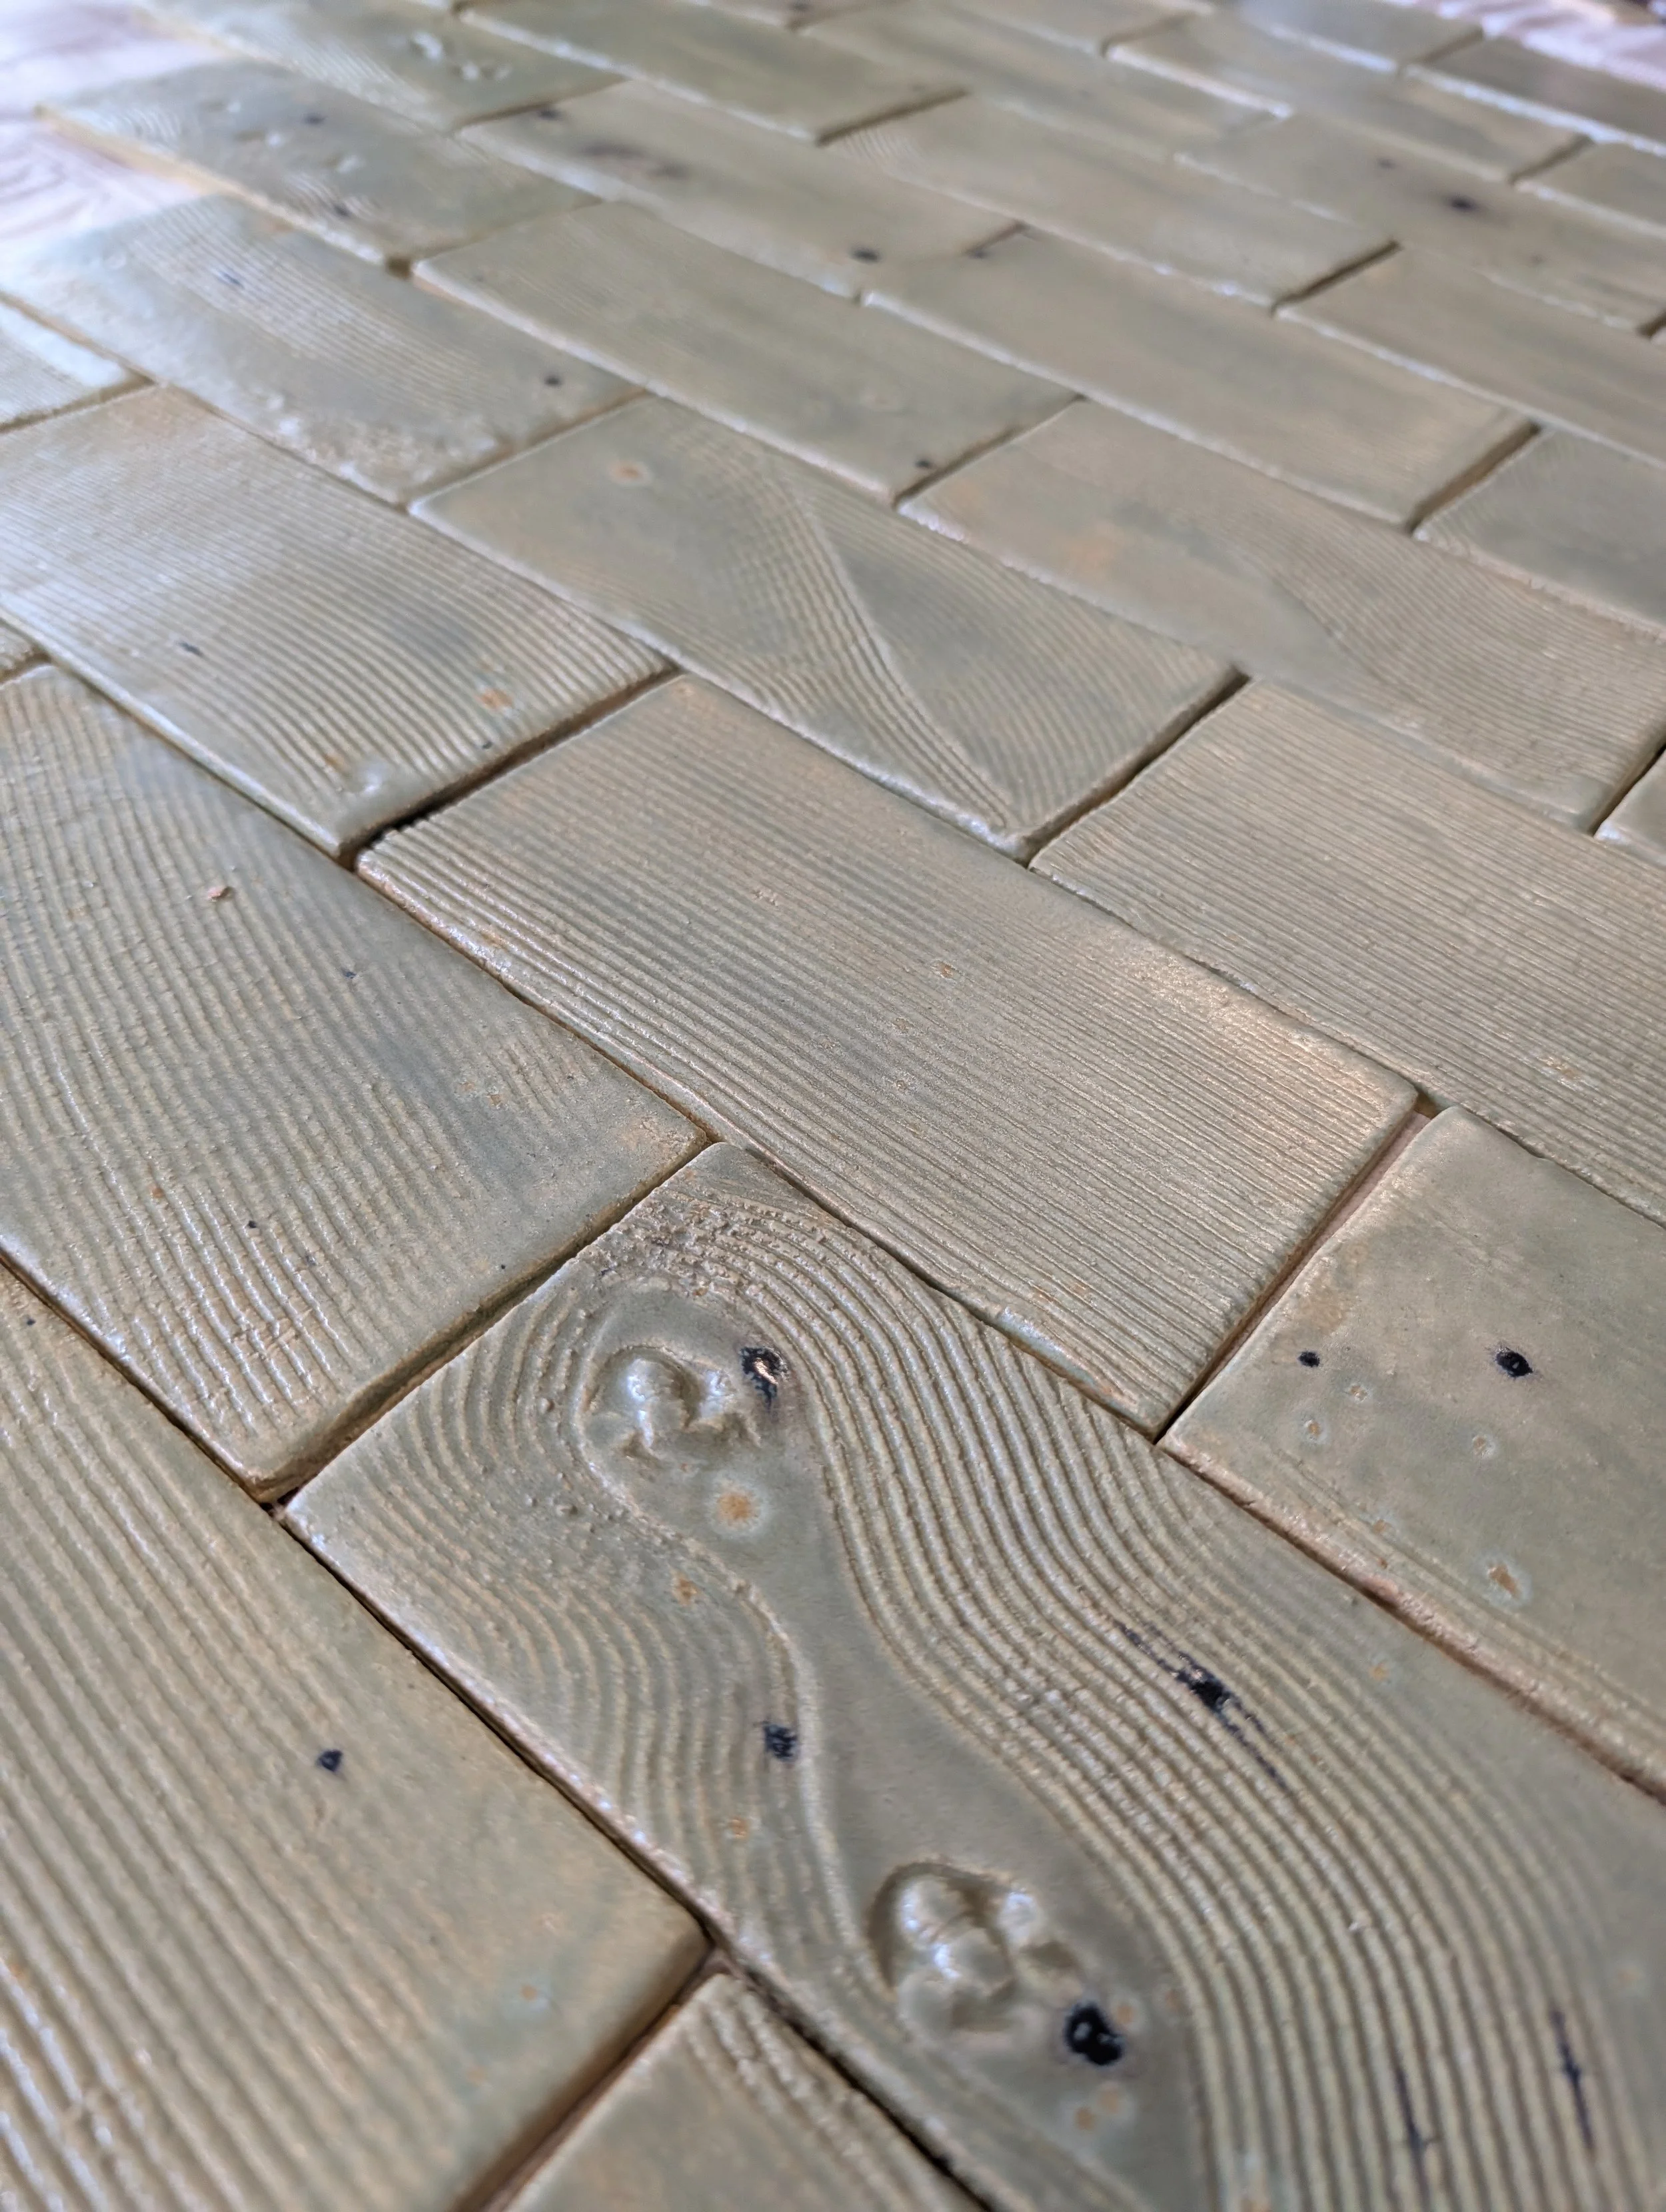
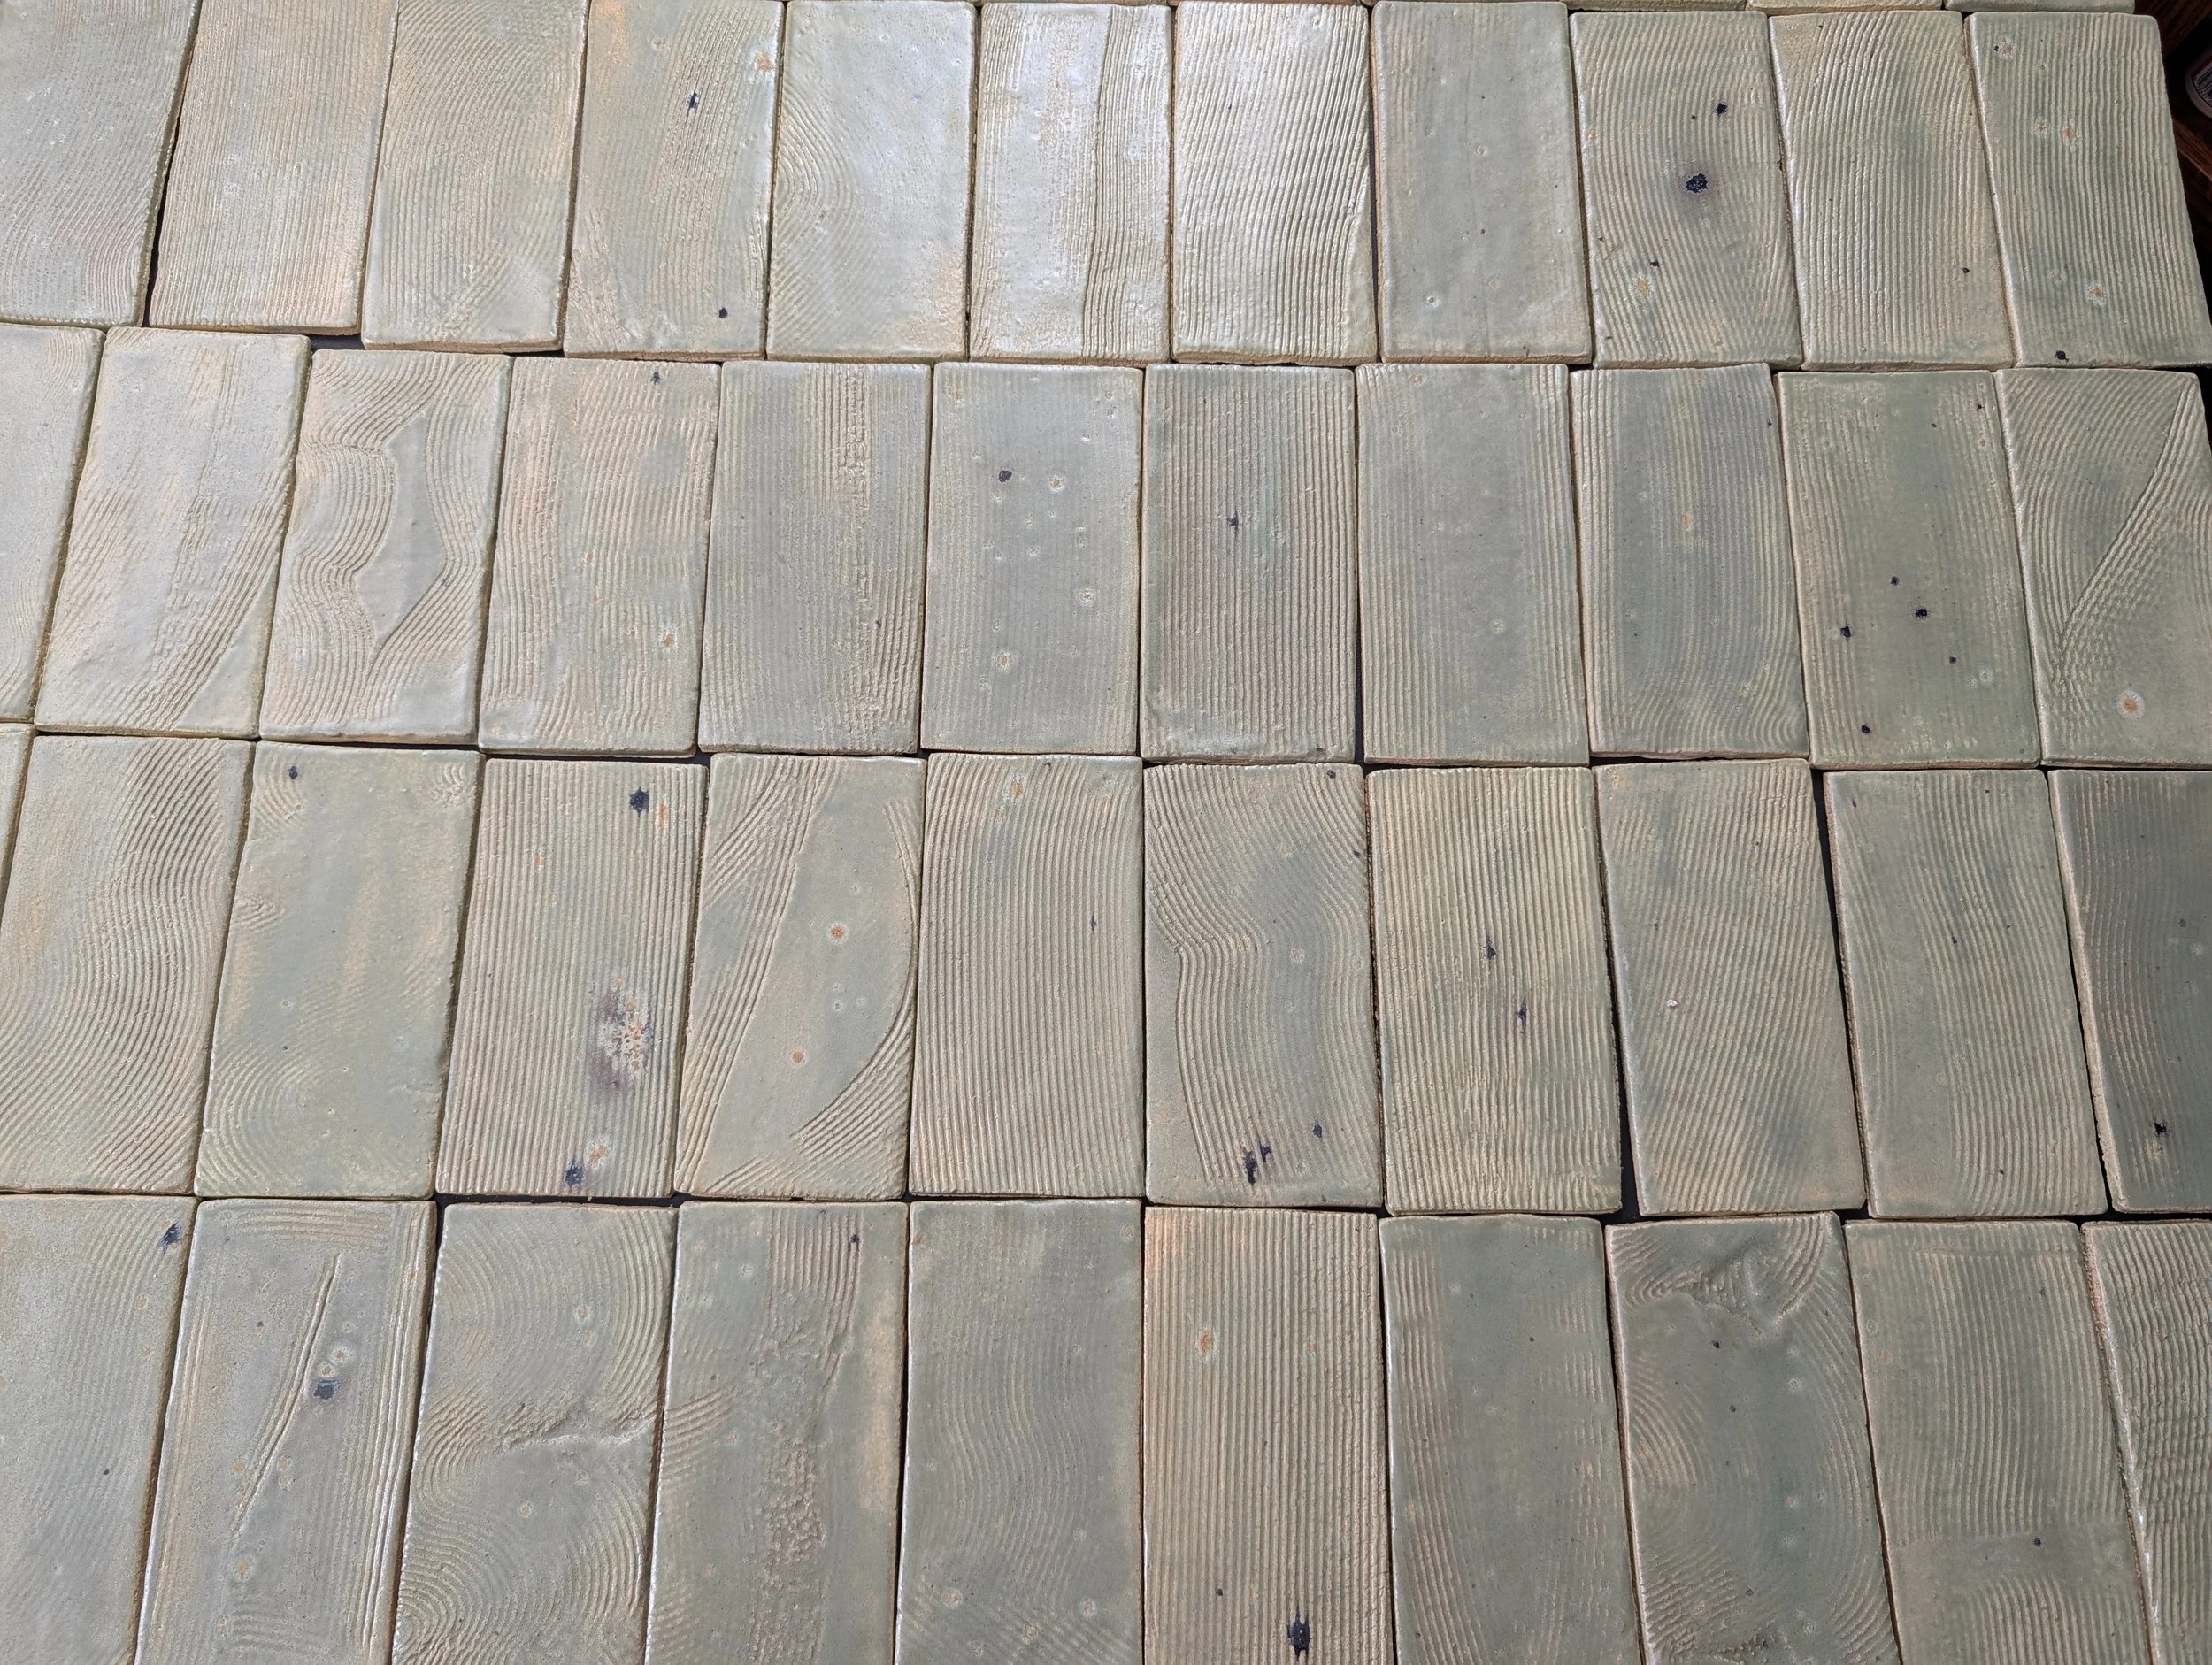
The finished backsplash tile
Check out this video of the tiles:

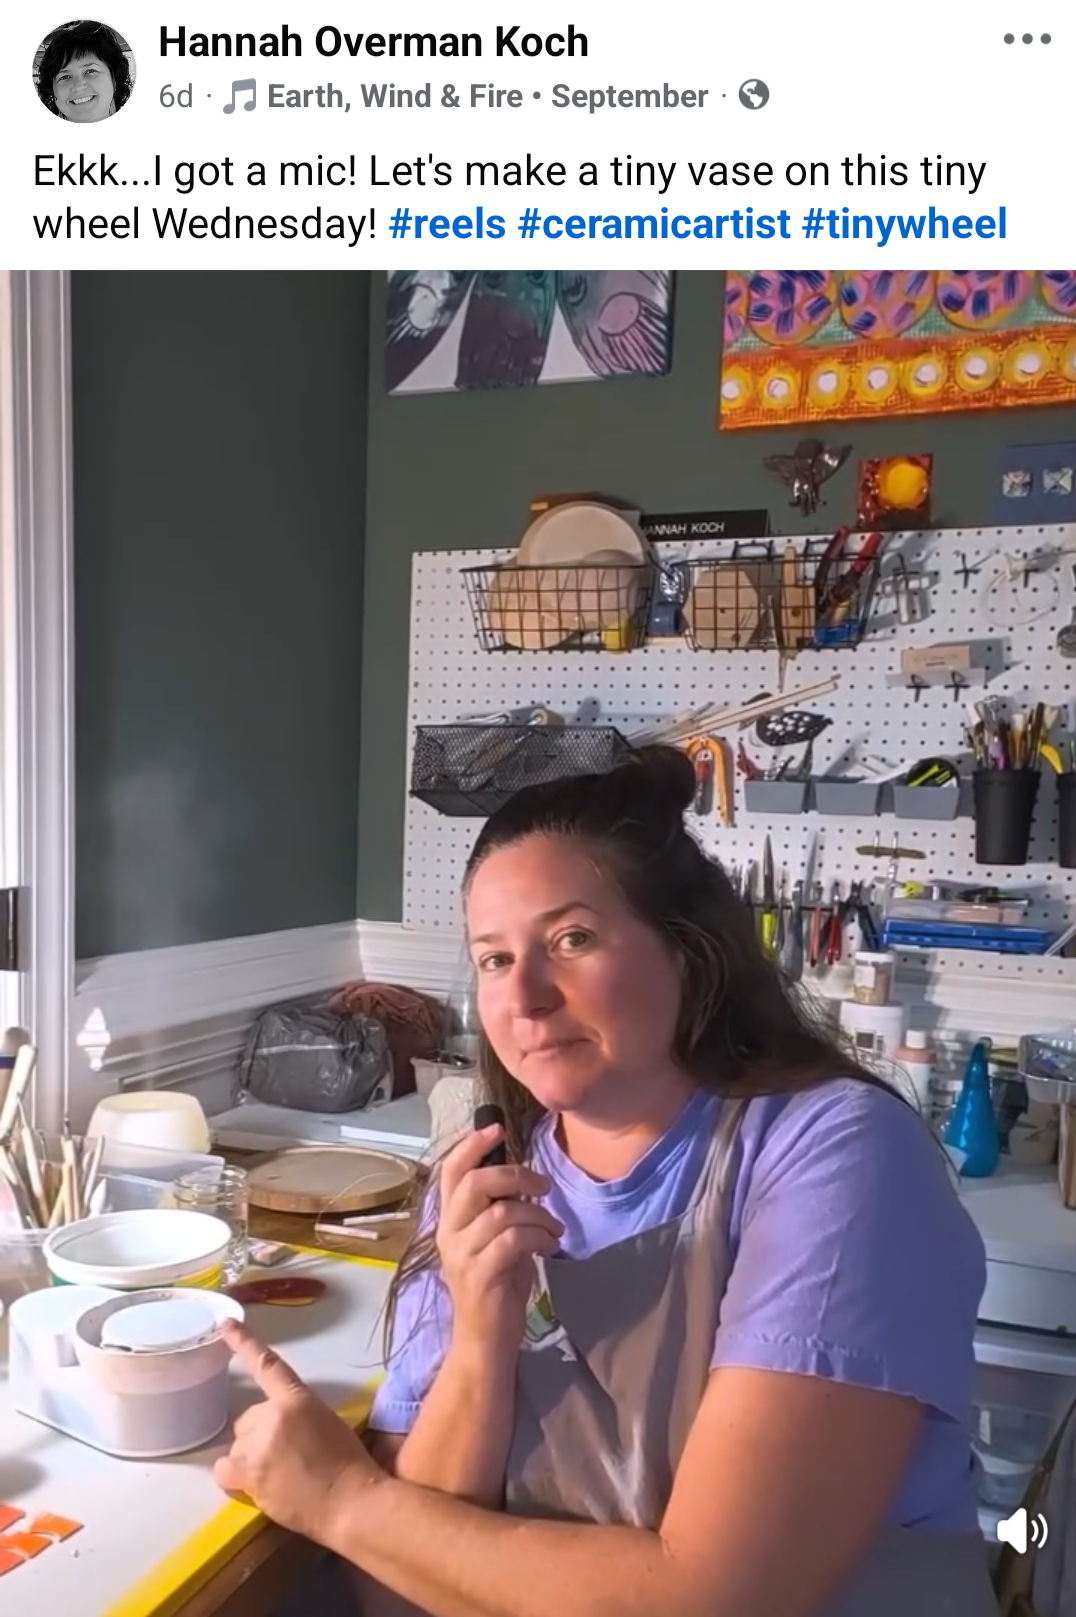
Tiny Wheel Wednesdays has turned into videos! I got a cute tiny mic and some different lighting to help my videos be more appealing! I am working to get them uploaded on my Youtube channel, tik tok, instagram and facebook! Look up my name Hannah Overman Koch or LynnDylan Designs and make sure to follow! Here’s a screenshot of my latest video. I did a little chat then threw a tiny vase.

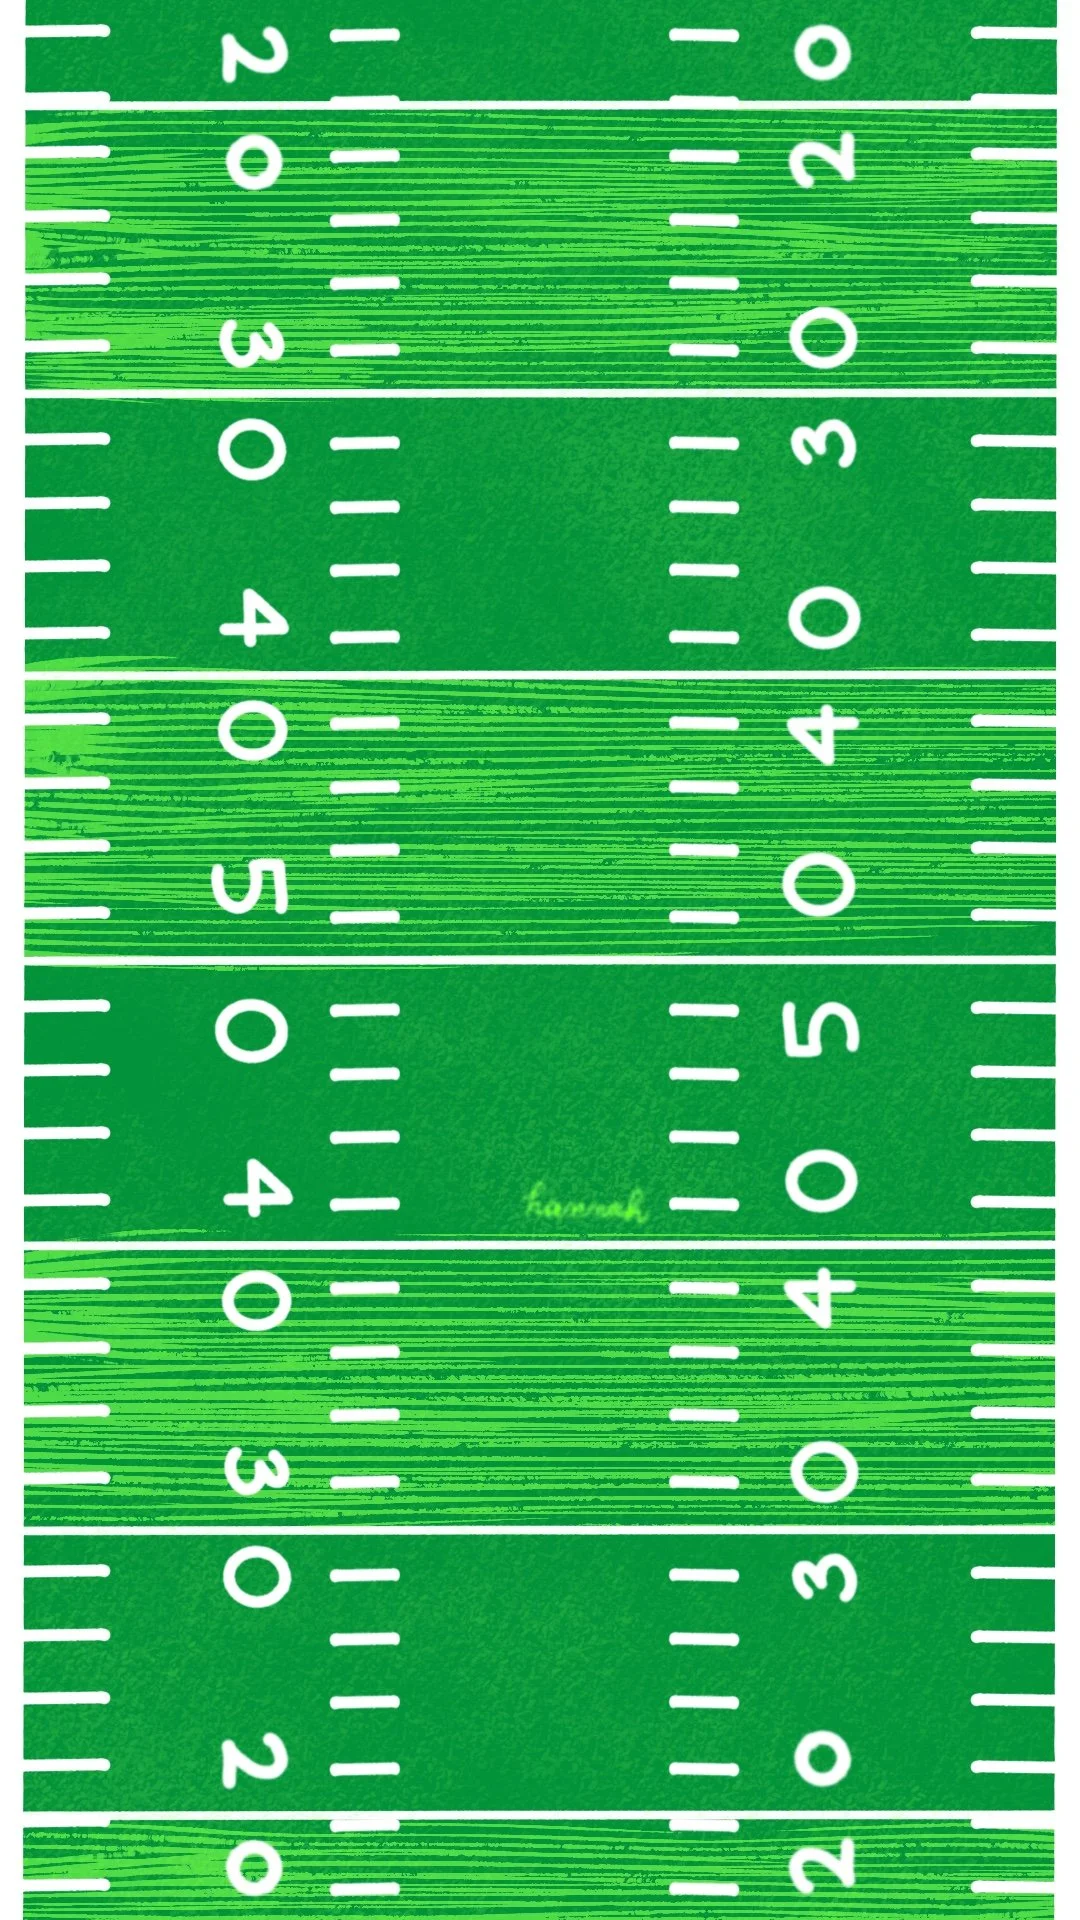
I only did these 4 digital drawings this month (I love football!) as I have focused more on my tiny vases and clay. I do not plan stop digital drawing altogether, just refocusing my time all while packing, purging, and preparing for the move.




Just Keep Drawing~
It’s been my motto for 6 years! Just keep drawing, writing, creating, designing, collaging, sculpting!
I loved the process of creating the tiles and would love the opportunity to make more! Once we are moved…I plan to explore this more! In the meantime…
Stay creative out there~
Hannah